When I first started planning my campervan build, solar power felt like this mysterious, overwhelming beast. Everyone talked about watts, amps, and charge controllers like it was second nature, while I was still trying to figure out how to mount a panel without drilling holes in my roof. But after three years of living on the road with a fully functional solar setup, I’ve learned that it doesn’t have to be complicated. In fact, a well-designed campervan solar system can give you the freedom to boondock for weeks without ever needing to plug into shore power.
Let me walk you through everything I’ve learned about setting up solar power in a campervan, from understanding your power needs to actually installing the components. This isn’t about building the most complex system possible—it’s about building the right system for your lifestyle and budget.
Understanding Your Power Needs Before You Buy Anything
Before you drop thousands of dollars on solar equipment, you need to understand how much power you actually use. When I was planning my system, I made the mistake of dramatically overestimating my needs. I thought I needed enough power to run a blender, an espresso machine, and maybe even a small air conditioner. In reality, most vanlifers can get by with far less.
Start by making a list of everything you plan to power in your van. For me, it was pretty simple: LED lights, a phone charger, laptop charging, a small fan, and occasionally a portable coffee maker. I added up the wattage of each device and estimated how many hours per day I’d use them. This is called a power audit, and it’s the foundation of any good solar system design.
Most people find that their daily power needs fall between 30 and 80 amp-hours per day. If you’re living simply and mostly charging phones and laptops, you might only need 30-50Ah. If you’re running a refrigerator, using a 12V refrigerator, and working from your van with multiple devices, you might need 60-100Ah. Understanding your power consumption is also crucial when planning your overall vanlife budget breakdown. Knowing this number upfront will save you from overspending on a system that’s way bigger than you need.
The Essential Components of a Campervan Solar System
A campervan solar system has four main components: solar panels, a charge controller, batteries, and an inverter. Each piece plays a specific role, and they all need to work together seamlessly. When I was building my system, I treated each component as a separate purchase decision, but in hindsight, I should have thought of them as one integrated system.
Solar panels capture energy from the sun and convert it into electricity. For campervans, most people use rigid monocrystalline panels because they’re efficient and durable. Flexible panels exist, but they’re generally less efficient and more prone to damage. I went with two 100-watt rigid panels, and that’s been perfect for my needs. Some vanlifers install up to 400-600 watts if they have higher power needs or spend a lot of time in cloudy conditions.

The charge controller sits between your solar panels and your batteries, regulating the flow of electricity to prevent overcharging. MPPT (Maximum Power Point Tracking) controllers are more efficient than PWM controllers, especially in colder temperatures or when panels are partially shaded. I chose a 30-amp MPPT controller, which gives me some room to expand my system later if I want to add more panels.
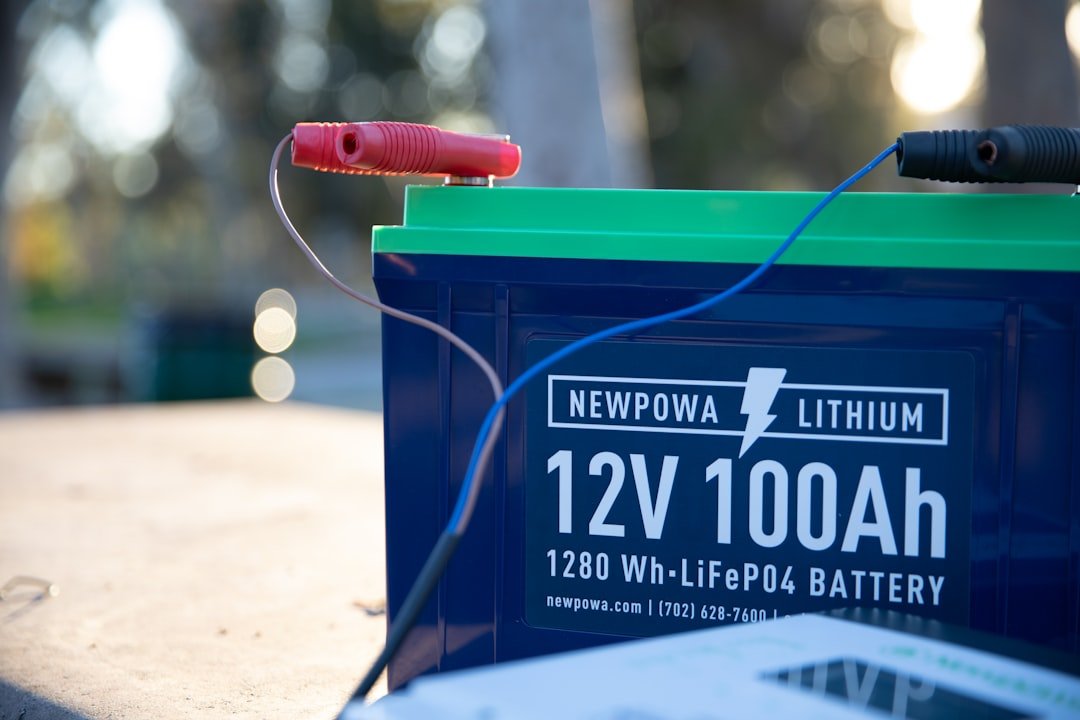
Batteries store the energy your solar panels collect. Lithium iron phosphate (LiFePO4) batteries are the gold standard for vanlife now—they’re lighter, charge faster, and last longer than traditional lead-acid batteries. I started with a single 100Ah lithium battery, which was enough for my minimal needs. After a year, I added a second one for a total of 200Ah, and that’s given me plenty of capacity even when I’m using my 12V air compressor or other power-hungry devices.
Finally, the inverter converts your stored 12V DC power into 120V AC power that you can use for household devices. Not everyone needs an inverter—if you only use 12V devices and USB chargers, you can skip it. But I wanted to be able to charge my laptop and occasionally use small household appliances, so I installed a 1000-watt pure sine wave inverter. Pure sine wave is important for sensitive electronics like computers—modified sine wave inverters are cheaper but can damage some devices.
Sizing Your Solar System: The Goldilocks Approach
Here’s what I wish someone had told me before I bought my first solar panel: bigger isn’t always better. I spent weeks obsessing over whether to install 400 watts of solar or “just” 200 watts. What I learned is that the right size depends entirely on your power needs and budget.
A good rule of thumb is to install about 100 amp-hours of battery storage for every 200 watts of solar panels. This gives you a balanced system where your panels can reasonably recharge your batteries on an average sunny day. If you install massive panels but tiny batteries, you’ll waste potential energy. If you install huge batteries but minimal panels, you’ll never fully recharge them.
For most vanlifers, a 200-watt system with 100-200Ah of lithium battery storage is the sweet spot. This setup will easily handle lights, phone charging, laptop charging, fans, and even a small fridge. If you know you’ll be working from your van with multiple monitors, running a 12V air conditioner, or traveling frequently in cloudy climates, consider stepping up to 400 watts of solar and 300-400Ah of battery storage. A robust solar system is especially valuable if you plan on extended boondocking adventures where hookups aren’t available.
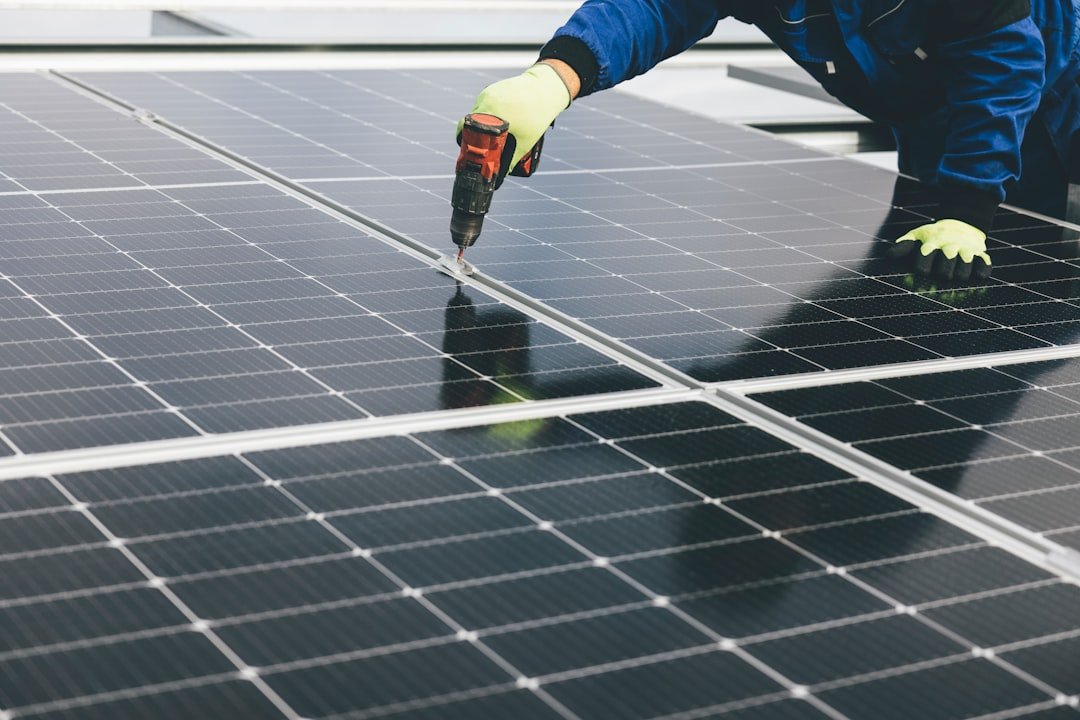
Mounting Your Solar Panels: Roof vs. Portable

When it comes to mounting your panels, you have two main options: permanently mounting them to your roof or using portable panels that you can set up when you park. I chose roof-mounted panels because I wanted a set-it-and-forget-it system that would passively charge my batteries while I drove or parked. Roof mounting also means I don’t have to worry about theft or setting up panels every time I stop for the night.
For roof mounting, you’ll need to decide between drilling holes into your roof (which creates potential leak points) or using adhesive mounts like VHB tape or specialized mounting brackets. I used specialized roof rack mounts that clamp to my existing roof rack, which meant no drilling and no worries about water leaks. If you do need to drill, make sure to use proper marine-grade sealant and install your panels on raised brackets to allow for airflow and water drainage.
Portable solar panels have their advantages too. They’re great if you don’t want to drill holes in your roof, if you frequently park in shaded areas and need to chase the sun, or if you want the flexibility to angle your panels directly at the sun for maximum efficiency. Some vanlifers use a combination approach—a small fixed panel on the roof for passive charging plus a portable panel for when they need extra power.
Wiring and Installation: Safety First
This is where a lot of DIY van builders get nervous, and honestly, I was too. But after working through my own installation, I’ve learned that solar wiring is straightforward if you follow basic safety protocols. The key is to use the right gauge wire for your current, install appropriate fuses and breakers, and make sure all connections are clean and tight.
Your solar panels will wire into your charge controller, which then wires to your batteries. The wire size matters here—too small and you’ll have voltage drop and potential fire hazards, too large and you’re wasting money on expensive copper. For a typical 200-400 watt system at 12 volts, you’ll generally want 10-gauge wire from your panels to your charge controller, and 4-gauge or 2-gauge wire from your charge controller to your battery bank depending on your maximum current.
You’ll need to install fuses or circuit breakers on both the positive wire coming from your solar panels and the positive wire going to your batteries. These safety devices protect your system from short circuits and overcurrent situations. I also installed a battery disconnect switch so I can completely isolate my solar system when I’m working on it or when I park my van for extended periods.
Monitoring Your System: Keeping Track of Power

One of the most valuable additions I made to my solar setup was a battery monitor. Before I had one, I was basically guessing how much power I had left and whether my solar panels were actually charging my batteries effectively. A good monitor shows you your battery state of charge in percentage, how many amps are flowing in or out, and how many amp-hours you’ve used in a day.
I installed a simple battery monitor with a shunt, which connects to the negative terminal of my battery bank. It’s been eye-opening to see exactly how much power different devices use. For example, I discovered that my laptop charger draws way more power than I thought, while my LED lights use almost nothing. This information has helped me adjust my daily habits to maximize my solar charging.
Maintenance and Troubleshooting: Keeping Your System Running
The good news is that solar systems are generally low-maintenance. The main thing you need to do is keep your panels clean. Dust, pollen, and bird droppings can significantly reduce your panel efficiency. I make a habit of quickly wiping down my panels whenever I wash my van or notice they’re particularly dirty. A soft brush or cloth with plain water works fine—no harsh chemicals needed.
Every few months, I check all my wire connections to make sure nothing has come loose. Vibrations from driving can gradually loosen terminal screws and cable lugs over time. I also inspect my panels for any cracks or damage, especially after driving on rough roads. So far, I haven’t had any issues, but catching problems early is key.
If your system isn’t performing as well as it should, start by checking the obvious: are your panels clean and oriented toward the sun? Are all your connections tight? Is your charge controller display showing that it’s receiving power from the panels? Most charge controllers have error codes that can help you diagnose problems. Sometimes simply resetting your charge controller by disconnecting and reconnecting the battery can resolve weird glitches.
Living with Solar: Real-World Experience

After three years of living with solar power, I can honestly say it’s transformed my vanlife experience. I’ve spent weeks boondocking in the desert without ever needing to plug into shore power. My system quietly charges my batteries while I drive or while I’m parked during the day, and I wake up to full batteries almost every morning. The freedom to park anywhere without worrying about finding campgrounds with electrical hookups is incredible.
That said, solar does require some lifestyle adjustments. On cloudy days or in deep forest shade, my panels produce significantly less power. I’ve learned to be conscious of my power usage, running my LED lights conservatively and charging devices during the day when my panels are producing maximum power. In winter, when days are short and the sun is low in the sky, I sometimes need to drive more often to keep my batteries charged via my alternator.
These minor adjustments are absolutely worth the freedom that solar provides. I’ve woken up to sunrise in remote desert locations, parked by mountain streams for days at a time, and stayed at beach spots without any amenities—all thanks to having my own power plant on my roof. The initial investment and learning curve might seem intimidating, but the payoff is genuine independence.
Building Your System: Where to Start
If you’re feeling overwhelmed by all the options, start small. You can always expand your system later. Many vanlifers begin with a simple 100-watt panel and a single lithium battery, then add more panels and batteries as they figure out their actual power needs. I actually recommend this approach—it’s better to undersize initially and discover you need more than to oversize and waste thousands of dollars on capacity you’ll never use. But, if you want to go big, you can do what this guy did. He crammed 1280 watts of solar onto a non-extended van!
Before you start buying components, spend some time in your van (or a similar van) and really think about how you’ll use it. Are you mostly a weekend warrior who’ll always be near campgrounds? A 100-watt system might be plenty. Are you planning full-time vanlife with lots of off-grid time? You’ll likely want 300-400 watts and substantial battery storage. There’s no one-size-fits-all solution—the best solar system is the one that matches your specific lifestyle and budget.
Solar power has been one of the most rewarding upgrades I’ve made to my campervan. It’s given me the freedom to explore without boundaries, to park in beautiful places without facilities, and to live a more self-sufficient life on the road. The technology is only getting better and more affordable, making it easier than ever to build a reliable solar system. If you’re dreaming of off-grid adventures in your campervan, solar power is the key that makes those dreams possible.