Some of the best meals I have ever eaten involved a camp stove, two plastic bowls, and a parking spot at the edge of nowhere. But somewhere between the hundredth lap of eating off my knees and the time a bowl of chili ended up in my lap thanks to a passing truck, I admitted what van lifers eventually all admit: where you eat matters almost as much as what you eat. A campervan dinette changes the entire rhythm of life on the road. It gives you a place to sit across from someone you like, share actual food off actual plates, and watch the world do its thing outside the window while you do.
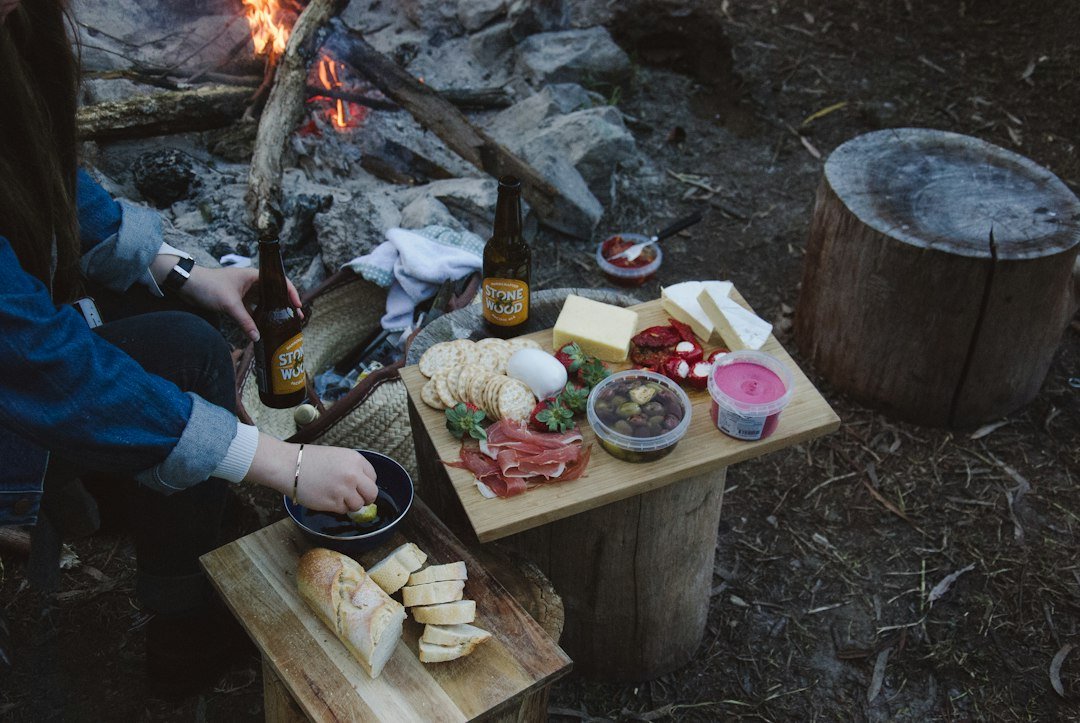
That is the quiet promise of a well-designed dinette. It is not just furniture. It is the dining room, the office, the card table, and the spot where morning coffee somehow takes ninety minutes because the view is too good to leave. After living with temporary tables long enough, I finally built a proper raised dinette into our Ram ProMaster, and the design decisions behind it apply to almost any camper van, whatever the floorplan.
Why a Dinette Beats a Fold-Up Table on the Road
Plenty of conversions skip a permanent eating spot. You get a removable table leg, a plywood top, and a prayer that nothing shifts on a gravel road. It works, technically, the way a barstool technically works as a chair. The moment you commit to fixed benches that face each other, everything about mealtime calms down.
You gain stability first. Benches anchored to the van’s structure do not slide, tip, or require a balancing act every time the wind picks up. You gain routine second, which sounds boring until you have spent a month eating hunched over a cooler. Humans are creatures of ritual, and sitting down across from another person at the same table every evening is a small piece of home you can carry to a trailhead, a beach, or a Cracker Barrel parking lot.
There is a social piece too. Face-to-face seating turns dinner into an event instead of a refueling stop. Board games happen. Laptop work happens without becoming a posture experiment. On rainy nights, that table becomes the entire living room.
Start With the View, Then Work Backward
The best dinette design advice I can offer is counterintuitive: ignore the furniture at first and study the windows. The whole point of eating in a van is the scenery on the other side of the glass, so the seating position should be designed around sightlines. Sit in the empty van at seat height and look around. Where do your eyes naturally land? That is where your window needs to be, and if you are still early in your build, our guide to cutting window openings into a campervan covers how to get glass exactly where you want it.
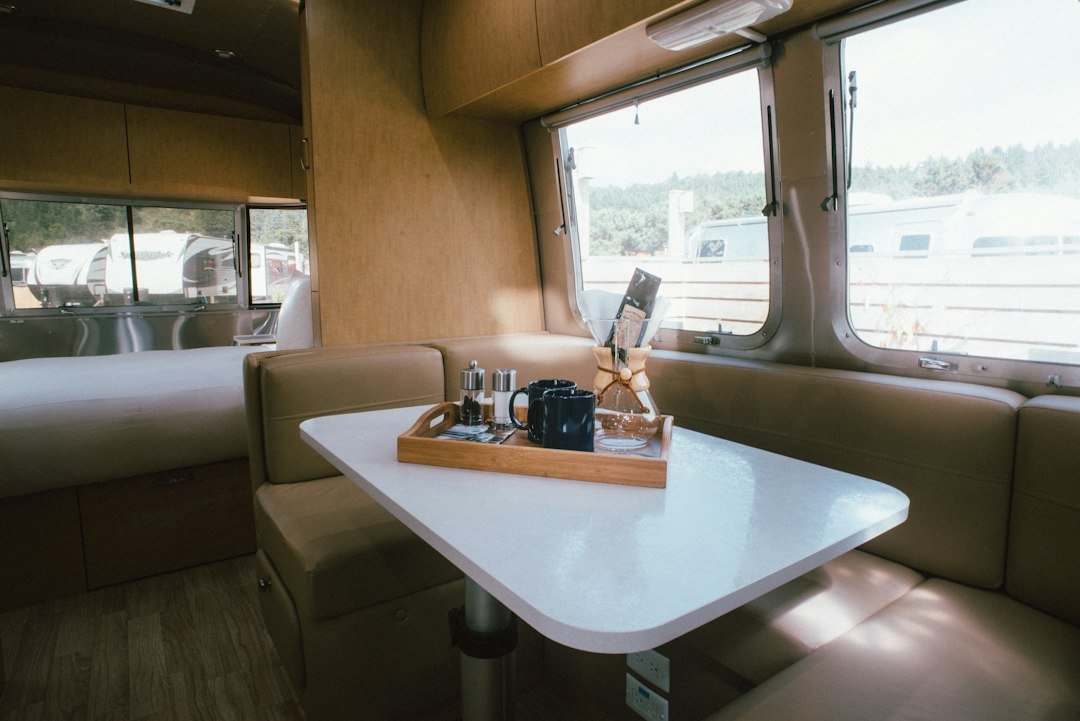
Then let the hard points draw the boundaries. Wheel wells, the fridge cavity, the wheel arches, and the sliding door swing all carve chunks out of the usable rectangle. Rather than fighting them, I treated every obstruction as an anchor. The dinette floor platform on our ProMaster stops short of the wheel well, with supports set slightly in from the corners, which turns out to be plenty strong. Working around obstacles instead of through them saves hours of frustration and a surprising amount of aluminum.
Why 80/20 Aluminum Framing Makes Sense in a Van
Once the footprint was settled, the frame material decision made itself. T-slot extruded aluminum, the stuff sold under the 80/20 brand name, has three qualities that van builders care about: it is light, it is strong, and it bolts together instead of welding together. That last point matters more than people expect. Not everyone owns a welder, and not everyone wants one spitting sparks inside a brand-new van interior with insulation and wiring nearby.
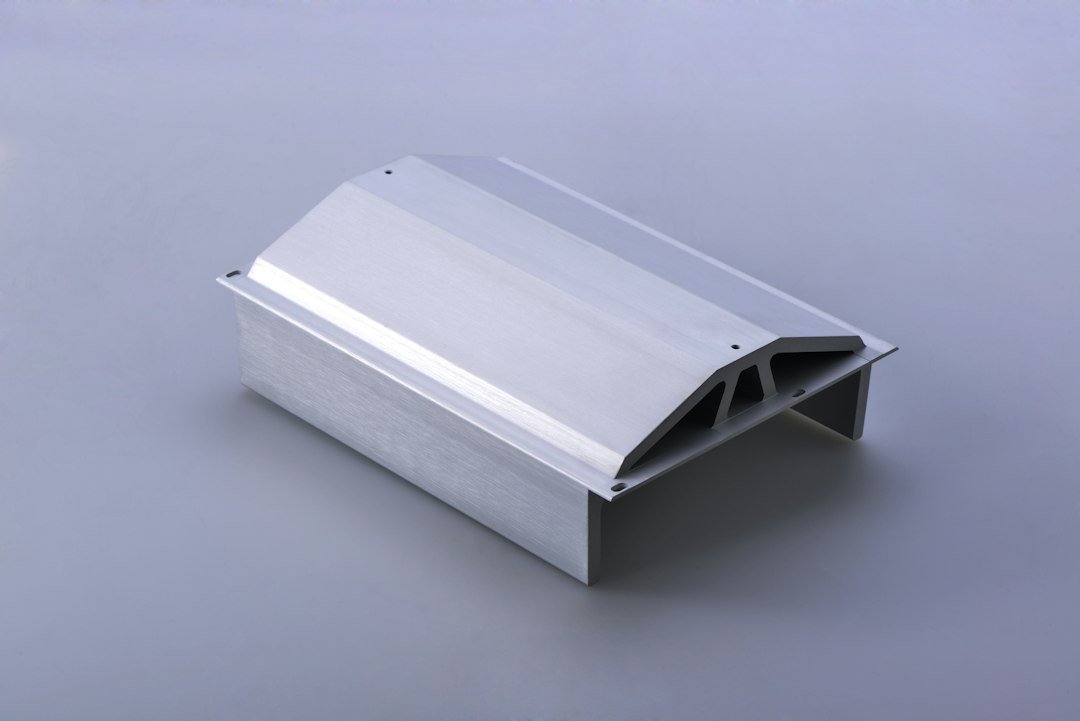
The T-slot system is basically industrial LEGO. You cut lengths of Series 10 extruded aluminum stock with a miter saw, square up the pieces, and join them with hardware that slides into the channels. Because the slots run the full length of every piece, nothing has to be drilled perfectly on the first try. Bolt placements can slide a quarter inch in either direction, which forgives the measurement mistakes that every first-time builder makes at least once. When I changed my mind about seat width mid-build, I loosened four bolts and moved a crossbar instead of cutting new steel. Try that with a welded frame.
For joints where you do not want visible hardware, elastic connector anchors drop into the ends of the extrusion and pull the pieces tight from inside the slot, leaving a clean outside face. Between those and standard brackets, an entire dinette skeleton can go together with a drill, a saw, and patience.
Joinery Details That Keep a Frame Rock Solid
A bare T-slot frame bolted only through the slots can still wrack, which is the fancy engineering word for leaning like a tired sailor. The fix is corner reinforcement. External corner brackets for 8020 extrusion triangulate the joints, and internal L-brackets hide inside the slot for a cleaner look. I used both, plus a six-inch 45-degree corner piece at the seat base, and what started as a slightly wobbly bench turned into something you could dance on.
One small lesson from the build worth passing along: when two tapped access holes end up near each other, a half-inch screw is the friend you did not know you needed. A standard three-quarter-inch screw head will cover the neighboring access hole and block the next bolt from reaching its driver. It is the kind of detail that costs you twenty minutes once and never again, provided you have a socket set handy.
Tapping the extrusion ends is the other skill that pays dividends. A tap-and-die set lets you thread the center bore of the stock so screws can pull joints straight into the frame from the end, which is stronger than side clamping and looks cleaner too. A cordless drill and driver combo handles everything else, from driving self-tappers into the van floor to spinning down the hundreds of small bolts a project like this consumes.
Dimensions That Actually Fit Traveling Adults
Dinette plans copied from RV brochures tend to be sized for people who do not exist. After sitting in enough mockups to embarrass myself at the hardware store, I landed on numbers that feel right in a high-roof ProMaster and should translate to most vans. The dinette floor sits about ten inches above the van floor, which creates meaningful storage below while keeping your feet comfortable on the platform. Seat depth runs fifteen to sixteen inches, enough for real support without eating the aisle. Seat backs around twelve inches tall hit the sweet spot between lumbar support and not boxing in the window view.
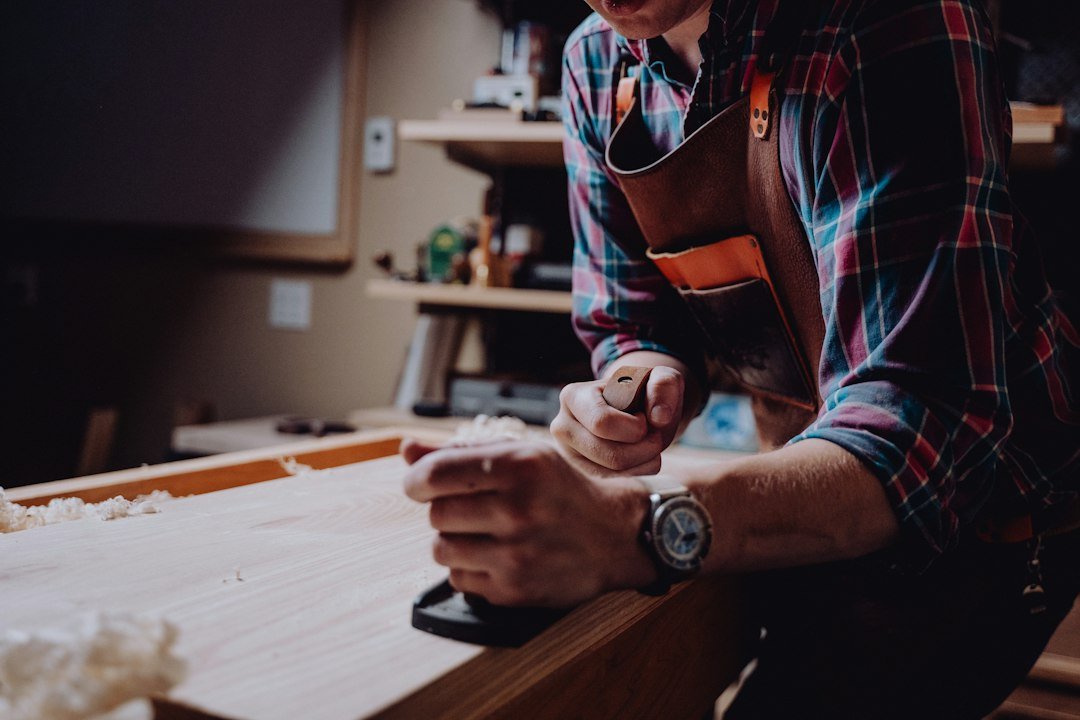
Table height is personal. Aim for roughly ten to twelve inches above the seat platform for eating, and mock it up with a moving box before you commit to anything permanent. Measure everything twice with a real tape, with the people who will actually sit there, wearing the puffy jackets they will actually wear. Cold-weather clothing adds an inch or two that graph paper does not account for.
The Dinette That Turns Into a Bed at Night
In a small van, every piece of furniture should earn its floor space twice. Our dinette shares its footprint with an adjustable-height bed platform that sets down over the benches at night, which means the daytime dining room becomes the bedroom without moving a single cushion to the front seats. The trick is matching heights early: the dinette frame, the bed rails, and the table all need to agree on a common number, or the conversion becomes a nightly puzzle.
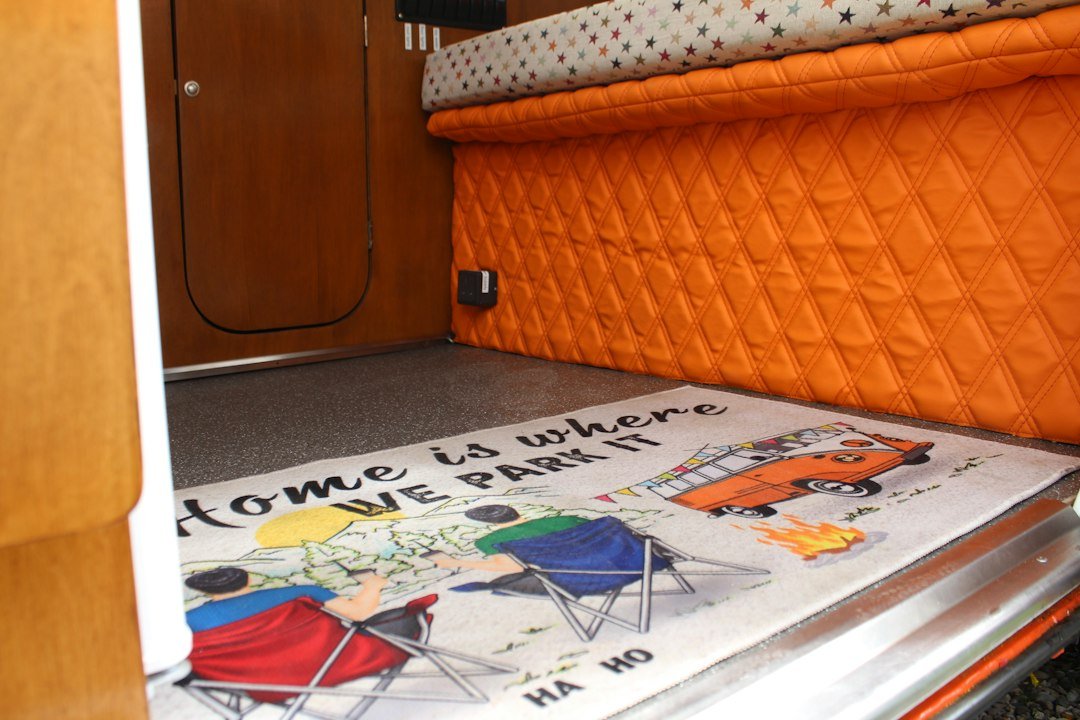
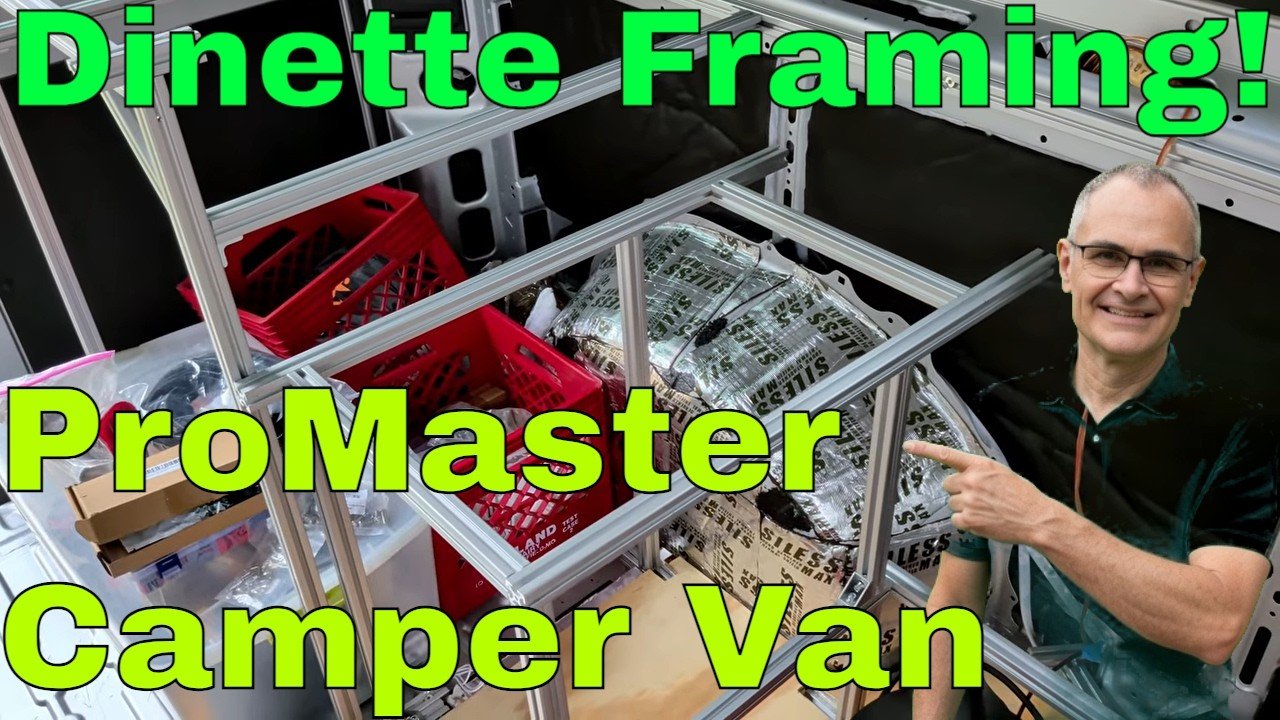
Structurally, this is where the aluminum framing quietly wins again. The bed posts locate over the T-slot frame, the table leg anchors into the structure, and the whole assembly carries real weight without complaint. I load-tested ours with more than the combined weight of two adults before trusting it, and the bench did not so much as creak. If you are designing a bed system from scratch, the lessons from our campervan bed build pair nicely with a dinette plan, since the two structures end up married anyway.
Storage Hiding Under the Seats
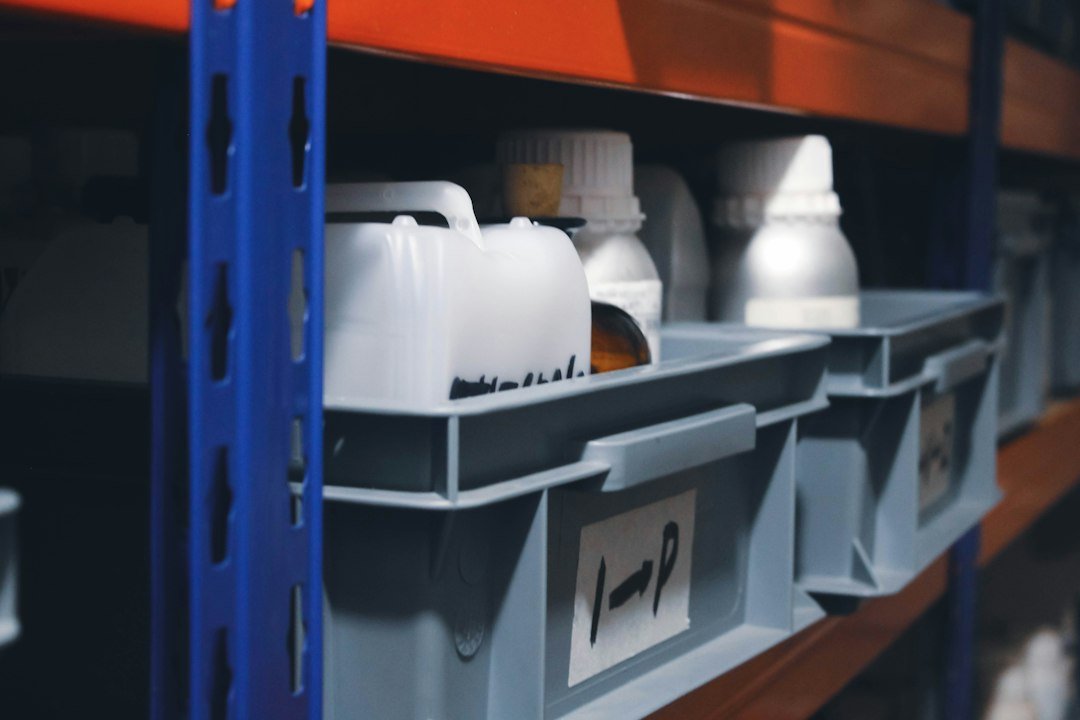
Raise a dinette floor ten inches and run benches over it, and you have created a small warehouse in the most valuable real estate in the van. Under-bench space swallows camp chairs, the outdoor stove, tool rolls, food bins, and the folding table that used to be your only table. Lidded access from the seat tops keeps day-to-day items reachable, while open fronts at the ends handle the bulky stuff.
Two upgrades made ours noticeably nicer to live with. First, aluminum U-channel trim on every plywood edge hides raw edges, protects fingers, and gives the whole interior a finished look that bare ply never manages. Second, real RV dinette cushions instead of folded blankets. Four inches of decent foam transforms a hard bench into something you genuinely want to sit on through a two-hour dinner and a rain delay.
Dinner With a View, Wherever You Park
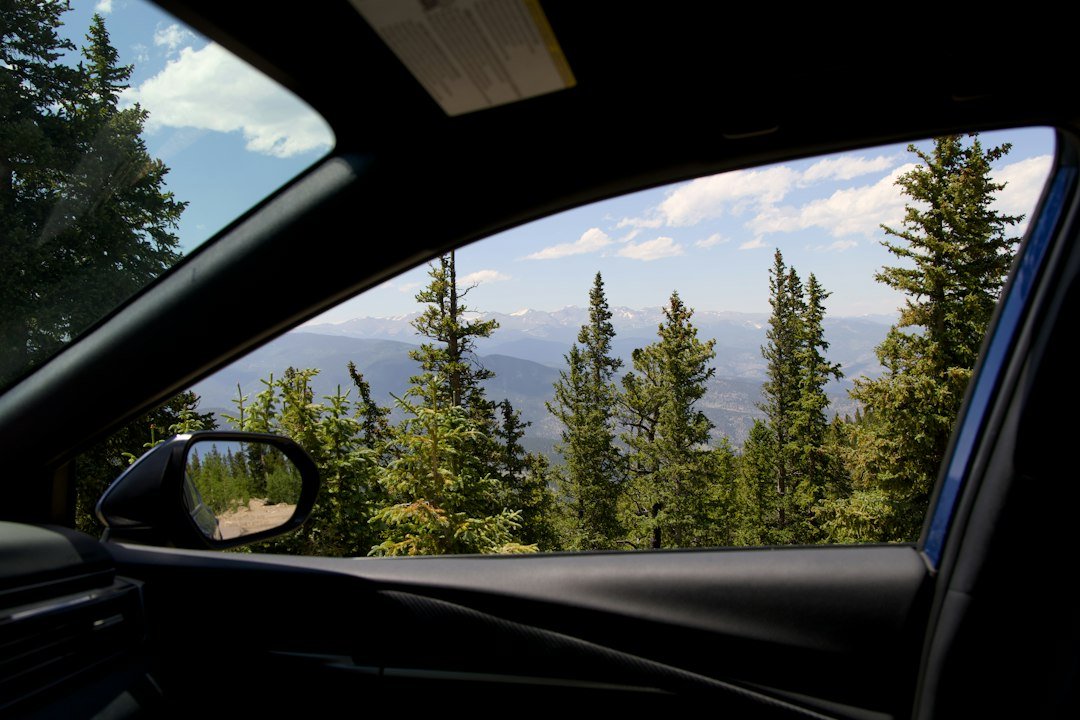
The payoff for all that measuring and bolting arrives on an ordinary evening. You park somewhere with no name, level the van, and cook something simple. Then you sit down across from each other at a real table, and the window frames mountains, water, or a sky doing something ridiculous with color. Mornings are just as good, coffee steaming while the fridge hums along on a battery system you can trust, and nobody is in a hurry to be anywhere.
If you are still in the planning stage, sketch your whole van floorplan first so the dinette, bed, and kitchen agree with each other instead of competing. Details like a durable countertop surface for the table matter more than they seem, since the tabletop takes more daily abuse than anything else in the build. And take photos of everything along the way. My build log lives on my phone, and if yours does too, the Pixel 11 Pro camera is more than good enough to capture the before, during, and that first dinner after.
A dinette will not make you cook better or travel farther. But it will make you want to linger, and lingering is half the reason to live in a van in the first place.
1 thought on “Designing a Campervan Dinette for Dinner With a View”