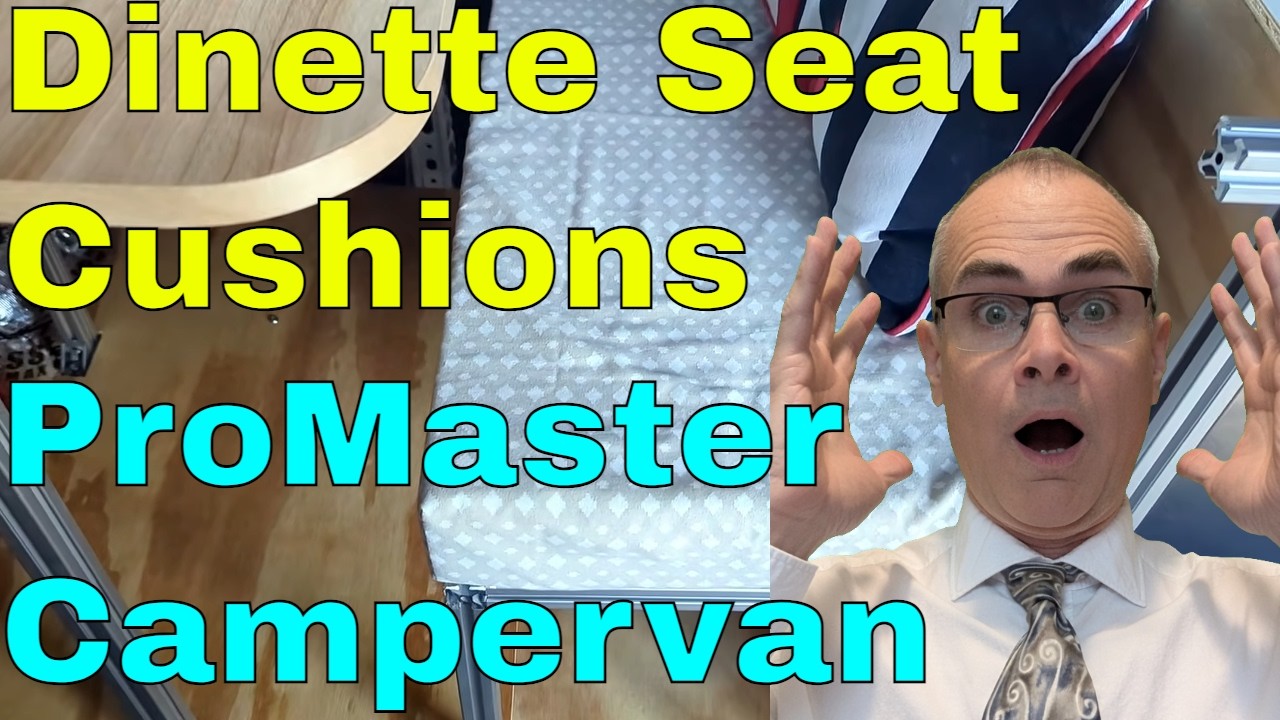
Every van build hits the same wall eventually. You have the floor, the walls, the wiring tucked neatly where it belongs — and then someone asks the question that quietly decides whether the whole rig works: where are you actually going to sit? For a shockingly long stretch of our ProMaster build, the honest answer was “wherever.” A cooler. A folded towel on the wheel well. The kind of camp chair that’s technically furniture and practically a dare. Some people are happy perching on rocks at the end of a trail. We took that as a personal challenge to do better.
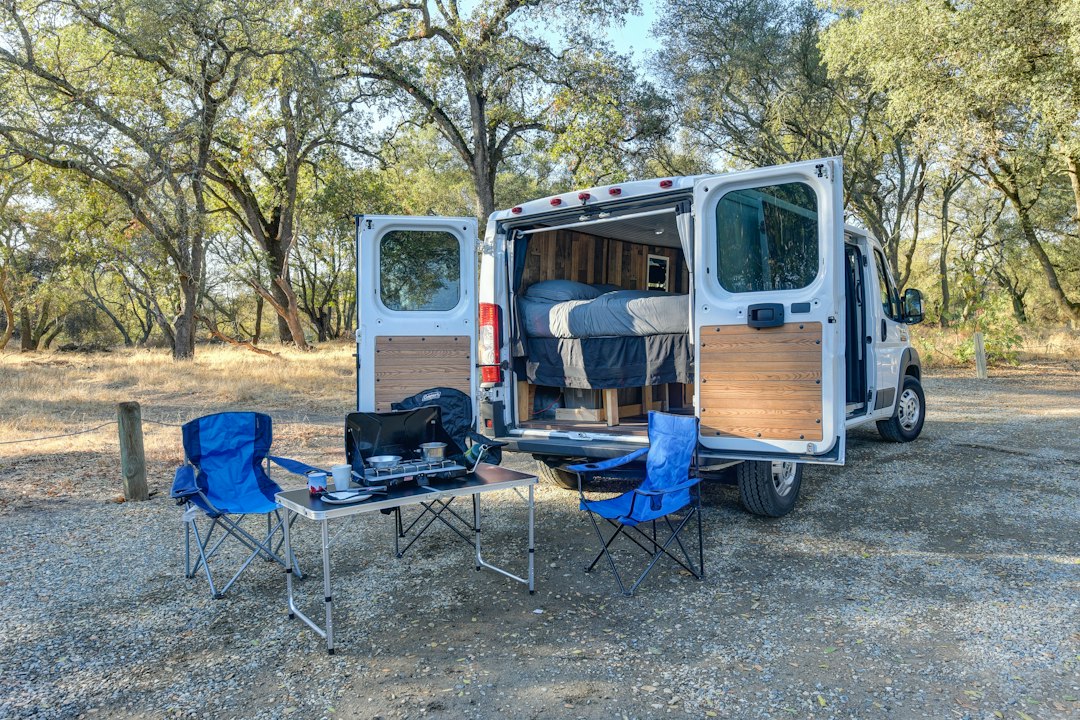
Good seating is the difference between a van you visit and a van you live in. It’s where morning coffee happens, where rain-day card games happen, where you end up reading for two hours because the light through the window is perfect and there is nowhere else you’d rather be. But getting there means thinking harder about foam, fabric, and airflow than most people ever expect to.
The Seat Problem Nobody Budgets For
Here’s the thing about building a dinette from scratch: nobody sells you the part that matters. You can buy the extruded aluminum for the frame and plot your layout down to the inch, the way we did when designing the dinette itself. You can build a table that earns its floor space three meals a day, like ours does now. Then you go looking for cushions and discover the entire home-furnishings industry has agreed on sizes that fit exactly nothing in your van.
Van dinettes are shallow. They’re oddly proportioned. The bench you built is 16 inches deep because that’s what the walkway allowed, and the closest store-bought cushion is 24 inches deep and shaped for a suburban breakfast nook. Buy it anyway and you lose your aisle. Cut it down and you’ve paid full price for a rectangle of frustration. The math only works one way: you make them yourself.
Before you cut anything, measure three times: bench depth, bench length, and — the one everyone forgets — finished height. The cushion’s thickness determines where your knees land relative to the tabletop, and a seat that’s two inches too tall turns every meal into an awkward reach across the table. Stack foam scraps to the intended height and actually sit on the mockup before committing. Five minutes of sitting saves a weekend of re-cutting, and it’s the cheapest prototyping you will ever do in a van build.
Let the Foam Do the Work
The secret nobody tells you is that the cushion is not really a cushion — it’s a foam sandwich, and you get to choose the layers. Our fillings came from a queen-size memory foam mattress we’d already modified once for the campervan bed build, which meant the offcuts were effectively free. If you’re starting from zero, a queen memory foam topper gets you the same material without buying a whole mattress.

Layering matters more than thickness. A firm base layer keeps you from bottoming out on the bench every time you sit down; a softer memory foam top gives you that sink-in moment at the end of a hiking day. Two cushions at roughly 29 by 16 inches each covered our benches, cut from the offcuts with a plan sketched on paper first — foam is unforgiving about second chances, and mistakes are expensive in a material you can’t un-cut.
Sizing to your own body is the part no catalog can do. Taller riders want more depth. If your travel partner hogs the backrest, more height. These are the adjustments that make a seat feel custom rather than improvised, and they cost nothing but attention at the layout stage.
Glue, Weights, and Patience
Gluing foam layers together is simple in principle and messy in practice. The tool for the job is spray adhesive — the same can that bonded the Thinsulate in our insulated window shades. Light, even coats on both faces, a short wait for the tack to come up, then press the layers together and walk away. Weight matters: we stacked dumbbells on the cushions while the adhesive cured, because foam has a personality and it will try to peel itself apart if you let it.
Shaping comes next. Sharp corners on seat foam feel exactly as bad as they sound under your knees, so the edges get rounded — a few patient passes rather than one aggressive gouge. If you own an electric carving knife, it is genuinely the best foam-cutting tool in existence, slicing memory foam like bread. Failing that, patience and a fresh blade get you there. The wooden bench tops underneath are a different animal: cut with a compact circular saw or, for the awkward notches, an oscillating multi-tool that gets into places full-size saws simply can’t.
Build the Bench, Not Just the Cushion
The cushion gets the glory, but the bench underneath determines whether the seat works. Ours were built as removable lids over storage — because in a van, every cubic inch under a seat is prime real estate for tools, dry goods, and the camp chairs you’ll still use outside. Corner blocks keep the tops from shifting when the van corners hard, and a simple finger hole cut into the underside makes lifting them off a one-hand job instead of a fingernail-breaking chore.
One detail we learned the hard way: ventilation holes in the bench underside. Skip them and the cushion traps air underneath, and sitting down produces a sound that will entertain your travel partner for the rest of the trip. A few holes drilled through let the air escape quietly and also let the storage below breathe — small thing, big difference in dignity.
Covers That Survive the Road
Van life is hard on fabric. Dust from desert roads, splash from a rain run, the general gravitational pull of snacks. Whatever you sew the covers from needs to survive the washing machine, because it will be washed constantly — which is how we ended up making our own from cotton pillowcases instead of ordering upholstery.

There’s a trick to cutting pillowcases for fabric: mind the seams. Where the existing seam sits determines how your cover’s edges line up, and marking sewing lines before you cut saves the sad moment of discovering your slipcover is a quarter-inch short on one side. We built ours from inexpensive room-essentials cotton pillowcases — cheap, breathable, and already the right width for a 16-inch cushion. Wash and dry the fabric before you cut anything, unless you enjoy watching your first cover shrink to dollhouse size after its inaugural laundry cycle. Fabric clips hold everything in place better than pins through thick foam, and a basic sewing machine turns an evening into four finished covers. We did try a pre-made stretch slipcover first — wrong dimensions, straight back to the returns queue. Read the measurements twice; stretch fabric lies.
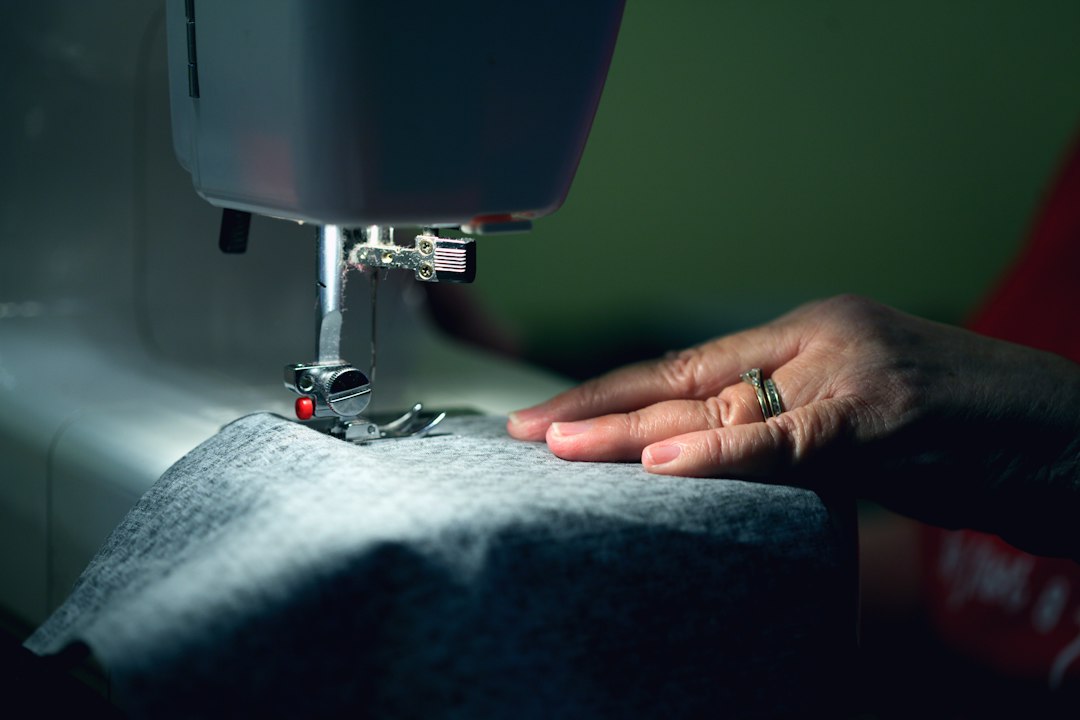
Attachment is the last puzzle. Safety pins worked as a temporary fix, but the fabric shifted and bunched. The upgrade path is Velcro strips along the underside or elastic casings, either of which holds the cover taut and still peels off for laundry day. Taut is the whole game: a loose cover looks improvised no matter how good the foam underneath is.
Plan the seams for real life, too. Every edge that faces the aisle takes more abuse than the edge against the wall, so double-stitch the high-traffic sides and single-stitch where nobody’s jeans will ever rub. And whatever you do, leave yourself a way back in — a closure you can open with one hand while holding the cushion in the other. Van maintenance is a two-handed sport, and you only have two hands.
The Sit Test: What the Van Taught Us
First installation in the van is always a lesson, and ours came with two. One, the fabric needed reinforcement to pull properly taut — worth fixing before you sew the second cover, not after. Two, one cushion went in backwards relative to its support blocks, and the square corner pieces had to be repositioned to match. Nobody notices these things at the workbench. Everybody notices them at dinner.
Backrests finished the transformation. A pair of rectangular down-filled pillows against the wall turned a bench into an actual place to lean, and an anchor-print throw pillow added the final bit of nautical stubbornness the space apparently needed. Suddenly the dinette wasn’t where we stored ourselves between activities — it was where we wanted to be while the rain did its thing outside.
The full walk-through — foam lamination, the sewing, the fits and restarts — is worth watching if you’re planning your own build. Seeing the layers go together answers questions that paragraphs can’t.
From Makeshift to Homey
The current covers are cotton, which was the pragmatic choice, not the final one. The long-term plan is dark blue velvet upholstery — because at some point a van stops being a project and starts being a home, and homes get to have opinions about fabric. That evolution is the quiet argument for building your own seats in the first place: everything is upgradeable. The foam stays, the benches stay, and the covers can change with your taste, your wear patterns, and whatever the road has taught you lately.
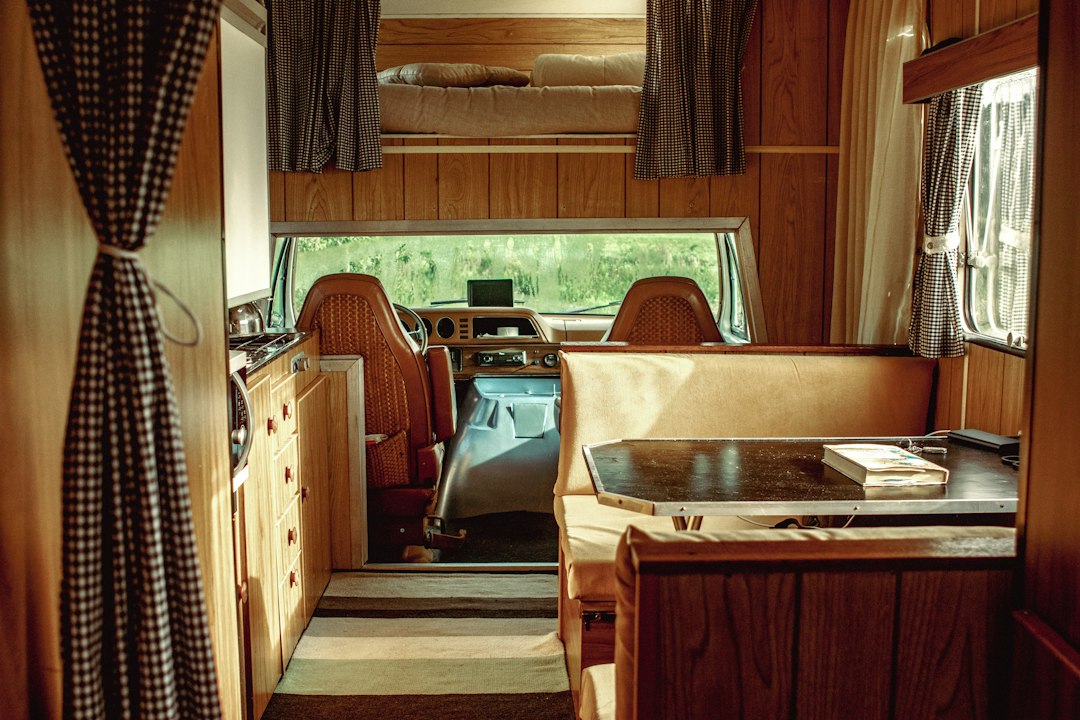
If you’re mid-build and sitting on a cooler right now, take this as permission to prioritize the boring comfort stuff. Document it, too — every step of ours was filmed on a phone balanced on whatever was nearby, and the Pixel 11 Pro does that job better than the old one ever did. Comfort isn’t the reward you get after the van is finished. It’s the reason to finish it — so the next time somebody offers you a rock, you can politely decline, walk into your own dinette, and sit down on something you built with your own hands.