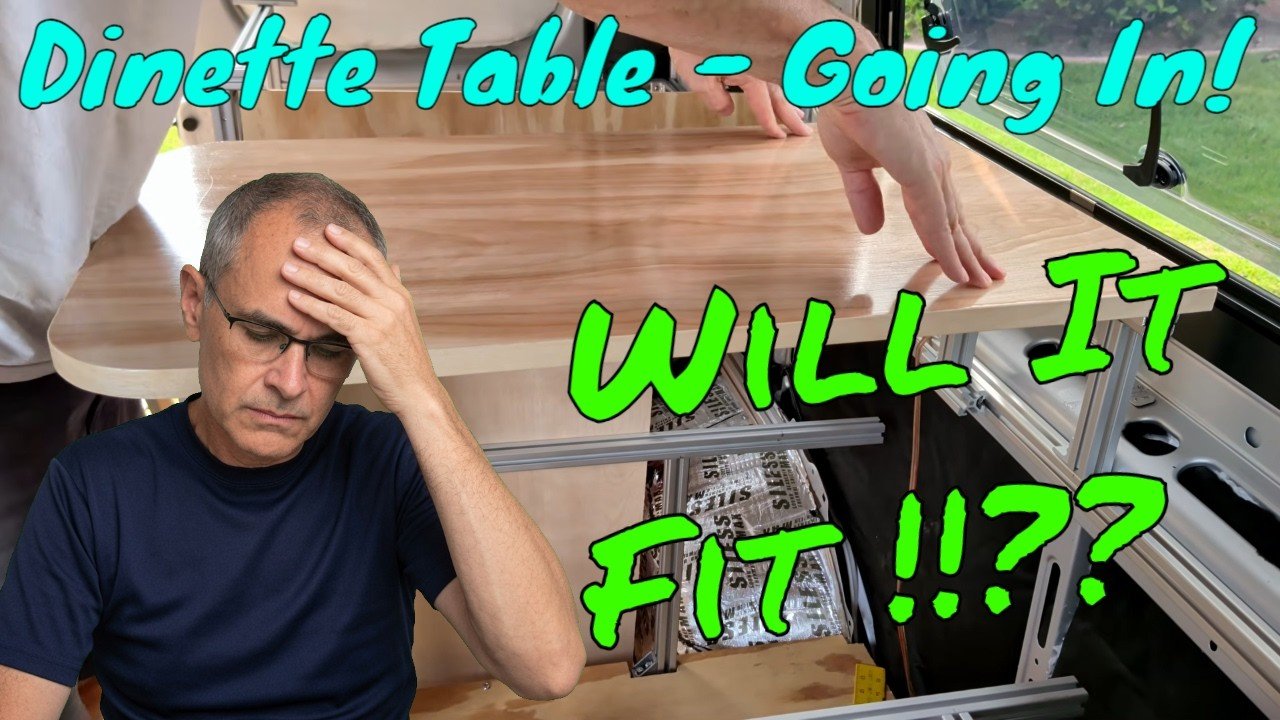
Every square inch inside a camper van has to earn its keep, and few things earn harder than the dinette table. In the morning it is a desk with a sunrise outside the window. At lunch it is a prep station for sandwiches assembled between trailheads. By evening it is the place where two people argue contentedly over a shared plate of pasta while the light goes gold across whatever landscape the day delivered. The bed gets all the romantic attention in van build circles, but the table is the surface your hands actually touch a dozen times a day.
That reality shaped every decision when it came time to build the dinette table for our Ram ProMaster conversion. A table that only works as a table is a luxury a small van cannot afford. What we needed was a removable, multi-position top that locks into the extruded aluminum framing of the dinette, shares its mounting points with the bed platform, and still looks like a piece of furniture rather than a slab of industrial hardware.
Why One Surface Has to Do Everything
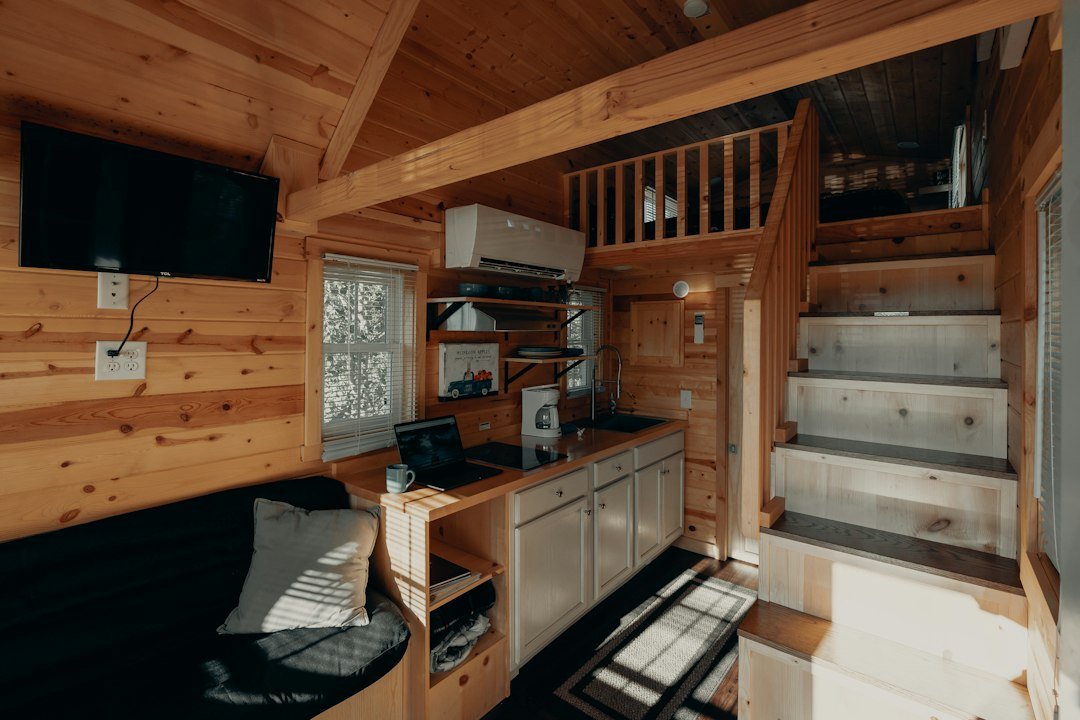
Fixed furniture is the enemy of a livable van. The math is brutal: a ProMaster cargo area gives you roughly twelve feet of length and six feet of width, and inside that box must fit sleeping, cooking, storage, a bathroom strategy, and the gear that makes travel fun rather than survival. When we laid out our floorplan, the dinette table ended up with three jobs before it ever held a plate. It is the dining surface, obviously, but it is also the work-from-anywhere desk, and its rails double as structural support points for the sleeping platform at night.
Designing a table for that kind of double duty changes the whole build. It cannot be glued, screwed, and forgotten like a kitchen counter. It has to come out, go back in, and hold position without rattling down a washboard road. The good news is that the solution is well within reach of anyone comfortable with a drill and a saw.
Choosing the Wood That Can Take the Road
The top itself is three-quarter-inch birch plywood, and that thickness is not negotiable in a van. Thinner stock saves weight, but it also flexes every time someone leans on the far edge, and flex works hardware loose over thousands of miles. Birch ply hits the sweet spot: stiff enough to span the supports without sagging, light enough to lift out one-handed when the space needs to convert, and pretty enough that a few coats of finish make it look intentional rather than improvised.
Plywood also behaves better than solid board across humidity swings. A van is a climate zone with wheels, desert-dry one week and swamp-damp the next, and solid wood will cup and warp in response. A good plywood core shrugs off most of that movement. The one weakness is the exposed edges, where the layered core soaks up moisture like a straw, which brings us to the parts of the build nobody photographs.

Rounded Corners Are Comfort Engineering
Sharp corners on a dinette table are a tax you pay in bruises. You will slide past this table a hundred times a week, often in socks on an uneven floor, sometimes in the dark. So the front corners of the top got a generous radius, traced around a mixing bowl straight onto the wood. No compass, no math, no trip to the hardware store. A round mixing bowl is the most underrated layout tool in small-space furniture.
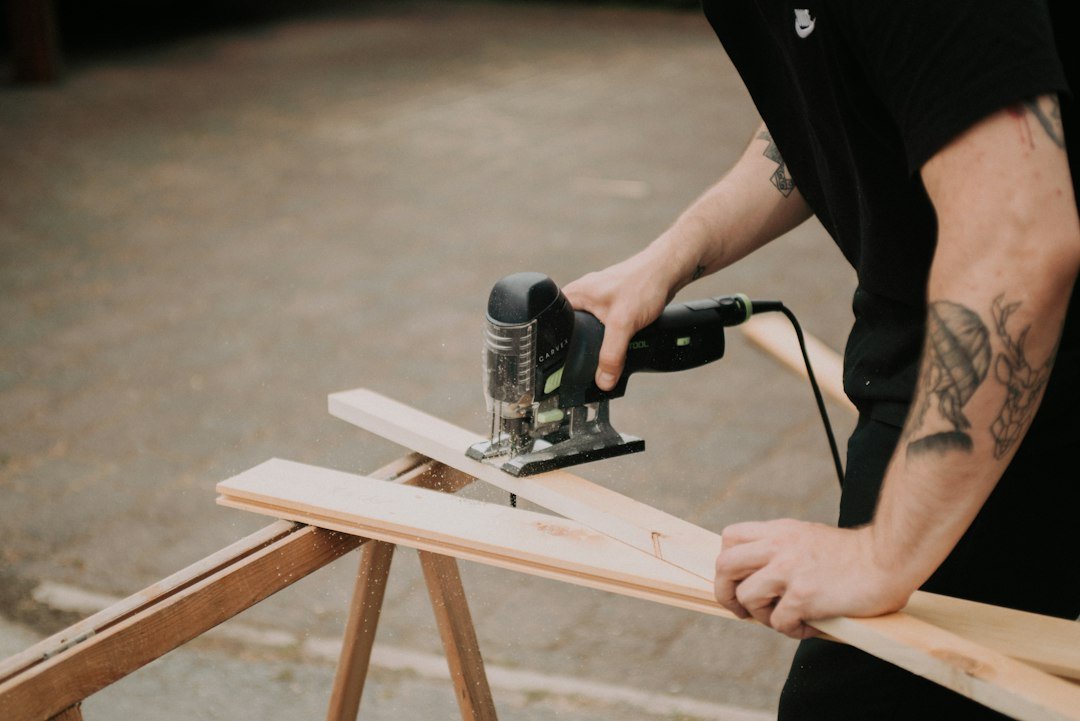
Before cutting, the whole area got covered with painter’s tape. Run the pencil line over the tape rather than the bare wood and the cut comes out cleaner, because the tape keeps the thin face veneer from chipping along the saw kerf. The actual cutting is jigsaw work: a steady hand, a fine blade, and a cordless jigsaw that lets you follow a curve without fighting a cord. Keep a proper assortment of jigsaw blades on hand, because a coarse blade will tear birch veneer no matter how much tape you lay down.
Edge Banding With a Clothes Iron
Here is the part that surprises people: the cleanest way to dress plywood edges in a home shop involves laundry equipment. Iron-on birch edge banding comes pre-glued, and a plain household clothes iron set to its hottest cotton setting melts that adhesive in seconds. Work along the edge with steady pressure, let it cool, and the banding bonds tight enough to survive being grabbed, banged, and wiped down for years.
After the glue sets, a rolling pin or the knurled end of a dumbbell presses the banding fully home, and a dedicated edge banding trimmer slices the overhang flush. One honest confession from the shop: we had three-quarter-inch banding left over from another project and used it on a thinner edge rather than buying a new roll. It worked fine once trimmed, but buying the width that matches your plywood thickness saves fussy cleanup. Banding matters more in a van than in a house, because every raw plywood edge in a humid climate eventually delaminates, and a delaminating edge catches sleeves and sheds splinters.
A Finish Built for Spilled Coffee
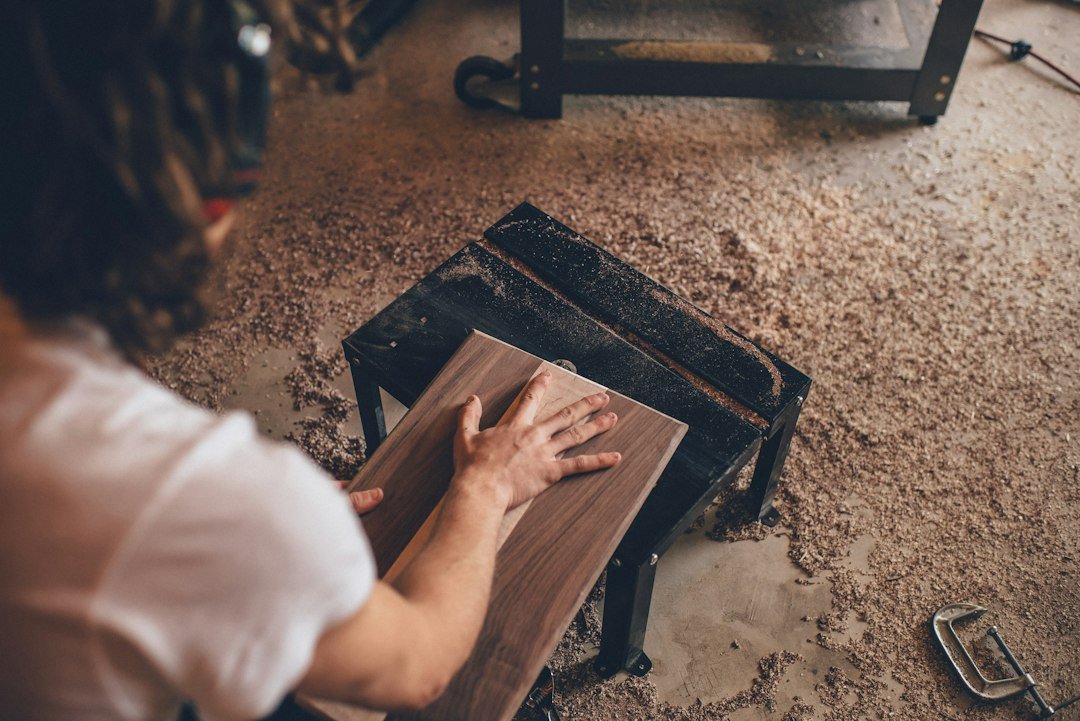
Bare wood is a mistake in a vehicle. Coffee cups leave rings, camp dust grinds into the grain, and one spilled bowl of chili becomes a permanent stain map of that night in Moab. Several coats of wipe-on polyurethane, lightly sanded between coats, seal the top and both faces of the plywood. The finish also rounds out the story the wood tells: satin sheen, visible grain, nothing that looks like plastic.
Do the finishing before final installation, not after. It is far easier to coat a tabletop on sawhorses with good ventilation than to lie sideways in a van breathing solvent for an afternoon. Patience here pays off every single morning when the coffee inevitably misses the cup.
The Mounting System Does the Heavy Lifting
The wood is the pretty part, but the mounting system is the part that actually makes van life work. Our dinette is framed from series 10 extruded aluminum, the slotted rails that let hardware bolt anywhere along their length, tied together with corner brackets. That framing was designed first, and the table inherited its connection points rather than fighting them.
The top rests on three support points along the rails, and one of those points is shared with the bed platform, which means the table literally helps hold the bed at night. The supports are oriented in opposing directions, so the table drops in and locks against sliding front-to-back and side-to-side simultaneously. Nothing wobbles, nothing rattles, and the whole top lifts out when the space needs to change character. A strip of aluminum U-channel along an edge is the next refinement, capping the finish and giving the top a hard point that never wears out.
Watching the whole sequence come together, from plywood sheet to drop-in top, is the fastest way to see how the pieces interact. The trimmed edges, the radius corners, and the rail-mounted supports each solve one specific problem, and the table only works because they stack.
What the First Dry Fit Taught Me
No build survives first contact with the van intact. The initial test fit of the table revealed a little front-to-back play and a whisper of sag toward one edge, which is the furniture equivalent of a door that almost latches. Diagnosis took longer than the cure: the screw heads on the support blocks were not seating fully into the aluminum channel, leaving the blocks riding a few thousandths of an inch proud.
The fix is unglamorous. Clean the channels out completely, pre-drill everything with a reliable drill and sharp bits, and use particle board screws sized so the heads pull flush instead of standing proud. Small end stops inside the channel are on the list for the next shop day to kill the last bit of play. This is the real rhythm of van building: measure, install, test, adjust, and accept that version one teaches you what version two needs.
The Case for a Table That Moves
After a few trips with a removable top, fixed dinette tables start to look like a design failure. Ours comes out for hauling, shifts position for movie night, and goes back in for breakfast. When the weather turns, the desk setup migrates from the front of the van to wherever the light is best. A friend once asked what we do about an office while traveling, and the honest answer is that the dinette table plus a window is a better office than most of the ones either of us has rented.
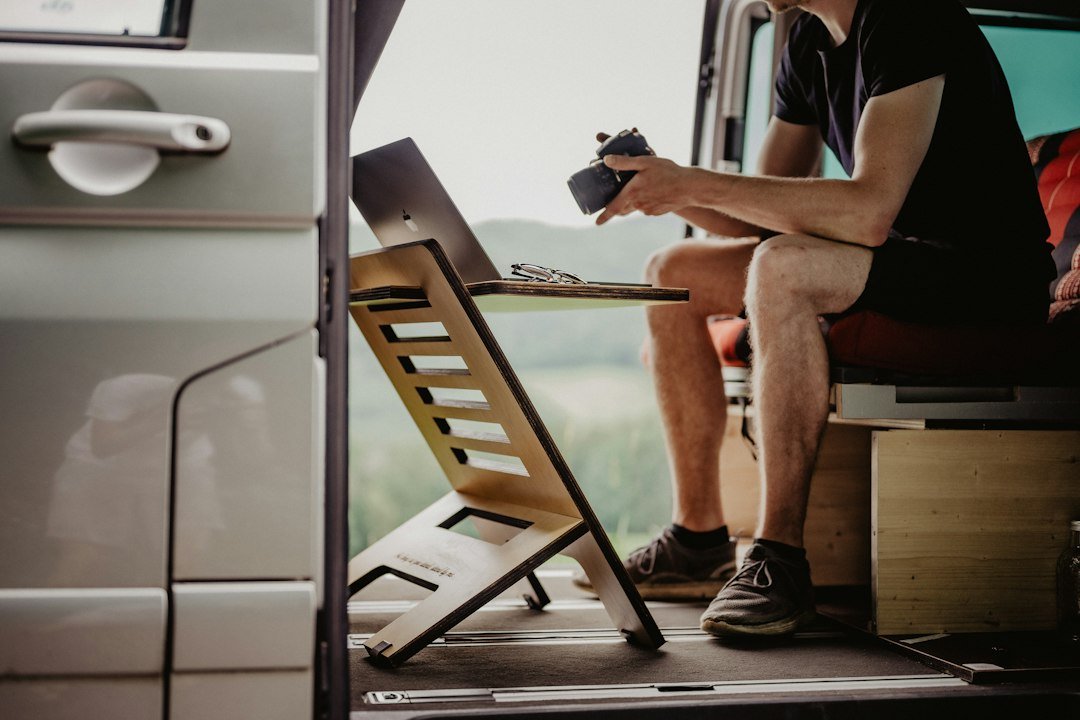
The table earns its keep at dinner most of all. There is a specific pleasure in a real plate on a real surface, inside a warm box you built yourself, while the day’s last color drains off the landscape. Paper plates on your lap get old by day three. A stable table with a view never does.

Sizing a Table to Real Travel Days
If you are planning your own version, let the seats set the height, not the other way around. A dinette table that sits an inch too high becomes a chin-level hazard; an inch too low and every meal involves hunching. Ours lines up with the seat risers so knee clearance, foot room, and tabletop height all resolve together, with just enough gap beneath the seats to slide in boots and the bag of things that has no other home.
Think hard about depth, too. A top deep enough for two place settings plus a stove-adjacent prep zone is lovely until it pinches the aisle. Our compromise, shaped by the floorplan we sketched long before cutting wood, keeps dinner comfortable without making everyone side-saddle their own bench. The best table is the one you stop noticing, because it is always exactly where your hands expect it to be.

Build it stiff, band the edges, round the corners, and mount it so it can leave when it needs to. Then pour the coffee, open the laptop or the soup pot, and let the surface do the rest of the work.