There’s nothing quite like waking up in your campervan to find condensation dripping from the ceiling or freezing temperatures that make getting out of sleeping bag feel like a polar expedition. After twenty-five years of travel across North America, I’ve learned that temperature control isn’t just about comfort—it’s about extending your travel season and staying safe in extreme conditions. Whether you’re chasing perfect spring wildflowers or seeking solitude in winter landscapes, proper campervan insulation transforms your vehicle from a metal box into a year-round adventure machine.
The difference between a poorly insulated van and one that’s properly temperature-controlled is dramatic. I’ve spent winter nights shivering in uninsulated campers, watching my breath form clouds while temperatures outside plummeted. Those experiences taught me that insulation isn’t optional—it’s essential. Modern campervan insulation materials like Thinsulate SM600L have revolutionized how we think about vehicle comfort, offering incredible thermal performance in a thin, lightweight package that doesn’t eat up precious living space.
Why Campervan Temperature Control Matters
Temperature control goes far beyond simple comfort. When I converted my first campervan, I underestimated how much temperature fluctuations would impact every aspect of travel. Poor insulation leads to condensation problems that can cause mold, damage your belongings, and create unhealthy living conditions. I’ve seen fellow travelers deal with rust issues from moisture trapped in uninsulated walls—a problem that’s expensive to fix and can ruin a van conversion investment.
But the benefits extend beyond moisture control. Proper insulation means you can travel comfortably shoulder season—those magical weeks between peak and off-peak times when destinations are less crowded but weather can be unpredictable. I’ve spent glorious April weekends exploring national parks when temperatures dropped below freezing at night, yet stayed toasty warm thanks to quality insulation. Conversely, during summer desert trips, good insulation combined with ventilation fans keeps interiors bearable even when outside temperatures climb past 100°F.
The financial benefits are equally compelling. A well-insulated van requires less heating and cooling, which translates directly to extended boondocking capability. With good insulation, I’ve been able to stay comfortable in cold weather using minimal heating, conserving battery power that would otherwise drain quickly running electric heaters. For boondockers, every amp-hour saved is another day off-grid.
Understanding Campervan Insulation Materials
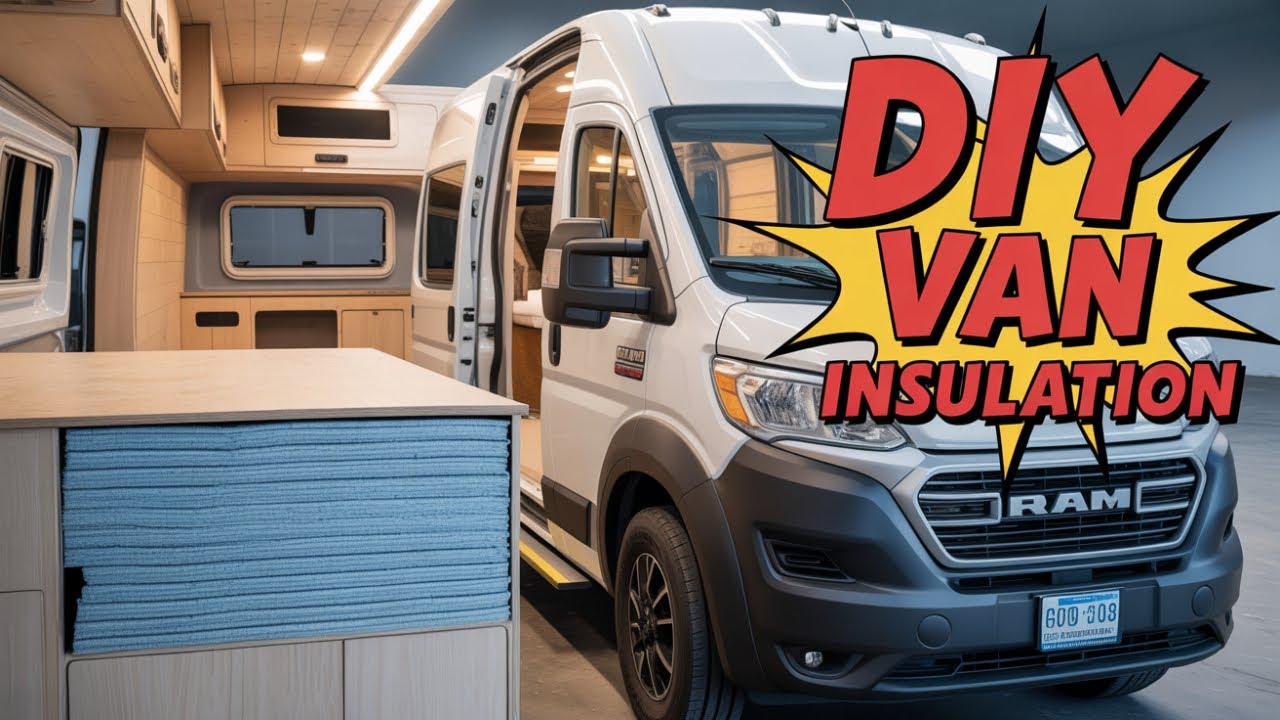
The insulation landscape has evolved dramatically since I started traveling. Early conversions used whatever materials were available—often leftover house insulation that wasn’t designed for the unique challenges of mobile living. Modern options like Thinsulate SM600L represent a complete rethinking of vehicle insulation. This synthetic material offers incredible thermal performance while being thin enough to fit in tight spaces without significantly reducing interior volume.
What makes Thinsulate particularly effective for campervans is its combination of properties. Unlike traditional fiberglass insulation, it doesn’t itch or irritate skin during installation. It’s hydrophobic, meaning it resists moisture absorption—a critical feature in vehicles where temperature fluctuations can cause condensation. Most importantly, it provides exceptional thermal performance in a remarkably thin profile, allowing you to insulate curved surfaces and tight corners that would be impossible with bulkier materials.
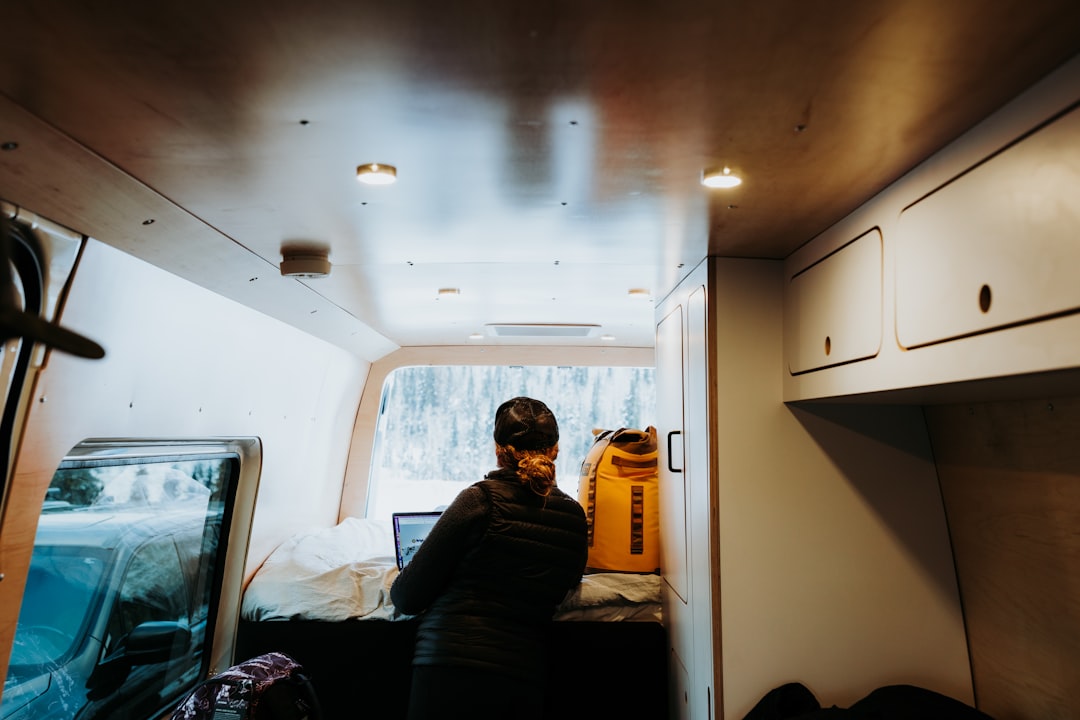
Proper insulation installation creates a comfortable living environment that extends your travel season significantly.
That said, Thinsulate isn’t the only option, and understanding the alternatives helps you make informed decisions for your specific conversion budget and climate needs. Reflective foil insulation works exceptionally well for reflecting radiant heat, making it popular in hot climates where keeping interiors cool is the primary concern. Foam board insulation offers excellent R-value per inch but can be challenging to install in irregular spaces. Spray foam provides superior coverage and air sealing but requires professional installation and can be messy.
Planning Your Insulation Strategy
The most effective insulation projects start with careful planning. I recommend mapping out your entire campervan interior before purchasing materials, identifying every cavity that will receive insulation. This includes obvious areas like walls and ceiling, but also often-overlooked spaces like wheel wells, floor sections, and around windows. When I insulated my current van, I discovered that the floor and wheel wells were major sources of heat loss—addressing these areas made a bigger difference than I expected.
Consider your travel climate carefully. If you’re primarily heading to warm destinations, prioritize ceiling insulation and reflective products that combat solar heat gain. For cold-weather camping, floor insulation becomes crucial because cold air settles and surfaces conduct heat away rapidly. I’ve found that a combination approach works best—using different insulation types in different areas based on specific thermal challenges.
Don’t forget about thermal bridging—those areas where metal directly connects exterior and interior surfaces, creating conductive paths for heat transfer. Common culprits include window frames, door frames, and structural ribs. Address these with thermal break materials or additional insulation layers to prevent unwanted heat transfer. When installing insulation around windows, leave space for proper window operation while still covering exposed metal surfaces.
Installation Techniques That Work
The key to successful insulation installation is thorough coverage without compressing the material. Insulation works by trapping air pockets—compressing it reduces effectiveness. When cutting pieces to fit, I always oversize slightly and use friction to hold pieces in place rather than stuffing them tightly into spaces. This approach maintains the material’s insulating properties while ensuring complete coverage.
For curved surfaces like van roofs, pre-formed insulation panels save hours of frustration. These molded pieces match the specific contours of popular van models, providing perfect coverage without requiring complex cutting and shaping. When working with flat insulation materials, create templates using cardboard before cutting your expensive insulation material. This technique prevents costly mistakes and ensures proper fit.
Adhesive choice matters more than most beginners realize. While many insulation products come with adhesive backing, I’ve found that supplementary spray adhesive designed specifically for foam and insulation provides superior long-term hold, especially in temperature extremes. 3M Super 77 spray adhesive has been my go-to choice for years—it bonds quickly, remains flexible, and withstands the temperature fluctuations that are inevitable in vehicle travel.
Beyond Insulation: Complete Temperature Management
Insulation is only one piece of the temperature control puzzle. Even the best-insulated campervan needs active heating and cooling systems for extreme conditions. For heating, I’ve become a convert to diesel air heaters like the Webasto or Espar systems. These units sip fuel, operate silently, and can run for days on a single tank of diesel. I’ve spent weeks winter camping in sub-freezing temperatures, staying comfortable with these heaters while using minimal battery power.
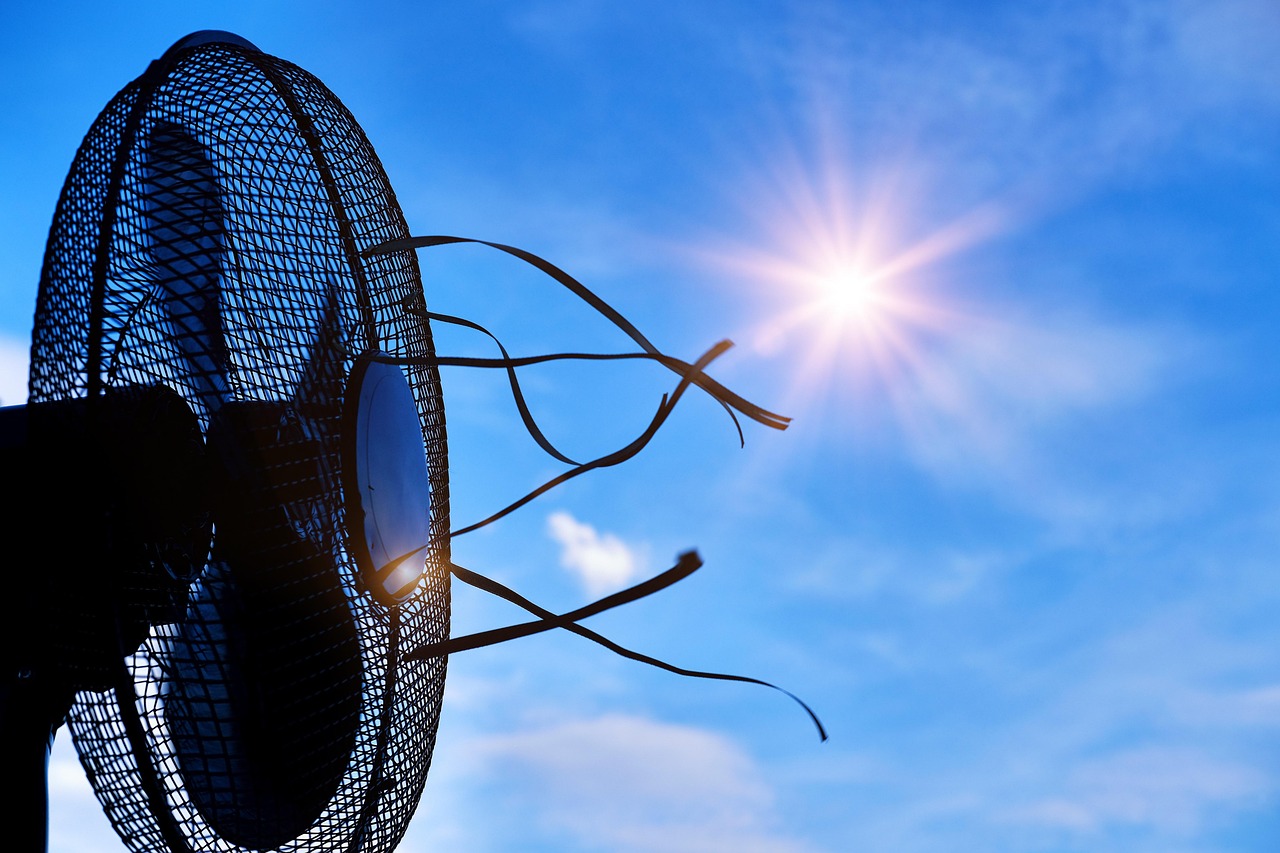
On the cooling side, ventilation is your first line of defense. A quality Maxxair vent fan is non-negotiable in my opinion. These powerful exhaust fans create significant airflow, expelling hot air and drawing in cooler air through opening windows. I’ve found that proper fan use can reduce interior temperatures by 20-30°F compared to outside, often eliminating the need for air conditioning in all but the most extreme conditions.
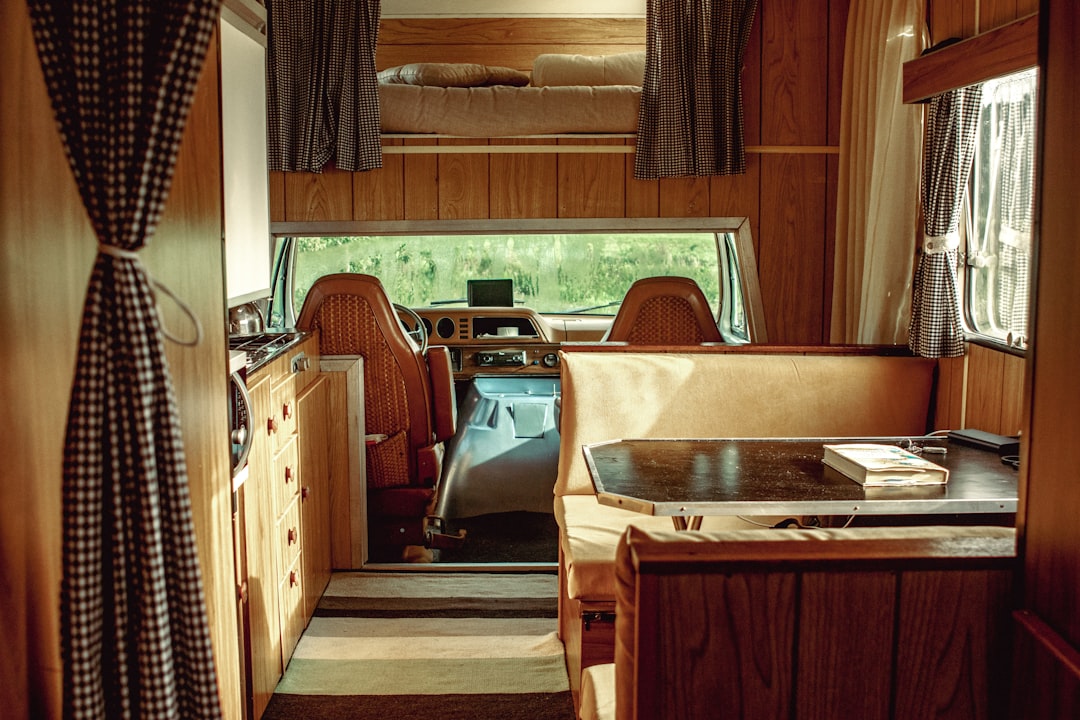
Window treatments also play a crucial role in temperature management. Thermal curtains that create a sealed barrier against windows can dramatically reduce heat transfer. I use a combination of reflective sunshades for summer and insulated curtains for winter, and the difference is remarkable. These products are especially important if you have large windshield and front windows that aren’t practical to insulate behind the dashboard.
Real-World Temperature Control Strategies
After decades of campervan travel in conditions ranging from -20°F to 110°F, I’ve developed strategies that work in practice, not just theory. For cold weather camping, the key is layering—just like clothing. Start with insulation, add heating, then manage heat loss through proper window coverings and draft prevention. I carry thermal window curtains that I install at night, creating an additional barrier against heat loss through glass.
In hot weather, the strategy shifts to heat avoidance and removal. Park strategically whenever possible—seeking shade in morning and evening sun depending on conditions. Use reflective window covers during the day to prevent solar heating. Create airflow patterns using fans and opening windows to generate cross-ventilation. I’ve found that positioning a fan near an open window to draw in cooler evening air while the vent fan exhausts hot air creates effective cooling without air conditioning.
One often-overlooked aspect is managing moisture generated by human activity. Cooking, breathing, and even drying clothes all add moisture to your van’s interior. Without proper management, this moisture condenses on cold surfaces and creates the damp conditions that make cold feel colder. Proper ventilation, even in winter, is essential. I run my vent fan on low continuously in cold weather, exhausting moist air while the heater replaces it with warm, dry air.
Budget-Friendly Insulation Options
Not everyone can afford premium materials like Thinsulate, and that’s okay. Effective temperature control is possible on a budget with smart material choices and careful installation. Reflectix-style bubble foil insulation provides decent performance at a fraction of the cost, especially when used in combination with other materials. I’ve seen successful conversions using multiple layers of this material, creating air gaps between layers that boost overall effectiveness.
Recycled materials can work surprisingly well. Carpet remnant stores often sell high-quality carpet padding for pennies on the dollar, and this material makes excellent insulation for floor areas and wheel wells. It’s already moisture-resistant, provides good sound deadening in addition to thermal insulation, and is thick enough to make a real difference in comfort. I’ve used this approach in budget conversions with excellent results.
The key to budget insulation is focusing on high-impact areas first. If you can only afford to insulate part of your van, prioritize the ceiling (where solar heat gain is worst) and the floor (where cold conductive heat loss is greatest). These two areas alone will make a noticeable difference in comfort. Add wall insulation as budget allows, and you’ll gradually build toward complete coverage.
Seasonal Travel Strategies
Proper insulation opens up seasonal travel possibilities that most campervan travelers never consider. I’ve taken spring trips to high-elevation destinations when snow still covered the ground, staying comfortable thanks to good insulation and heating. The benefits go beyond comfort—these shoulder season trips often mean having popular destinations largely to yourself, avoiding crowds that can make summer travel feel crowded and commercialized.
For fall travel, insulation extends your season well into what most consider winter weather. I’ve explored stunning autumn foliage in late October when temperatures dropped below freezing at night, yet remained warm enough to sleep comfortably. The key is layering clothing, using quality sleeping bags rated for cold conditions, and taking advantage of your insulated space to preserve body heat.
Summer desert travel becomes feasible with proper insulation and ventilation. I’ve spent July weeks in Arizona and Utah, exploring landscapes that would be miserable without temperature control. The combination of reflective insulation, active ventilation, and strategic parking makes even extreme environments comfortable. These summer trips offer incredible experiences—desert wildflowers, monsoon storms, and starry nights that city dwellers rarely see.
Common Temperature Control Mistakes
In my years of helping fellow travelers with their conversions, I’ve seen certain mistakes repeated. The most common is under-insulating, usually in an effort to save money or preserve interior space. Remember that you can always remove insulation later if you find it’s excessive, but adding insulation after a conversion is complete is difficult and expensive. When in doubt, insulate more rather than less.
Another frequent error is ignoring floor and wheel well insulation. These areas are often treated as afterthoughts, yet they’re major sources of conductive heat transfer. I’ve seen travelers insulate walls and ceilings thoroughly while leaving uninsulated metal floors, then wonder why they’re still cold. The floor is your largest conductive surface—treat it with as much attention as your ceiling.
Improper installation also plagues many DIY conversions. Compressing insulation to fit gaps, leaving voids around obstacles, and failing to seal edges all reduce effectiveness. Take your time during installation, cut carefully, and don’t rush the process. Quality installation matters as much as material choice.
Investment vs. Return: Is Insulation Worth It?
Quality insulation represents a significant investment in both money and installation time. Is it worth it? After twenty-five years of campervan travel, my answer is an unqualified yes. The initial investment pays dividends in extended travel season, reduced heating/cooling costs, and protection against moisture damage. I’ve calculated that my insulation investment has saved me thousands in heating fuel costs alone over the years—not to mention the countless nights of comfortable sleep that would have been miserable without proper temperature control.
Beyond the practical benefits, there’s the freedom dimension. Good insulation means you’re not limited to summer travel or warm climates. You can chase experiences across seasons and geographic regions that would be inaccessible or miserable in an uninsulated van. That freedom to explore on your own terms is, ultimately, what campervan travel is about.
For those considering insulation during a build, my advice is to budget for quality materials and invest the time needed for proper installation. Cut corners elsewhere if necessary—fab furniture, simpler cabinetry, basic appliances—but never compromise on insulation. It’s the foundation that makes everything else possible, the difference between a metal box you sleep in and a comfortable home that takes you anywhere.
Related Reading: Ready to tackle more van projects? Our guide to campervan water systems covers plumbing essentials. For heating solutions, check out our overview of van ventilation strategies. And if you’re just starting your conversion journey, our article on boondocking fundamentals provides essential knowledge for extended off-grid travel.
1 thought on “Campervan Temperature Control: How to Stay Comfortable in Any Weather During Van Life Adventures”