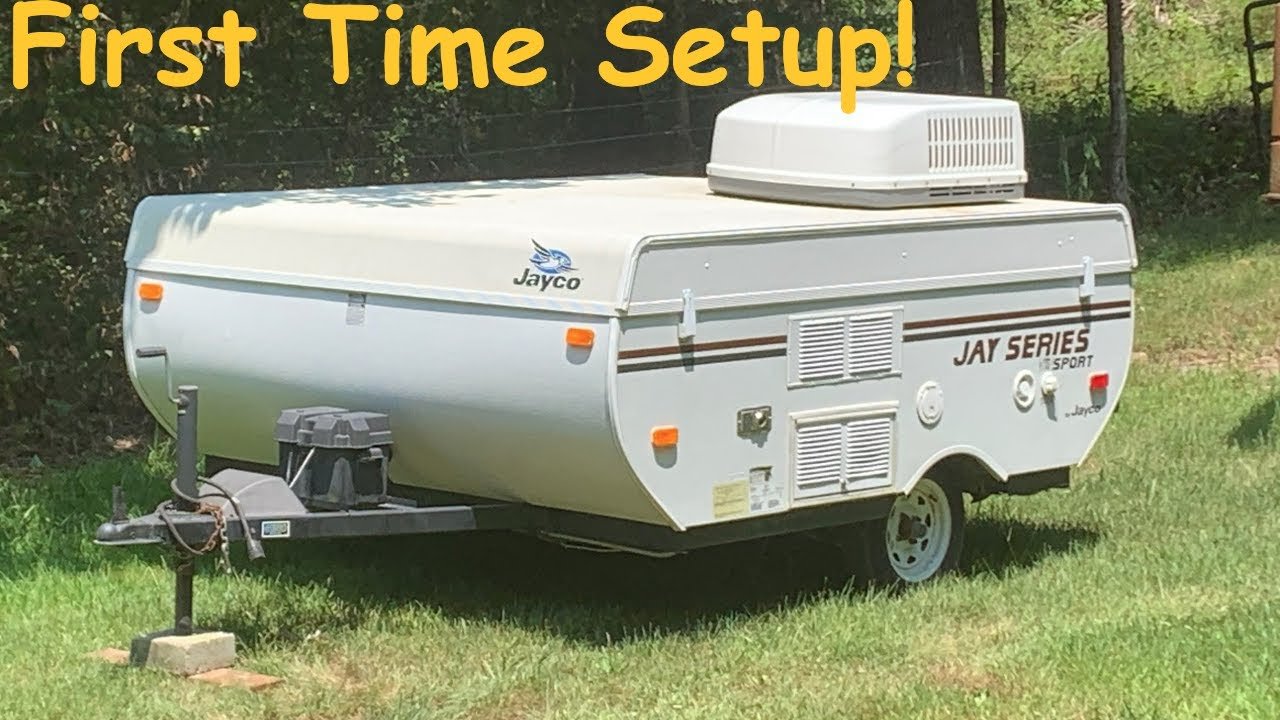
There is a particular kind of excitement that comes with hitching a used popup camper to your vehicle for the first time. Maybe you found a deal on Craigslist, or perhaps you are dusting off a camper that has been sitting in a driveway for two or three years. Either way, the moment you crank up that roof and unfold the canvas, you are stepping into a world of affordable, flexible travel that makes hotel rooms feel like a waste of money. But before you can enjoy that first night under canvas stars, there is a setup process that can make or break your trip — and if your camper has been sitting idle, there are a few surprises waiting inside that nobody mentions in the brochure.
A popup camper is one of the most accessible entry points into RV travel. They are lightweight enough for most SUVs and minivans to tow, they fold down into a compact profile for easy storage, and they sleep real people on real mattresses without the sticker shock of a motorhome. The tradeoff is that they require a methodical setup process each time you arrive at a site, and when one has been sitting in storage for years, the revival process reveals every corner where nature has quietly moved in.
The First Crank: Raising the Roof Without Drama
The very first step in waking up any popup camper is raising the roof, and this is where you will immediately learn whether your lift system is in good shape. Most modern popup campers use a Goshen lift system — a cable-driven mechanism that raises all four corners simultaneously when you turn a crank at the rear of the trailer. The process feels almost too simple. You insert the crank handle, turn it clockwise, and the entire roof rises on telescoping posts until it locks into its fully extended position.
But when a camper has been sitting for years, that smooth action can turn into a workout. Cables can seize, pulleys can corrode, and the weather stripping around the roof joints can bond itself together like glue. The trick is to crank slowly and listen. If you hear grinding or feel resistance that goes beyond the normal weight of the roof, stop and inspect before forcing anything. A broken lift cable is a trip-ending problem that requires a full day of disassembly to repair. Carrying a cordless drill with the right socket adapter can speed up the cranking process, but manual is safer when you are dealing with an unfamiliar unit.
Once the roof is up, the support poles come next. These telescoping bars slot into designated brackets on the roof and floor, providing rigid stability so the whole structure does not sway in the wind. Each pole has a spring-loaded button that locks it into place at the correct height. If those buttons are sticky from disuse, a shot of silicone spray will free them up in seconds.
Leveling: The Foundation of a Comfortable Night
Before you unpack a single sleeping bag, the camper needs to be level. This is not an aesthetic preference — your refrigerator (if equipped), your comfort, and the structural integrity of the popup all depend on it. An unlevel camper can cause cooling issues in absorption fridges, make sleeping feel like lying on a hillside, and stress the lift system over time.
The process starts before you even unhitch. Drive the trailer onto your chosen spot, then place leveling blocks under the wheels on the low side. Pull forward onto them, check your bubble level, and repeat until the trailer is side-to-side level. Once that is dialed in, chock the wheels securely, unhitch, and use the front jack to adjust the front-to-rear level. Drop your stabilizer jacks at all four corners — but only after the main leveling is complete. Stabilizer jacks are designed to stop bounce, not to lift the camper. Using them for leveling will twist the frame and eventually cause doors and windows to stick.
One thing that catches first-timers off guard is how much a camper can settle overnight on soft ground. If you are parking on grass or sand, check your level again the next morning. The weight of the camper will push the leveling blocks into soft earth, and you may need to readjust. A portable 12V tire air compressor is also worth having on hand for adjusting tow vehicle tire pressure on rough access roads to your campsite.
The Pest Problem Nobody Warns You About
Here is where the story takes a turn that every used-camper buyer needs to hear. When a popup camper sits unused for a couple of years, it becomes a condominium for mud daubers, spiders, mice, and every other small creature looking for shelter. Mud daubers — those industrious wasps that build tube-like nests out of mud — are particularly fond of camper interiors. They will pack nests into every crevice they can find, including the intake vents for your air conditioning unit, the refrigerator exhaust, and even the lift cable housings.
In one memorable first-time setup, the air conditioning fan refused to spin because mud daubers had built a sprawling apartment complex inside the AC shroud. The fix involved removing the shroud cover, manually breaking apart the nests, and freeing the fan blade. This is not an unusual problem. If you are buying a camper that has been stored outside and unused, assume that pests have moved in. Pack bug repellent and pest control spray, and budget an hour for eviction duty before you try to use any of the appliances.
Mice are the other common squatters, and they are far more destructive. They chew through wiring, nest in upholstery, and leave droppings everywhere. Check the corners of every cabinet, look behind the water heater, and inspect the underbelly fabric for entry points. Steel wool stuffed into gaps is an effective temporary seal, and peppermint oil sachets in cabinets are a surprisingly effective deterrent for ongoing prevention.
Canvas and Vinyl: Bringing Soft Walls Back to Life
The canvas on a popup camper is its most vulnerable component. After years in storage, the vinyl windows can cloud over, the fabric can develop a musty smell, and the waterproofing can degrade to the point where the first rainstorm turns the interior into a sprinkler system. Before you head out on a trip, inspect every inch of the canvas for tears, mold spots, and seam separation.
Cleaning is straightforward but time-consuming. Use a mild soap solution and a soft brush on the fabric portions, and a dedicated vinyl cleaner for the clear windows. Avoid household glass cleaners on the vinyl — the ammonia will cloud and crack the material over time. Once everything is clean and dry, apply a waterproof sealant tape to any suspect seams, and consider a spray-on waterproofing treatment for the fabric panels. If you find a tear, repair it immediately with a canvas patch kit. Small holes become big ones fast when the wind picks up.
The bunk end mattresses are another area that needs attention after long storage. Vinyl mattress covers trap moisture, which leads to mildew underneath. Pull every mattress out, prop them in the sun, and inspect both sides. If you smell must, a mixture of white vinegar and water sprayed lightly on the fabric backing will kill the spores. Let the mattresses dry completely before reinstalling them — putting a damp mattress back inside a sealed camper guarantees a sour smell that will haunt every future trip.

Electrical and Utilities: Connecting to the World
With the camper physically set up and pest-free, the next phase is connecting utilities. Most popup campers have a 30-amp shore power connection, a fresh water inlet, and sometimes a 12-volt battery system for off-grid use. If your camper has been sitting, inspect the power cord for cracking and exposed wires before plugging in. UV damage deteriorates RV power cords faster than you might expect.
For the shore power connection, you will want a heavy-duty outdoor extension cord rated for at least 15 amps if you are connecting to a standard household outlet, or a proper 30-amp RV cord for full hookups. Once connected, test every outlet, every light, and every appliance before relying on them. The water heater, refrigerator, and furnace all have circuit boards that can fail after long periods of inactivity. A portable generator is a worthwhile investment if you plan to camp without hookups, giving you the freedom to run the AC and charge devices from anywhere.
Tow Vehicle Connections: Don’t Forget the Umbilical
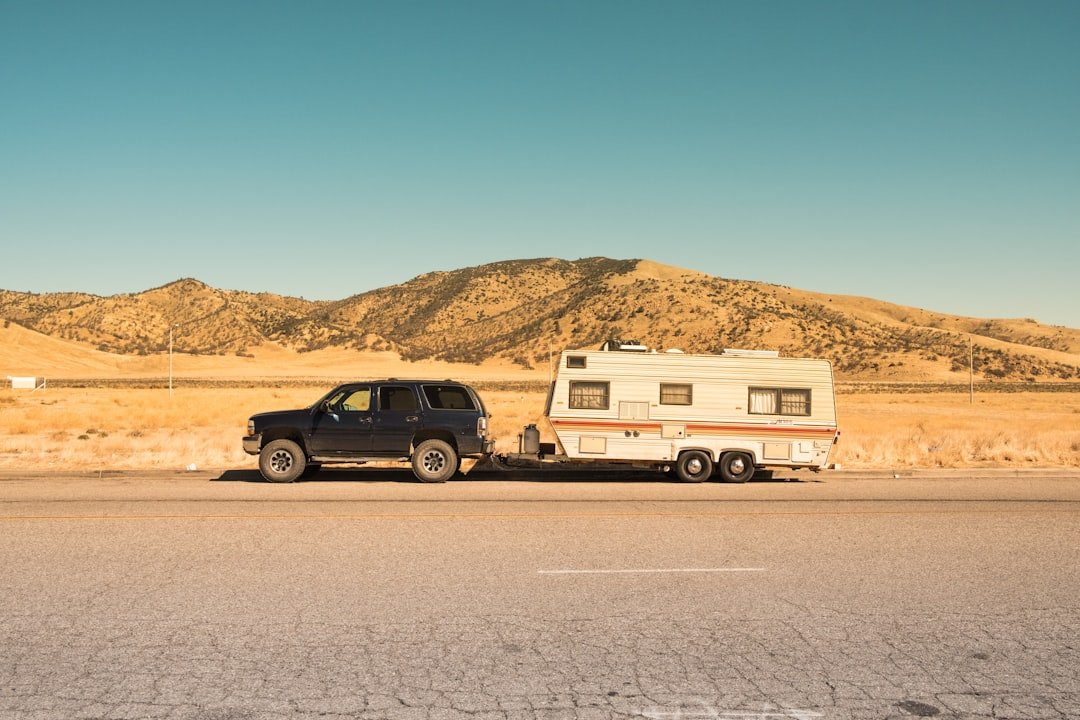
Before you even left the driveway, the connection between your tow vehicle and camper needed attention. The trailer wiring harness adapter is the critical link that gives you brake lights, turn signals, and running lights on the camper. If your tow vehicle has a 4-pin flat connector and your camper needs a 7-pin round, you need an adapter — and a faulty one means you are driving down the highway with invisible brake lights on a several-thousand-pound trailer behind you.
Check your trailer lights every single time you hook up, even if you disconnected and reconnected at the same campsite. Vibration loosens connections, rain corrodes contacts, and the wiring inside the trailer tongue can chafe against the frame over time. Adding LED reverse lights to your trailer is a small upgrade that makes backing into campsites dramatically easier, especially at unfamiliar sites in the dark.
Security at the campsite matters too. A trailer coupler lock prevents opportunistic theft when you leave the camper set up and drive off for a day hike. Popups are light enough that a determined thief with a ball mount can be gone in sixty seconds. A coupler lock is cheap insurance for your mobile bedroom.

Building Your Outdoor Living Space
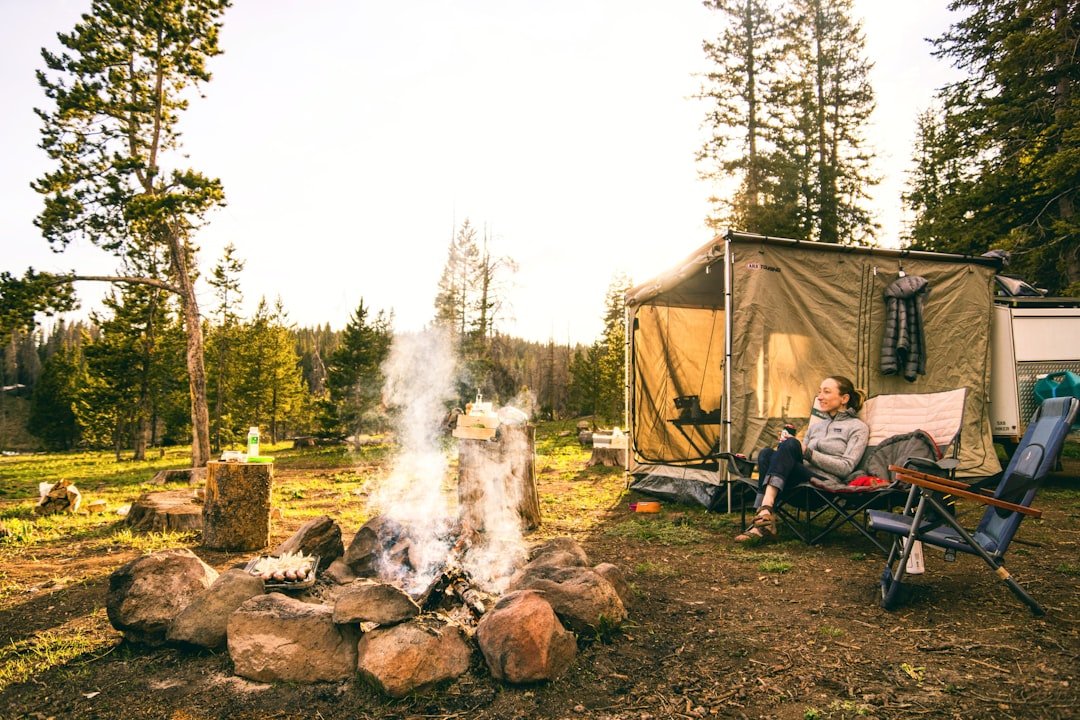
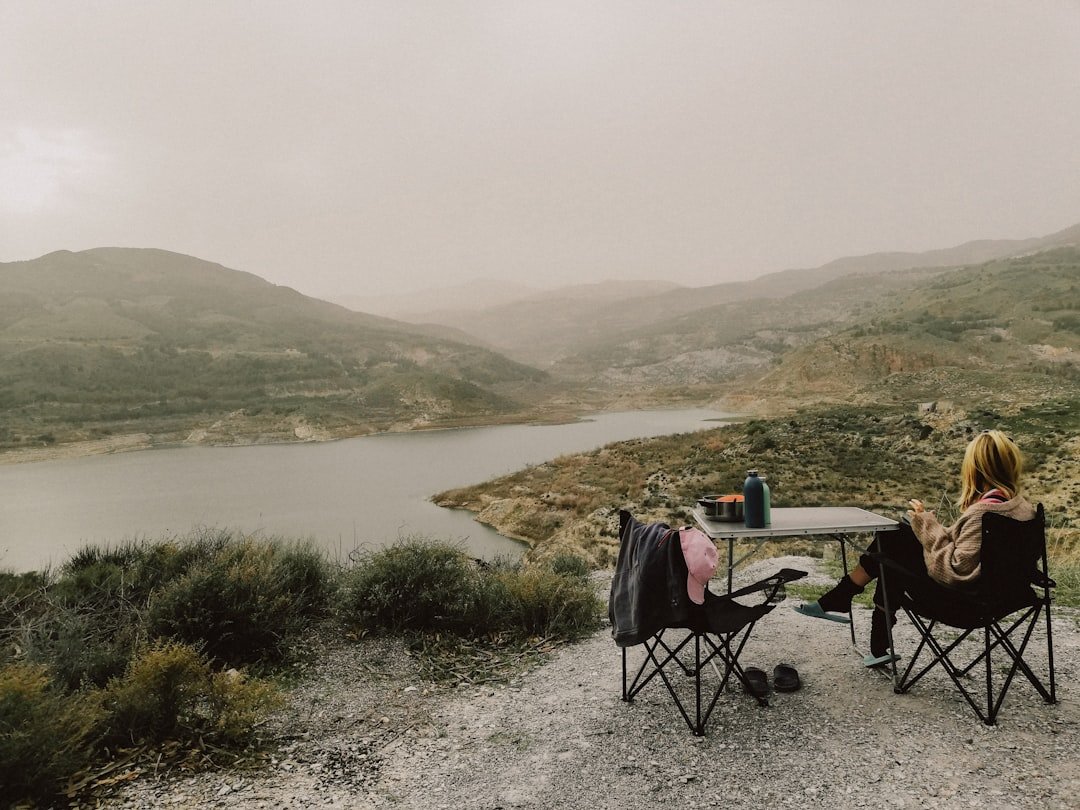
One of the best things about popup camping is how the experience extends beyond the camper itself. A well-organized outdoor space turns a parking spot into a home base for adventure. Start with a folding camp table for meal prep, card games, and evening cocktails. Position it under the camper’s awning if you have one, or set up a separate canopy for shade. The table becomes the social hub of your campsite — the place where trail maps get studied, sandwiches get assembled, and the day’s stories get retold.
A spare tire cover might seem like a purely cosmetic choice, but it serves double duty by protecting your trailer’s spare from UV degradation. Nothing ruins a road trip faster than discovering your spare tire has dry-rotted from years of sun exposure when you actually need it. While you are at it, check the tire pressure on all wheels — both on the camper and your tow vehicle — before every trip. Tires lose pressure over time, and underinflated tires heat up and fail at highway speeds.
The Setup Routine That Becomes Second Nature
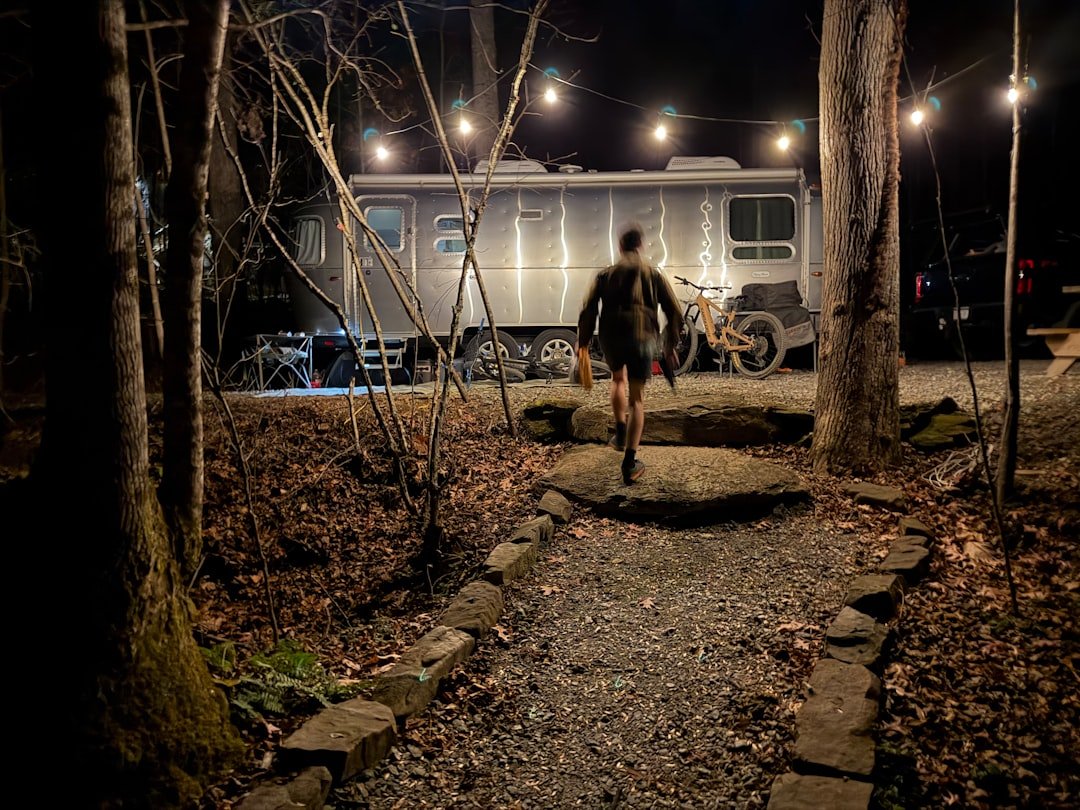
The first time you set up a popup camper, it can take two hours and feel like you are assembling a piece of Ikea furniture in the wilderness. By the fifth trip, you will have it down to twenty minutes. The process becomes a ritual — arrive, level, unhitch, crank, stabilize, connect, inspect, relax. Each step has its own rhythm, and you will develop your own shortcuts and preferences.
The key to a smooth setup is organization. Keep all your chocks, leveling blocks, and power cords in dedicated storage bins that live in the camper permanently. Create a checklist for the first few trips — not because you cannot remember the steps, but because it eliminates the mental energy of wondering whether you remembered to chock the wheels or lower the stabilizer jacks. Many seasoned popup campers keep a laminated checklist taped inside the first cabinet door.
Why Popup Camping Is Worth Every Crank
Despite the setup effort and the occasional pest eviction, popup camping remains one of the best values in outdoor travel. The campers themselves cost a fraction of what a hard-sided travel trailer runs. They are light enough to tow with vehicles you already own. They fit in standard driveways and garages. And when they are set up properly, they provide a genuinely comfortable sleeping and living space that connects you to the outdoors in a way that a sealed RV simply cannot match.
You hear the rain on canvas. You feel the morning breeze through the screened windows. You wake up to actual birdsong instead of the hum of an air conditioner. There is a closeness to the camping experience that gets lost in larger rigs — and for travelers who want to explore national parks, state campgrounds, and remote public lands without a massive vehicle payment, a popup camper is the sweet spot between a tent and a motorhome.
For those transitioning from tent camping, a popup feels like an absurd luxury. For those downsizing from a large RV, it feels like freedom. And for anyone buying a used unit that has been sitting for a few years, that first successful setup — pests evicted, canvas cleaned, lights working, coffee brewing on the outdoor table — is one of the most satisfying feelings in the camping world. You took something forgotten and turned it back into an adventure machine. That is worth every crank of the handle.
If you are just starting your popup journey, the guide to making a small travel trailer off-grid ready covers additional systems you may want to add. For those considering the power requirements of off-grid camping, the comparison of portable power stations tested over 2,000 miles is essential reading. And if you are thinking about towing safety, the overview of dash cams for road trip safety covers visibility solutions every tower should consider.