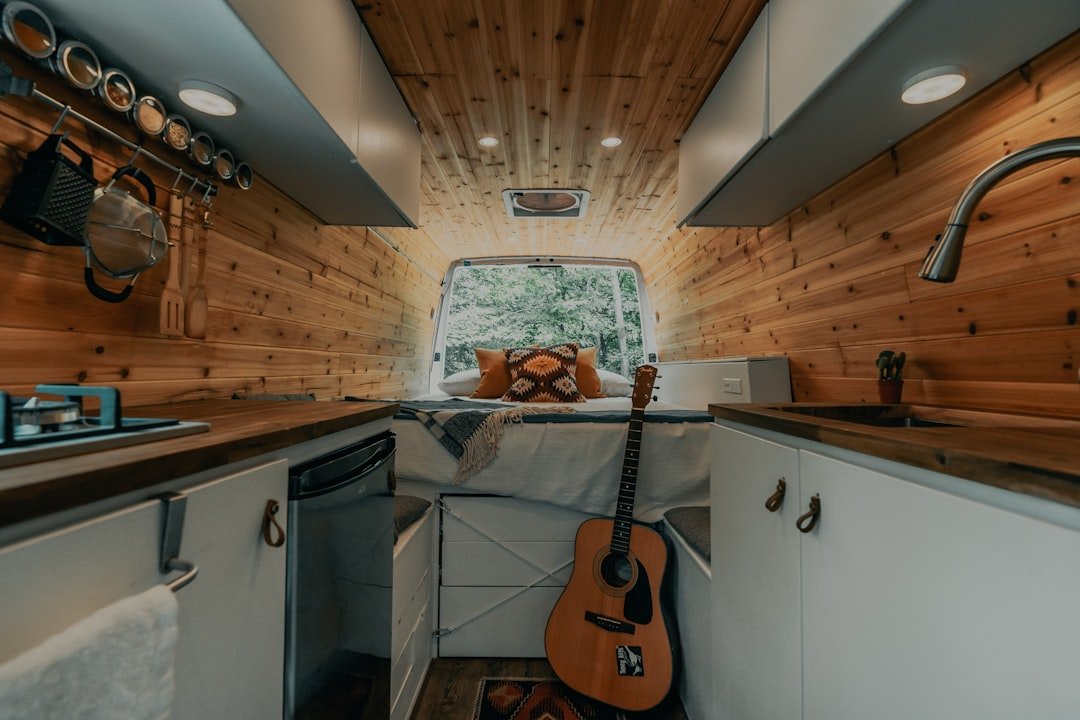
After three years of living out of a converted Ford Transit, I’ve learned that the kitchen is where van life dreams either thrive or die. While floorplan design gets most of the attention during builds, the kitchen is what you’ll interact with every single day. I started with minimal equipment and gradually built a system that works. I’ve cooked everything from gourmet pasta dishes to elaborate breakfast burritos in a space smaller than most people’s closets, and along the way, I’ve figured out what actually works versus what just looks good on Instagram. Let me save you some trial and error and walk you through the essential cooking gear and space-saving solutions that make campervan cooking not just possible, but genuinely enjoyable.
The Foundation: Your Cooking Surface

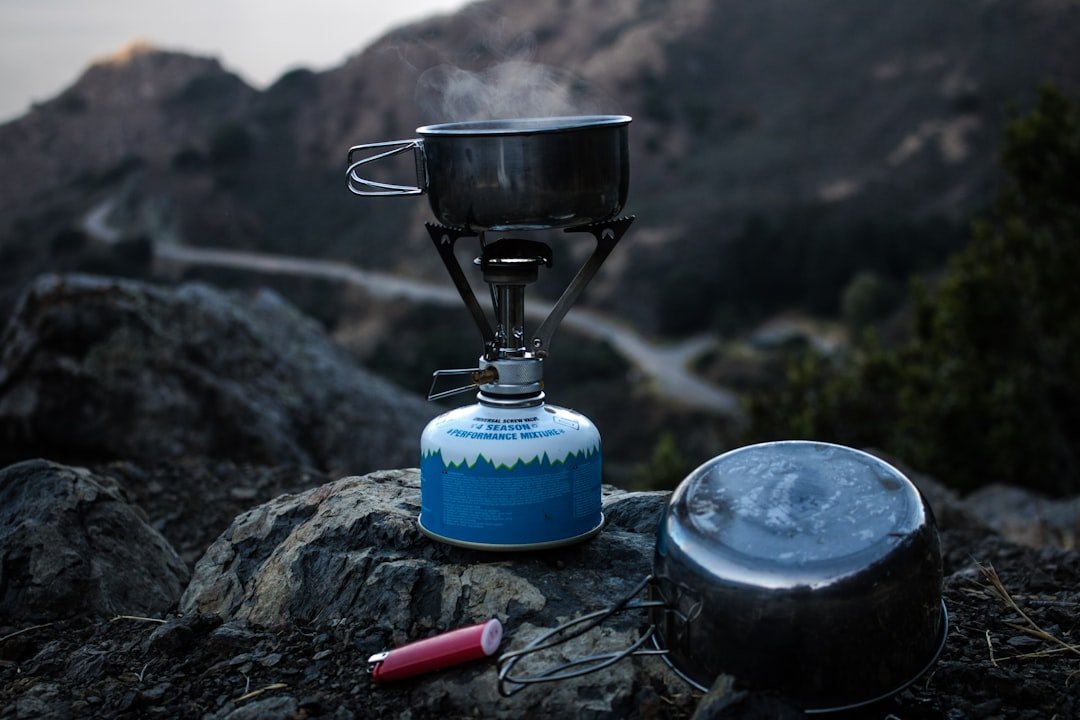
Everything starts with your heat source, and this is where most van lifers either overcomplicate things or underspend. After testing everything from fancy integrated cooktops to cheap backpacking stoves, I’ve settled on a simple truth: a quality two-burner propane setup is the sweet spot. It’s reliable, fuel-efficient, and when paired with the right cookware, can handle everything from morning coffee to stir-fry dinners.
The key is choosing a model that balances power with precision. You want enough BTUs to boil water quickly, but also low-end control for simmering sauces. I’ve been using a dual-burner propane stove for the past two years, and it’s never let me down. The piezo ignition means no matches needed, and the wind shields actually work when you’re cooking outside on breezy evenings.
For fuel storage, I keep two 1-pound propane cylinders in a ventilated exterior compartment. Secure mounting brackets keep them safe while driving. This setup gives me about 20 hours of cooking time—plenty for a week of trip before needing to resupply. Some van lifers opt for larger refillable tanks, but I’ve found the small cylinders offer the best flexibility for space and weight considerations.
Cookware That Works Harder
Here’s where most people waste money and space: buying full sets of cookware designed for residential kitchens. In a van, you need pieces that multitask, stack efficiently, and handle uneven heat distribution like champions. My cookware collection consists of exactly three items: a 10-inch cast iron skillet, a 2-quart saucepan with lid, and a 6-quart Dutch oven. That’s it.
The cast iron skillet handles everything from breakfast eggs to searing steaks to baking cornbread. It’s virtually indestructible and only gets better with age. The saucepan is my workhorse for boiling water, heating canned soups, and making sauces. And the Dutch oven? That’s my secret weapon for one-pot meals, baking biscuits, and even slow-cooking chili on winter days.
What makes this system work is that everything nests perfectly. The saucepan fits inside the Dutch oven, and the skillet sits on top. The whole stack takes up less space than a standard kitchen drawer, and I’ve never found myself wishing for another piece. If you’re building out your own cookware collection, start with a quality cast iron skillet and build from there based on your actual cooking habits.
Space-Saving Utensils and Tools

This is the category where I see van lifers accumulating the most unnecessary junk. You don’t need specialty gadgets for every possible cooking scenario—you need versatile tools that handle multiple tasks. My utensil collection has been distilled down to absolute essentials: one silicone spatula, one stainless steel spoon, one pairing knife, one chef’s knife, a cutting board, and a can opener.
The silicone spatula is my MVP because it handles heat up to 600°F, won’t scratch non-stick surfaces, and folds completely flat for storage. I’ve tried plenty of silicone utensil sets, and quality varies dramatically. The stainless steel spoon serves double duty for stirring and serving. And those two knives? They handle 95% of my prep work. I invested in quality blades that hold an edge, and they’ve proven worth every penny.
For storage, I use magnetic knife strips mounted on the wall next to my cooking area. This vertical storage approach is something I’ve applied throughout my van, similar to how I’ve optimized my sleep setup for maximum efficiency. This keeps knives secure while driving, accessible while cooking, and completely eliminates the need for a knife block. The rest of my utensils live in a divider tray that prevents them from rattling during travel—a small detail that makes a huge difference in van life sanity.
Food Storage That Actually Works
One of the biggest mistakes I made early on was overcomplicating my food storage system. I tried fancy vacuum sealers, elaborate labeling systems, and containers in every size imaginable. What I’ve learned is that simple, durable, and stackable wins every time. My current system relies on three types of storage: clear plastic bins for dry goods, glass jars for spices and oils, and collapsible silicone containers for leftovers.
The clear bins are game-changers because they let me see what I have at a glance without opening multiple containers. I keep pasta, rice, oats, and other staples in standardized rectangular bins that stack efficiently in my cupboards. These storage containers have transformed my meal prep routine—no more mystery ingredients or duplicate purchases because I couldn’t see what was buried in the back.
For spices, I switched from the original bottles to uniform glass jars with magnetic lids. These attach to a metal strip on my cabinet door, keeping my most-used spices accessible while freeing up precious shelf space. The collapsible silicone containers are perfect for leftovers because they shrink down to almost nothing when empty but expand to hold full meals. They’re also lightweight and virtually unbreakable—important considerations in a moving vehicle.
Water and Cleaning Setup
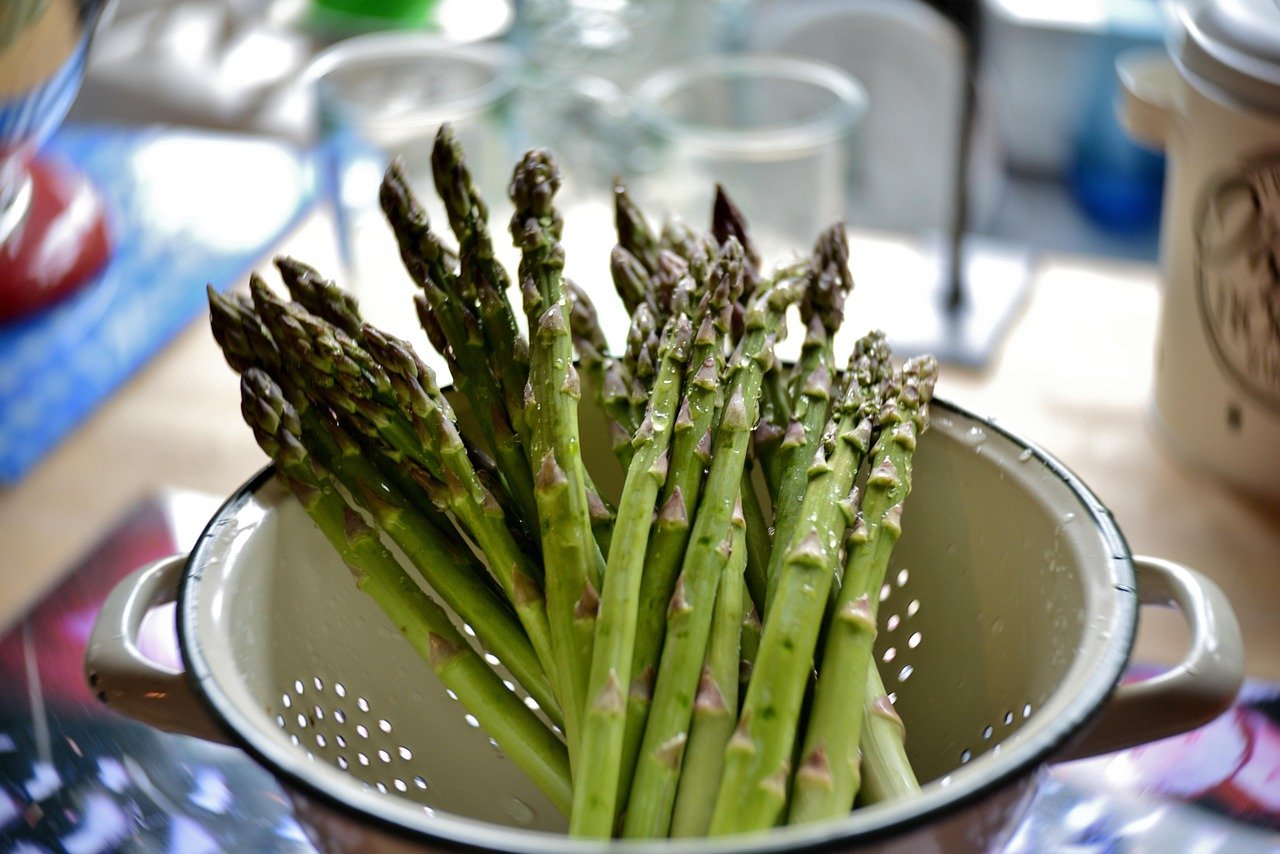
Let’s talk about the unsexy but absolutely critical side of van life cooking: water management and cleanup. My system is built around three principles: conservation, efficiency, and multi-use. I cook almost entirely with a collapsible camping sink that doubles as a wash basin and dish drainer. This simple tool has made dish cleanup infinitely more manageable.
For water conservation, I’ve adopted a “clean as you go” approach that minimizes water usage. Instead of letting dishes pile up, I wash prep tools immediately after use and reuse water when possible. A quick rinse of vegetables becomes the first wash for prep bowls. Cooking water from pasta gets strained and used to start soups. These small habits add up to significant water savings over time.
My cleaning supplies are equally minimal: biodegradable dish soap, a sponge with a scrubber side, and a microfiber drying cloth. That’s it. No fancy gadgets, no single-use wipes, nothing that creates unnecessary waste. The microfiber cloth is particularly brilliant—it dries quickly, doesn’t retain smells, and can be washed and reused hundreds of times. I keep three in rotation and wash them whenever I do laundry.
Power Considerations for Kitchen Appliances

Here’s where van life kitchens diverge significantly from residential ones: everything you plug in needs to work within your power budget. My electrical system consists of 200Ah of lithium batteries and 300 watts of solar panels—enough for modest appliance use but not unlimited power. This reality has shaped my appliance choices dramatically.
The biggest power hog in most van kitchens is the refrigerator. I chose a high-efficiency 12V refrigerator that draws only 2-3 amps per hour, and it’s been perfect for my needs. For heating, I rely on propane rather than electric appliances whenever possible. Coffee gets made on a percolator on the stove, not with an electric kettle. Toast gets made in a cast iron skillet, not a toaster.
That said, there are a few electric appliances I’ve found worth the power cost. A small immersion blender is fantastic for soups and smoothies, drawing minimal power while delivering big functionality. And a handheld electric mixer has been surprisingly useful for baking projects. The key is choosing tools that are used briefly rather than left running continuously.
Outdoor Cooking Extension
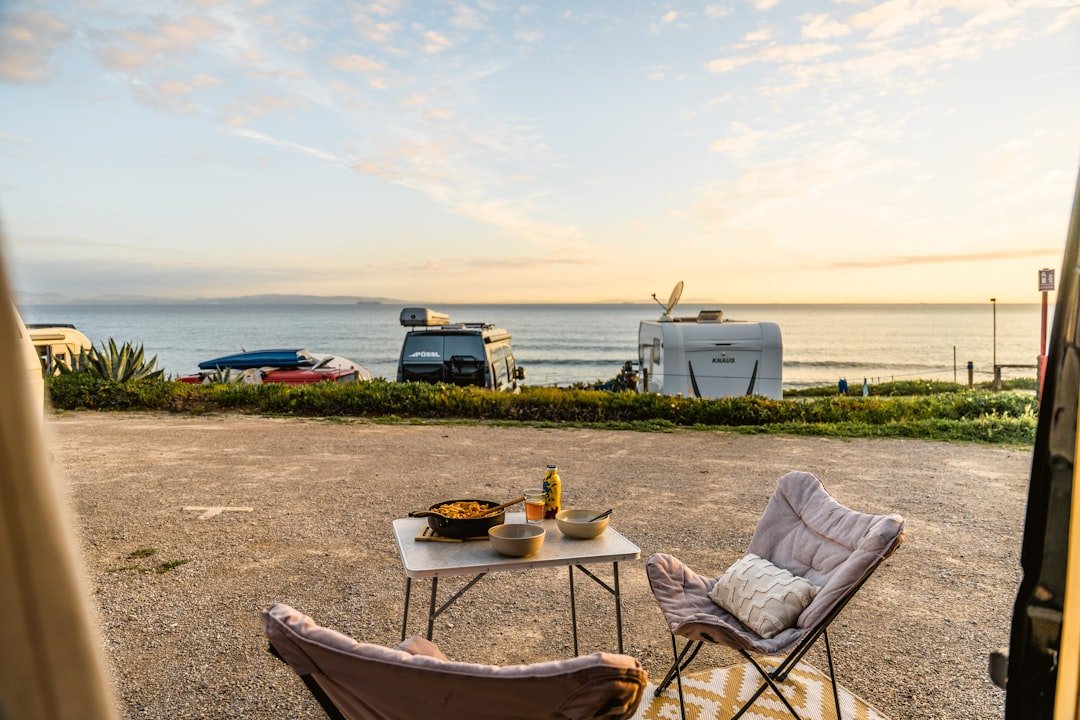
One of the best additions to my van kitchen setup has been creating an outdoor cooking space. When weather permits, I move most of my cooking outside using a simple folding table and my portable stove. This keeps heat and cooking odors out of the van and creates a more social cooking experience when traveling with friends.
My outdoor kitchen setup includes a lightweight aluminum table, a windscreen for the stove, and compact camping chairs for lounging while meals cook. The whole system takes less than five minutes to set up and has transformed my summer cooking experience. Plus, it’s given me the flexibility to cook more elaborate meals that might generate too much smoke or steam for the van’s interior.
The outdoor setup also serves as my prep space when I’m batching meals for the week. Having a dedicated surface for chopping vegetables and assembling containers makes meal prep infinitely more pleasant. And when I’m done cooking, everything collapses down and stores under my bed frame—no permanent space sacrifice required.
Building Your Own System
The beauty of van life kitchen design is that there’s no one-size-fits-all solution. What works for me might not work for you, and that’s okay. The key is starting with essentials, paying attention to how you actually cook, and gradually refining your setup based on real-world experience rather than Instagram inspiration.
If you’re just starting out, begin with the absolute basics: a reliable heat source, versatile cookware, and smart storage solutions. Live with that setup for a few weeks and notice what’s missing, what’s unused, and what frustrates you. Then make targeted upgrades based on actual needs rather than perceived wants. That approach has saved me hundreds of dollars and countless inches of precious van space.
The most important thing I’ve learned is that a functional van kitchen isn’t about having the most gear—it’s about having the right gear for how you actually live and travel. This principle applies to every aspect of van life, from temperature control to budget planning. My current setup is leaner than when I started, but it works better because every item has proven its worth through daily use. Focus on function over flash, and you’ll end up with a kitchen that makes van life cooking a joy rather than a chore. And remember, the best van setup is one that fits both your budget and your lifestyle.