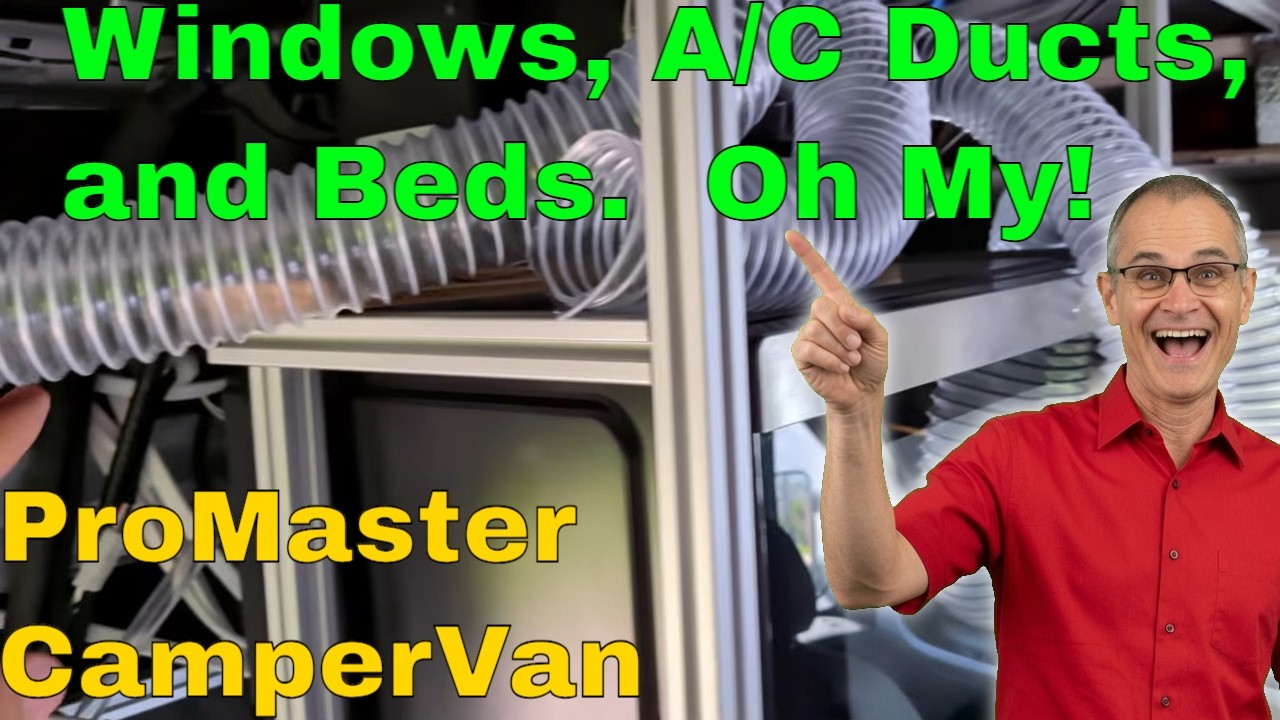
There’s a night in every van build that matters more than the day you buy the van and more than the day you call it done. It’s the first night the thing is genuinely ready to sleep in. The drawers can still be missing, the benches can still be plywood ideas, and the storage can still be a pile of bins on the floor. If you can close the windows to the world, keep the air moving, and lie down flat without a fan in your face, you have a campervan. Everything after that is furniture.
We just hit that point in our ProMaster, and I want to talk about why I think every builder should chase it early. During my years on the road, I’ve watched people spend eighteen months building a perfect rig in a driveway and then discover on the first trip that they hate where the bed is. I’ve also watched people throw a mattress in the back of an empty cargo van and roast inside it for three nights. The sweet spot is in between: a van that’s “sleep-ready” long before it’s finished, so the road can start teaching you what the rest of the build should be.
What “Sleep-Ready” Actually Means
When I sat down and listed what our van needed before I’d trust it for a real overnight, the list was short. It needed privacy, so nobody walking past a campground loop or a trailhead lot could see in. It needed a way to let air in without letting bugs in. It needed some way to cool the space down on a warm evening, or at least move the air around. And it needed a bed that was actually a bed, not a project.
Notice what isn’t on that list. Cabinets, drawers, finished seat benches, overhead lockers, the pretty trim that makes van photos look like magazine spreads. Our van still has big open sections where drawers will live, seats with storage planned underneath that doesn’t exist yet, and a whole row of overhead storage that’s still a sketch. None of it stops us from sleeping well. That’s the point.
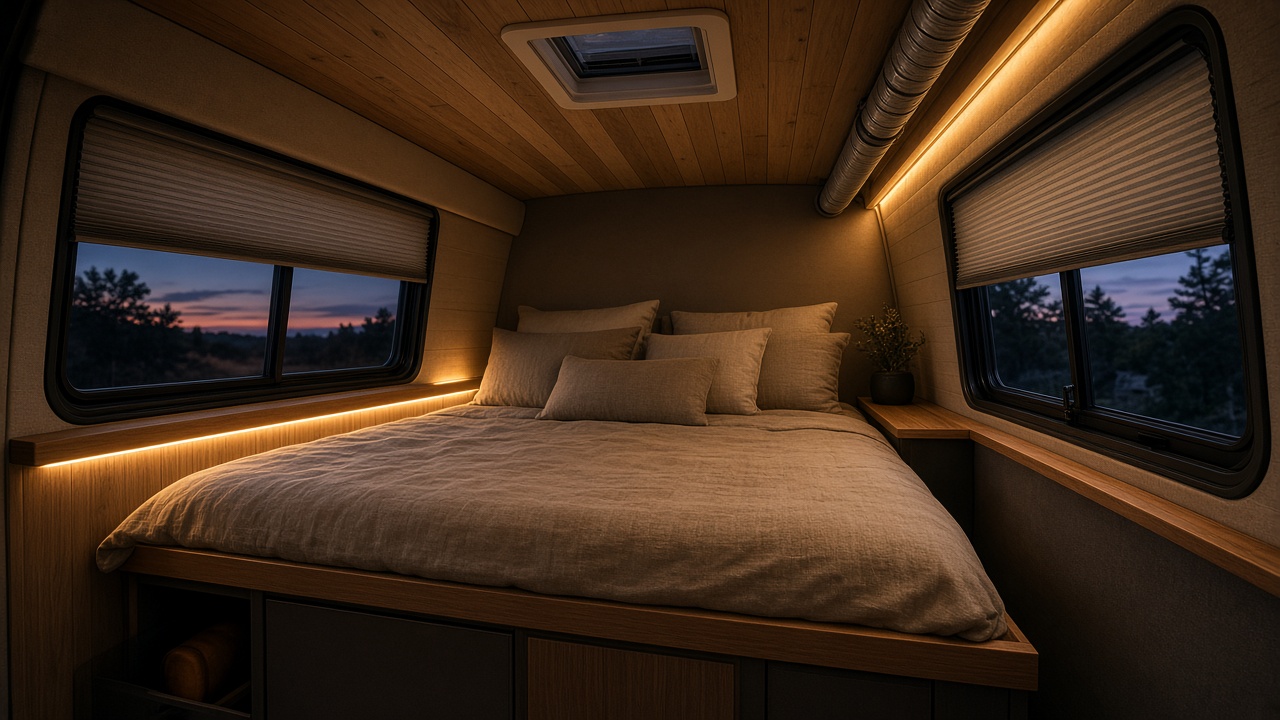
If you’re planning a build right now, I’d encourage you to write your own version of that list and treat it like a finish line. Hit it, take a trip, and then come back and build the rest with what you learned. It’s the difference between building a van and building a guess.
Windows That Do Three Jobs
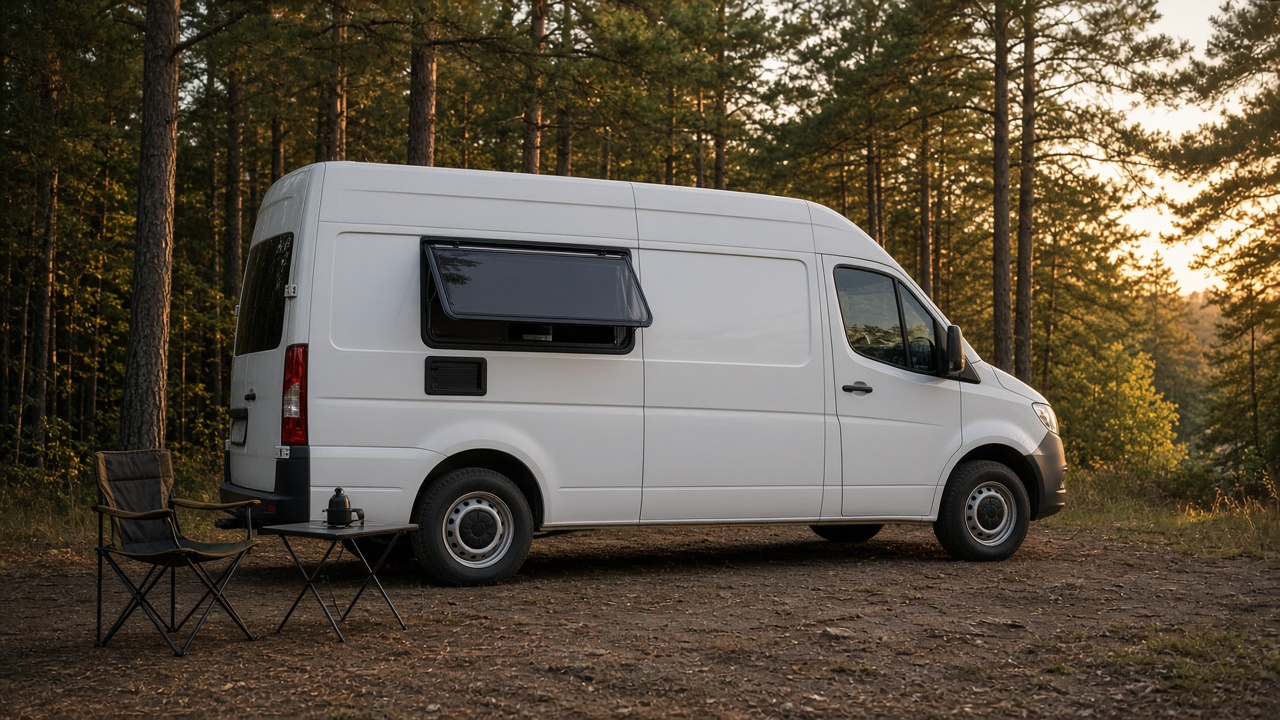
Privacy is the one I underestimated years ago. You don’t sleep deeply when you’re half-wondering whether a flashlight beam is about to sweep across your face. Windows are the weak point, and for our rig the answer was a pair of Eurovision-Style Awning Dual-Pane Acrylic RV Windows. They push out at the bottom like an awning, so they can stay cracked in a light rain, and the dual-pane acrylic does a much better job with temperature than a single sheet of glass.
What sold me, though, was the combined shade-and-screen insert that finishes the inside. The frame has a series of small black clips around its edge, and the shade assembly simply pushes into them. The trickiest part is getting it lined up before you press. Once it’s started at the ends, you work your way around until it seats snugly against the frame. On one window it went on by pressing alone; on the other it fastened with screws into those black sections, and we chose to put the shade on the bottom.
From there, it’s almost playful. Pull the panel down and you get a bug screen. Keep going and there’s an audible snap as two magnetized edges meet, and now you have a full shade. Split them and you can run half shade, half screen. Push them back up and the window is clear again, ready to swing open for air. It’s one low-profile unit doing the job of curtains, a bug net and a blackout panel, and it sits so close to the wall that it barely registers. On our side of the van, it clears the dinette table with about a quarter inch to spare, which I’d love to tell you was planned to the millimeter. It was planned. It just worked out more smoothly than I had any right to expect.
If you’ve followed along for a while, you know I’ve also sewn my own covers for the glass that didn’t come with built-in shades. I wrote about that process in the custom shades that let my campervan sleep in, and the two approaches work well together. Factory shade inserts on the side windows, homemade insulated covers on the windshield and rear doors.
Seal First, Then Sleep
Here’s the part of the window story nobody puts in the highlight reel: one of ours leaked. Not dramatically, but enough. A van that drips on your pillow at 2 a.m. is not sleep-ready, no matter how nice the shades are. We fixed ours with tape, and since then it’s been doing just fine.
If you’re chasing your own leak, a roll of EternaBond RoofSeal Sealant Tape is worth keeping in the van whether you need it today or not. I dug into the full process of hunting down window drips in how to seal camper van windows that refuse to stop leaking. The short version: test with a hose before your first trip, not during your first storm.
Moving Cold Air Where You Actually Sleep
The second big piece was cooling. Our air conditioner was already running, but it had a problem a lot of builders run into: all of its output came from a cluster of jets aimed at one spot. Stand in front of it and you’d freeze. Lie down at the back of the van and you’d barely know it was on.
The fix was cheap and almost embarrassingly simple. We bought 20 feet of flexible 2.5-Inch Flexible Duct Hose and cut it into three runs. One long piece carries air to the back of the van, where the bed is. One tiny stub just redirects air close to the unit. Everything left over goes forward, up to the electronics area, where batteries and inverters appreciate a cooler life. The third outlet we left completely open for now. If you copy the idea, a few 2.5-Inch Stainless Steel Hose Clamps are cheap insurance against connections wiggling loose once the road starts shaking things.
Testing it didn’t take fancy instruments. I held a paper towel, then a scrap of toilet paper, in front of each outlet and watched it flutter. The rear vent was weaker than the front, which makes sense given the length of hose, but it was clearly moving cool air across the back of the van. More importantly, the whole space felt like it was cooling together instead of one corner turning into a meat locker.

One honest note: our temperature sensor, which sits on top of the countertop, still read 96 degrees when we started testing. Nobody should expect a small unit to flip a sunbaked metal box to comfortable in a few minutes, especially with the back windows still uncovered. Covering glass is half the battle, something I learned the hard way during an Arizona summer of campervan cooling experiments. What I’d add to my own setup right now is a cheap Govee Digital Thermometer Hygrometer at each vent and one near the pillow, because “it feels cooler” is not data, and humidity matters as much as the number on the dial when you’re trying to fall asleep.
The Fan That Has to Find a New Home
Ducting moves the cold. A fan moves everything else. We’ve been using an Omnidirectional Air Circulator Fan to push air around the cabin, and it does that job well. The trouble is where it lives. Right now it sits exactly where someone’s head goes in night mode, and nobody sleeps soundly with a fan on their pillow. It’s going to have to move.
That’s the kind of thing you only discover by actually setting up for bed. On paper, the fan’s spot was fine. In real life, it’s in the way. If you’re deciding where air movers go in your own build, lie down in the bed position first and look up. A ceiling unit like the MaxxAir MaxxFan Deluxe Roof Vent Fan avoids the problem entirely by staying overhead, and pairing a roof vent with a small circulator gives you exhaust and air movement at the same time. I covered fan choice and placement more deeply in a post about choosing and installing the right roof fan.
Night Mode, Day Mode, and the Five-Minute Swap
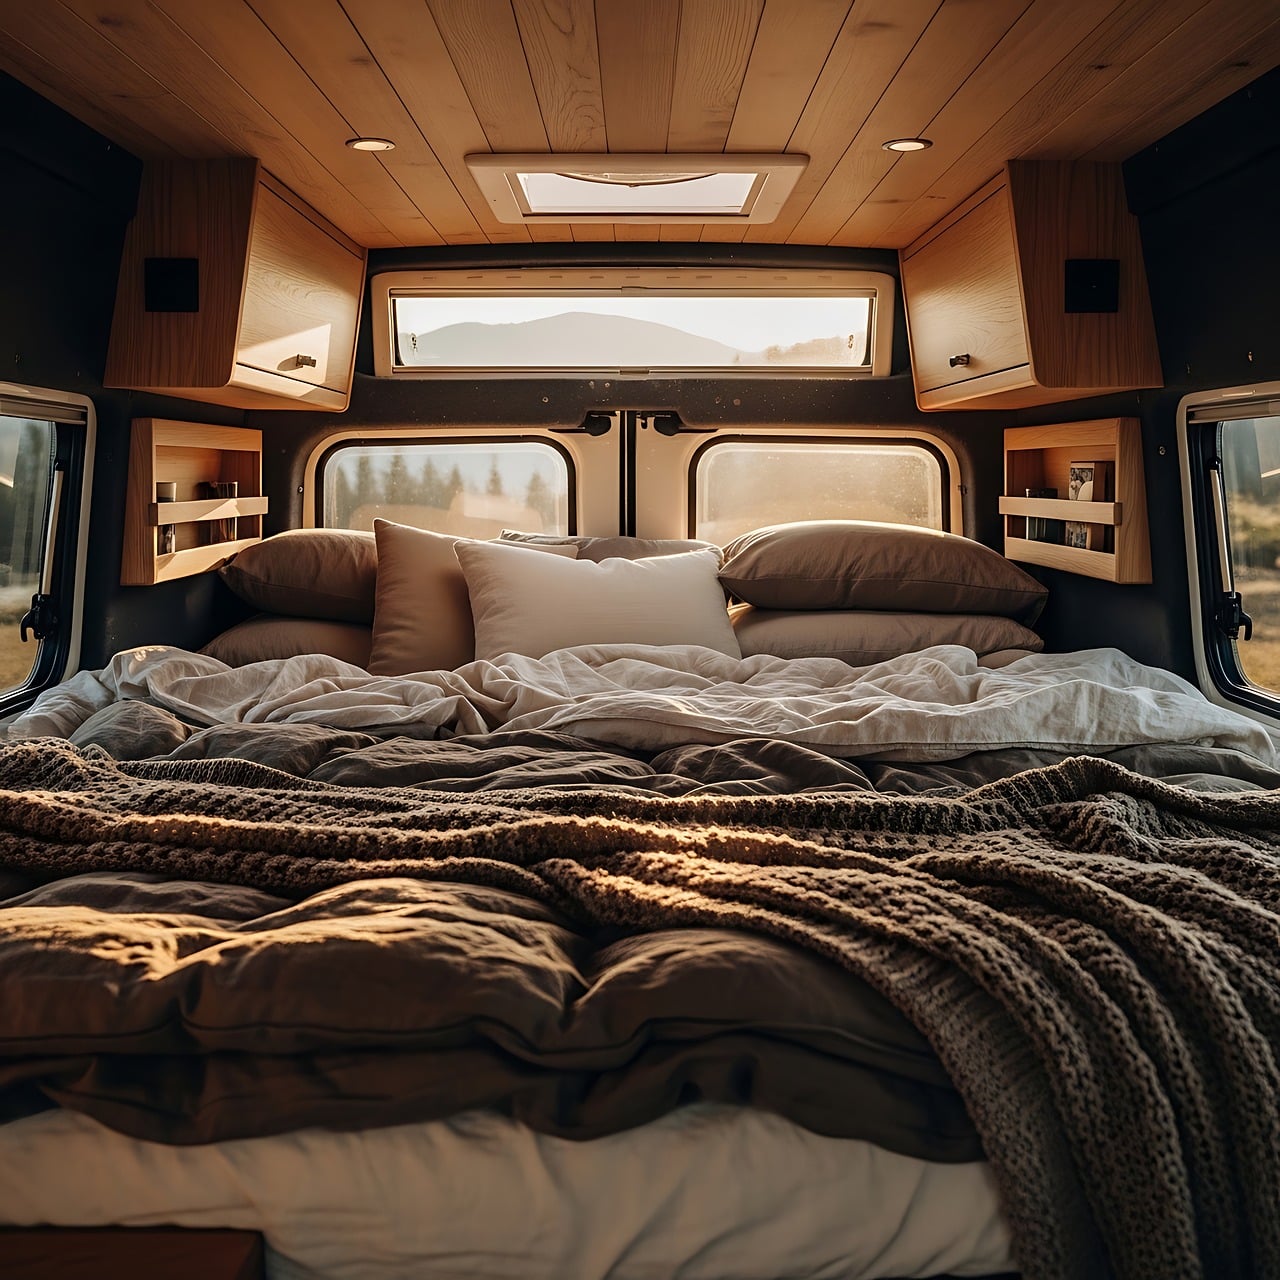
Our layout has two personalities. In nighttime mode, both beds are down and ready, and that’s how the van will look on every overnight. In daytime mode, one bed gets set on top of the other, the dinette table goes into its position, and suddenly there’s a place to eat, work and play cards while the rain comes down.
I love this kind of layout for travel because it forces honesty. If the swap is annoying, you’ll stop doing it, and you’ll end up living in a bedroom that’s also your kitchen and office. If it’s quick, you’ll actually use the van the way you designed it. I wrote about the value of furniture that pulls double and triple duty in the van life table that changes jobs three times a day, and the same rule applies to beds. Every conversion step you remove is one more evening you’ll enjoy instead of grumble through.
A few small things make a convertible layout friendlier in the dark. Stick-on Rechargeable Magnetic LED Puck Lights placed low near the bed give you enough light to swap modes without blinding whoever’s already in bed. A few Collapsible Fabric Storage Bins are a good stand-in for drawers that don’t exist yet; they slide into open sections and fold flat when the real cabinetry arrives. And if you’re sleeping at campgrounds rather than quiet forest roads, a pack of Mack’s Ultra Soft Foam Earplugs will save you from the generator two sites down.
Why You Should Sleep in It Before It’s Done
Ours is far from finished. There will be drawers in one whole section, storage under both seats once we build real benches, and storage overhead and along the walls. There’s a lot more work ahead. But I’d rather know right now that the fan is in the wrong place and the rear windows need covering than find out after I’ve built cabinets around a mistake.

A shakedown night doesn’t have to be an adventure. In fact, it shouldn’t be. Start close. Sleep in the driveway one night, then book a site at a state park an hour away. Pick a campground with bathrooms, water and a camp host, so the only thing you’re testing is the van. Pay attention to the small stuff: where you set your phone and glasses, whether the shades stay snapped in place, how loud the AC sounds at 3 a.m., whether morning light leaks in anywhere.
Keep a notebook by the bed, or just a running note on your phone. Speaking of phones, ours is an older Google Pixel, and it’s what has been filming this build. If you’re shopping for one that will survive campsite photos and late-night build documentation, the Google Pixel 11 Pro is the better choice these days. Whatever you use, write things down the next morning. Memory is generous; notes aren’t, and the notes are what tell you what to build next.
Your First Real Road Night
Once the van passes a couple of short test nights, it’s time for a real one. Not a cross-country drive. A weekend somewhere you’ve wanted to see, with enough slack in the schedule that a stuck shade or a weak vent doesn’t ruin anything. Pull in before dark, so you can set up in daylight. Run through night mode once while it’s still light enough to see what you’re doing.

Then do the simple things that make a van feel like a place. Close the shades with that satisfying magnetic snap. Crack the windows on screen mode if the night is cool enough. Let the ductwork carry the AC to the back if it isn’t. Lie down. Look up. You’ll notice what’s missing, sure. You’ll also notice something that’s hard to get from any spreadsheet or build plan: you’re somewhere new, you’re comfortable, and you got there in a home you built with your own hands.

That’s what sleep-ready really buys you. Not a finished van, but a reason to stop waiting for one. The drawers and benches and overhead lockers will come. The road is open now, and it’ll teach you more about your build in one weekend than another month in the driveway ever could.