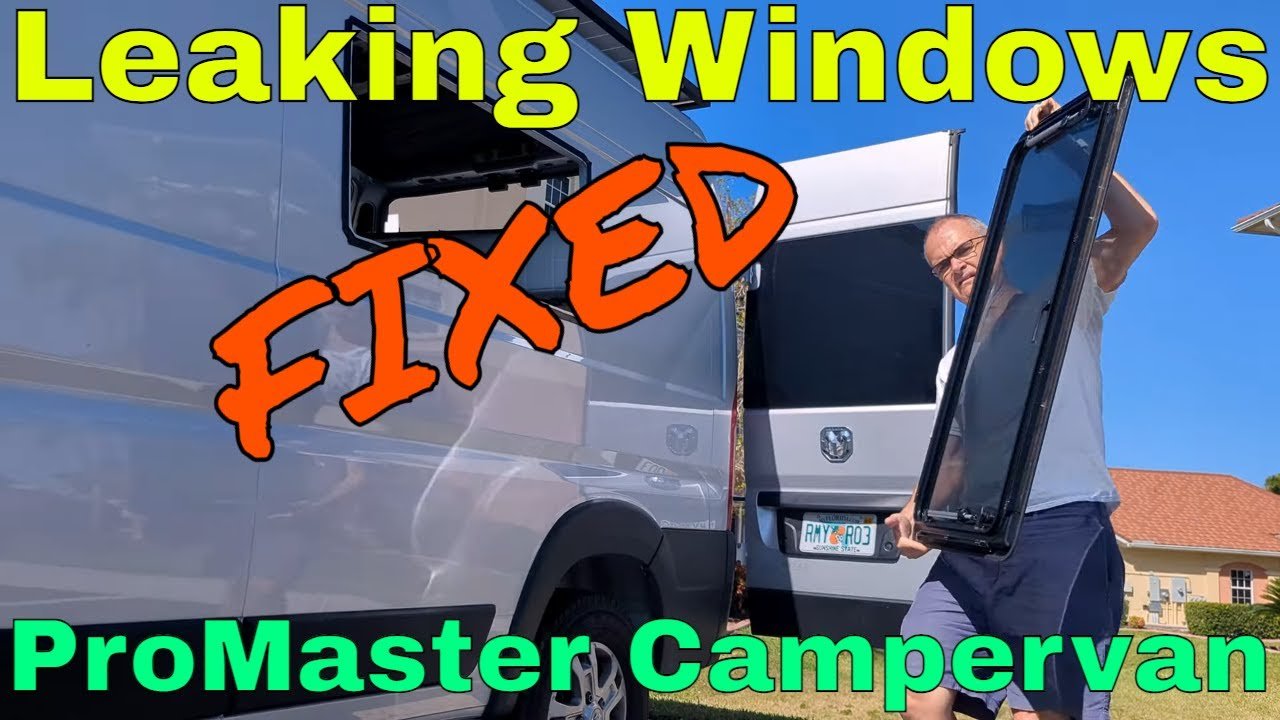
There is a particular kind of dread that settles in when you notice water dripping inside your campervan. You spent weeks measuring, cutting, and installing windows. You checked the weatherstripping. You tightened every screw. And still, after the first real rainstorm, there it is — a small trail of water working its way down the interior wall, pooling on your floor, and quietly threatening thousands of dollars of build-out work.
Window leaks are one of the most common and frustrating problems in van conversions. Unlike a house, where walls are thick and forgiving, a van has thin metal skins, curved surfaces, and structural ribs that fight you at every turn. The good news is that almost every window leak can be fixed permanently if you understand why it is happening and attack the root cause instead of the symptom.
Why Camper Van Windows Leak in the First Place

Van windows fail for a handful of predictable reasons, and almost none of them have to do with the window itself being defective. The culprits usually involve installation details that are easy to get wrong, especially if it is your first build.
The most frequent offender is insufficient or uneven sealant between the window flange and the van wall. Most camper windows — whether they are Eurovision-style awning windows or domestic RV sliders — rely on a compression seal. The window frame presses a rubber gasket or butyl tape against the metal, and that material does the actual waterproofing. If the seal has gaps, is too thin in spots, or was contaminated with dust during installation, water will find its way through.
Van walls are not perfectly flat. The ProMaster, Transit, and Sprinter all have corrugations, ribs, and curves that create natural low spots under a window flange. If those voids are not filled with sealant before the window goes in, they become highways for water to travel from the exterior to the interior.
Screws are another common failure point. Factory screws that come with budget windows are often too short or too thin to maintain consistent pressure across the entire flange. When pressure is uneven, the seal compresses tightly in some areas and barely touches in others. Many builders discover this when they try to fix a leak by tightening screws and find that it makes no difference — the gap is on the opposite side of the window where the screw is already as tight as it can go.
Diagnosing the Source of the Leak
Before you start ripping things apart, take the time to figure out exactly where the water is getting in. Randomly applying sealant everywhere might slow the leak temporarily, but it will not solve it, and you will be back out in the rain with a towel before long.
The garden hose test is the most reliable diagnostic tool. Have someone sit inside the van while you run a low-pressure stream of water over the window, starting at the bottom and working up slowly. The interior spotter can trace the water entry point in real time. Pay special attention to the bottom corners and the top edge, since gravity and wind-driven rain tend to push water into these areas first.

If the water is coming in between the window frame and the van wall, your sealing method needs to be redone. If it is coming through the window mechanism itself — around the crank handle or the hinge — you may need to replace the gasket inside the window. Replacement screws with slightly larger heads can also help distribute pressure more evenly across the flange, closing gaps that the original hardware left open.
The Butyl Tape Method: Why It Works and How to Do It Right
Butyl tape is the gold standard for camper window installation and repair. Unlike silicone caulk, which cures hard and can crack under vibration, butyl tape stays flexible for years. It fills gaps, conforms to irregular surfaces, and maintains a waterproof seal even as the van flexes and bounces down rough roads.
The trick with butyl tape is applying enough of it in the right places. A common mistake is running a single thin strip around the perimeter and calling it done. On a corrugated van wall, that single strip bridges the low spots without filling them, creating exactly the kind of hidden channels that water loves.
Instead, build up the tape in layers on the low spots. Press it into the corrugations and ribs where the window flange will sit. Use a quality butyl tape that is rated for automotive and RV use — it will hold up better against UV exposure and temperature swings than generic hardware store varieties.
If you want options, the Dicor BT-1834-1 butyl seal tape is a well-known choice among RV enthusiasts, and XFasten’s butyl tape offers a mess-free formulation that is easy to work with for first-timers.
Removing and Reinstalling the Window
If the leak is significant, you will probably need to remove the window entirely and redo the seal. This sounds intimidating, but it is a straightforward process if you are patient and methodical.
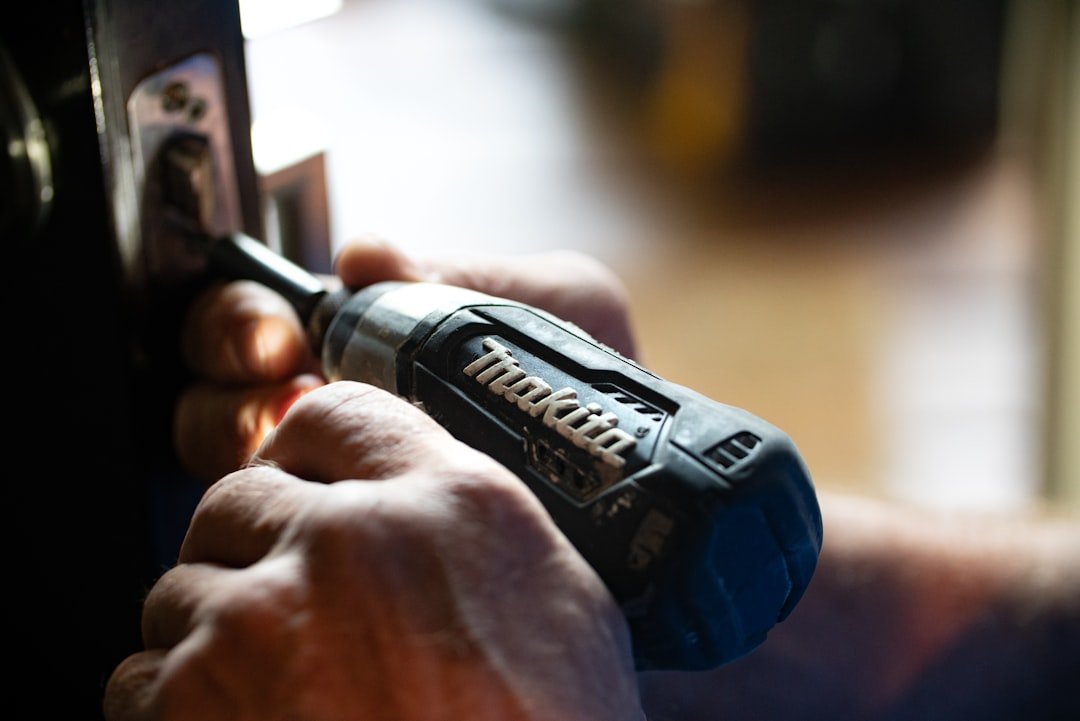
Start by removing all the interior trim and the screws that hold the window in place. A Milwaukee drill and driver combo makes quick work of this, especially if you are dealing with dozens of screws across multiple windows. Once the screws are out, the window should release from the exterior. If it is stuck — and it probably will be — work a plastic trim tool around the edge to break the old sealant bond without scratching the paint.
Clean every trace of old sealant off both the van wall and the window flange. Residual butyl tape or caulk will prevent the new seal from adhering properly, and you will be doing this job again in six months. A plastic scraper and some adhesive remover do the job without damaging the finish.
Once both surfaces are clean, apply fresh butyl tape to the window flange, building it up in the low spots as described above. Apply painter’s tape to the van wall around the opening to keep things neat — butyl is sticky and can make a mess of your paint. Set the window back in place, reinstall the screws starting from the center and working outward, and tighten them in a star pattern to ensure even pressure across the entire flange.
Hardware Upgrades That Make a Difference

Sometimes the fix is not about the sealant at all. Factory hardware on budget camper windows can be surprisingly poor quality. Screws strip easily, heads are too small to grip the flange properly, and the metal used in the threads does not hold up to repeated installation and removal cycles.
Upgrading to larger-diameter screws with wider heads — like these pan head RV screws — gives you better compression across the window flange and reduces the likelihood of creating a gap. If your window uses a crank mechanism, keeping a spare RV window crank handle on hand is smart, since these components are prone to stripping over time.
For areas where you need a secondary seal — such as around screw heads or at the very bottom edge of the flange where water tends to pool — a bead of 100% silicone caulk or Gorilla silicone sealant adds a belt-and-suspenders layer of protection. Do not substitute polyurethane or latex caulk for this application. Silicone remains flexible, adheres well to painted metal, and can be removed cleanly if you ever need to service the window again.
Preventing Future Leaks Before They Start

The best time to prevent window leaks is during the initial installation. If you are still in the planning phases of your van build, take these steps to save yourself from future headaches. If you’re just starting the process of cutting holes and installing windows, do the job right the first time.
First, choose windows with a proven track record in van conversions. Dual-pane acrylic awning windows from Arctic Tern or similar manufacturers are popular because their design compresses the seal evenly when closed. Make sure whatever window you buy comes with a proper installation template and hardware kit — or be prepared to source your own better hardware.
Second, take the time to understand your specific van’s wall profile. The corrugation patterns on a Ram ProMaster differ from those on a Ford Transit or Mercedes Sprinter. What works perfectly on one van may leave gaps on another. Hold the window in place dry, shine a light from behind, and look for any spots where the flange does not make full contact with the wall.
Third, do a water test immediately after installation — not three months later when the first big storm hits. This is the moment to discover that your bottom-left corner has a slow seep, not when your interior walls are already built and your insulation is soaking wet.
What to Do If Water Already Got In
If you catch a leak early, the fix might be as simple as re-sealing the window. But if water has been infiltrating for weeks or months, you need to assess the damage before slapping new sealant on top and hoping for the best.
Check the insulation behind the window. Thinsulate, Havelock wool, and other common van insulation materials hold water against metal, which leads to rust. If the insulation is wet, remove it, dry the area completely with a fan or dehumidifier, and treat any surface rust with a rust converter before installing new insulation. This is also a good time to consider whether your sound deadening and insulation strategy is holding up in other areas of the van.
Inspect the interior wall paneling near the leak. Wood panels that have swelled, warped, or developed mold need to be replaced. If you used plywood with a melamine or vinyl coating, water may have penetrated through the cut edges where the core is exposed. Sealing those edges with polyurethane during your next round of repairs will prevent the same problem from recurring.
Consider installing a water leak detector near each window opening. These small battery-powered sensors sound an alarm the moment they detect moisture, giving you a heads-up long before a slow drip turns into a costly repair. They are cheap insurance for a vehicle that represents tens of thousands of dollars and months of labor.
The Reality of Van Build Maintenance

Van builds are not static objects. They vibrate down highways, bake in desert sun, freeze in mountain winters, and flex over potholes. Every component — from your roof vent seals to your window gaskets — is in a constant state of slow deterioration. Accepting this reality is the first step toward building a van that lasts.
Keep a maintenance kit in the van that includes extra butyl tape, a tube of silicone sealant, a handful of replacement screws, and the tools needed to remove and reinstall your specific windows. When you notice a small drip, fix it that day. Do not wait for the weekend. Do not wait for the rain to stop. Water damage compounds quickly in a small space, and a five-minute fix today can save you from a five-day repair next month.
The builders who enjoy their vans the longest are not the ones who build perfectly the first time. They are the ones who build thoughtfully, pay attention to what their van is telling them, and are willing to go back and fix things when the original approach does not hold up. A window leak is not a failure — it is feedback. Respond to it promptly, learn from what caused it, and your van will keep you dry and comfortable for years of off-grid adventure.