Anyone who has spent time in a metal box rolling down the highway understands the appeal of silence. The constant drumming of road noise, the rattle of loose panels, and the whistle of wind through gaps can transform what should be a peaceful journey into an endurance test. For campervan owners and road trip enthusiasts, sound control isn’t just a luxury — it’s the difference between arriving at your destination refreshed or exhausted.
The good news is that modern sound deadening materials have made it surprisingly accessible to dramatically reduce noise levels in camper vans, RVs, and travel trailers. Whether you’re building out a brand new conversion or trying to quiet down an existing rig, understanding how sound works inside a vehicle — and what actually stops it — can save you hundreds of dollars and countless sleepless nights on the road.
Why Sound Control Matters More Than You Think
Road noise does more than annoy. Studies have shown that prolonged exposure to noise levels above 70 decibels — typical of highway driving in an uninsulated van — contributes to elevated stress hormones, poor sleep quality, and faster driver fatigue. A typical cargo van interior can reach 80 to 85 decibels at highway speeds, which is comparable to standing next to a running garbage disposal.
Beyond the health implications, sound deadening directly impacts your quality of life on the road. Conversations become easier, music sounds better, phone calls are clearer, and perhaps most importantly, you sleep through the night without waking up every time a truck rumbles past your campsite. For full-time van lifers and weekend warriors alike, treating sound as a core build priority — right alongside your overall floorplan layout and electrical system — pays dividends every single day.

Understanding the Two Types of Vehicle Noise
Before throwing materials at the problem, it helps to understand what you’re actually fighting. Vehicle noise breaks down into two main categories: structural vibration and airborne sound.
Structural vibration happens when road imperfections, engine harmonics, and wind pressure cause the large metal panels of your van to flex and resonate. Think of each body panel as a drum head — the larger and thinner it is, the more it vibrates. This is the source of that deep, booming drone you hear at highway speeds. Butyl-based sound deadening mats address this by adding mass and damping properties to the metal, effectively killing the resonance.
Airborne sound is the higher-frequency noise that travels through the air — wind noise, tire hum, traffic sounds, rain on the roof. This type requires a different approach: thick, absorptive insulation materials that trap sound waves rather than letting them bounce around the interior. Products like Thinsulate and closed-cell foam excel here.
The most effective sound control strategy tackles both types simultaneously, layering damping mats directly on the metal followed by absorptive insulation behind the interior walls. Skipping either layer leaves a significant portion of the noise problem unsolved.
Butyl Mats: The Foundation of Sound Deadening
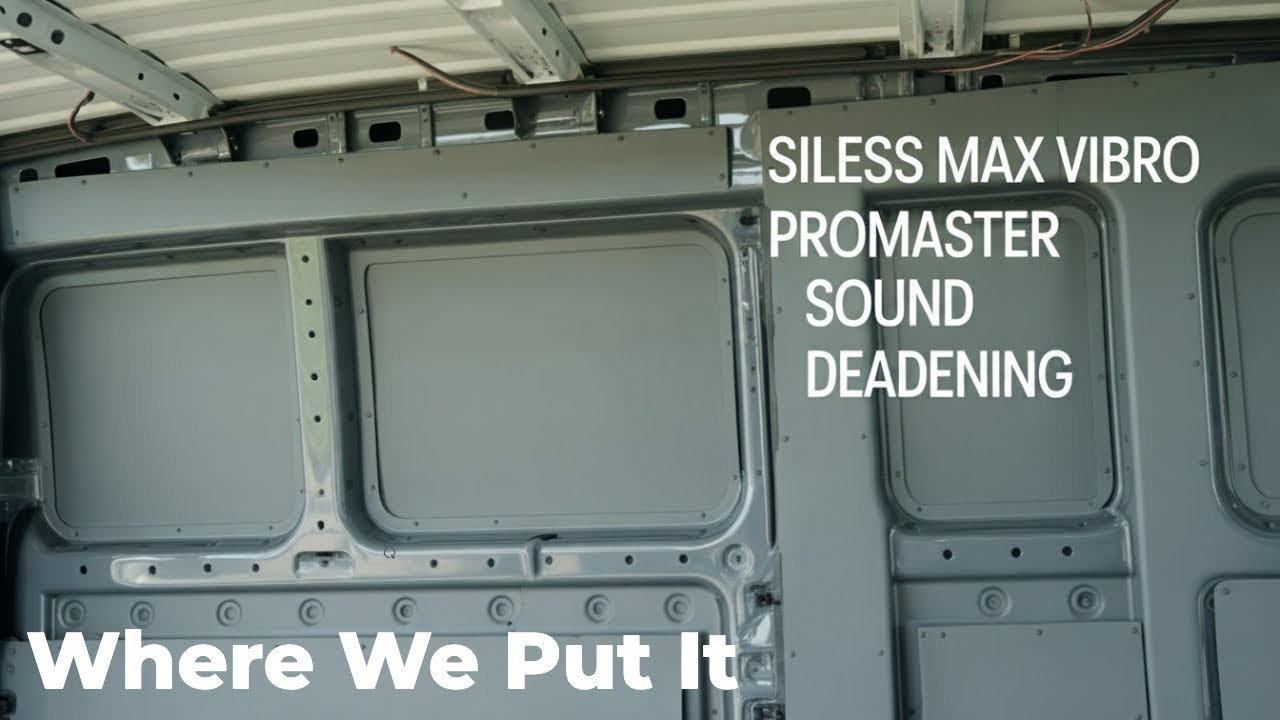
Butyl rubber sound deadening mats are the workhorse of vehicle noise control. Products like the Siless Max Vibro 120 come in sheets that you peel and stick directly to clean metal surfaces. Each sheet weighs roughly half a pound and measures approximately 10 by 14 inches, providing substantial mass that dampens panel vibration.
Installation is straightforward but requires attention to detail. After cleaning the metal surface with alcohol or a degreaser, you peel off the backing paper and press the mat firmly onto the panel. A hard rubber roller helps ensure complete adhesion — many products include a visual indicator (usually small raised rectangles on the mat surface) that disappears once you’ve applied enough pressure. If you can still see the pattern, you haven’t rolled it enough.

Coverage strategy matters more than total coverage. A common misconception is that you need to cover every square inch of metal. In practice, treating roughly 25 to 30 percent of each panel’s surface area achieves the majority of the sound reduction. Focus on the largest, flattest panels first — wheel wells, door skins, the roof, and the large side walls of the cargo area. These are your biggest “drum heads” and produce the most resonant noise.
Tools that make the job easier: A quality set of tin snips for cutting mats to fit around curves and obstacles, a roller kit with multiple head sizes for pressing into corners, and plenty of cleaning rags. Budget approximately 30 square feet of matting for a standard cargo van — about two boxes of the 120-mil product.
Tackling the Hard-to-Reach Spots
Not every noisy surface is easily accessible. The areas behind wheel wells, inside door cavities, and between structural ribs can be nearly impossible to reach with standard mats. This is where spray-on sound deadening products become valuable.
Spray-on products like Boom Mat come in aerosol cans and apply similarly to spray paint — light, even coats from 8 to 10 inches away. The material goes on wet, bubbles slightly as it activates, and cures into a rubbery coating that adds damping properties to whatever it touches. Two to three light coats provide meaningful vibration control in spaces where your hands simply can’t reach.
Be realistic about expectations, though. A spray can contains roughly one pound of material total, while each deadening mat sheet weighs close to half a pound. The spray is a supplement, not a replacement. Use it for spot treatment in tight areas and rely on mats for the primary panels. Also note that these products off-gas during curing, so plan for ventilation during and for several hours after application.
Insulation: The Second Layer of Defense
Once vibration is under control, the next layer addresses airborne sound and thermal insulation simultaneously. Thinsulate SM600L has become the gold standard for van conversions, and for good reason. Originally developed for clothing, this synthetic insulation is non-itchy, moisture-resistant, and compresses thin enough to fit behind interior wall panels while still providing meaningful sound absorption.
Installation involves cutting the material to fit each cavity and adhering it with a quality spray adhesive. 3M Super 77 works well for general applications, while 3M Super 90 provides stronger bonding for overhead applications like the roof. Spray both the metal surface and the back of the insulation, wait a couple of minutes for the adhesive to become tacky, then press firmly into place.

The difference is noticeable immediately. Van owners consistently report that after installing sound deadening mats plus Thinsulate insulation, highway noise drops to levels that allow normal conversation and peaceful sleep. The thermal benefits are equally impressive — the same insulation that traps sound also keeps the van warmer in winter and cooler in summer, reducing the load on your heating and cooling systems.
Door Panels and Slider Doors: The Hidden Noise Sources
Doors deserve special attention in any sound control plan. The large, thin panels of cargo doors and slider doors act as massive resonators, and the slider mechanism on vans like the Ram ProMaster creates additional rattling points. Treating these areas requires patience but delivers outsized results.
For the slider door, apply deadening mats to every accessible flat surface inside the panel. The back doors get similar treatment — both the interior skin and any accessible areas between the inner and outer panels. Each door panel is essentially a speaker cone amplifying road noise, so the more mass you add, the quieter the ride.
Don’t forget the gaps. Weather stripping degrades over time, and even small gaps around door seals create wind noise that can be surprisingly loud at speed. Replacing worn seals and adding supplemental foam weather stripping to problematic areas is a low-cost, high-impact upgrade.

Wheel Wells: The Loudest Part of Your Van
If you could only treat one area, make it the wheel wells. These are where road noise enters most aggressively — tire roar, gravel impact, and water spray all transmit directly through the thin metal into your living space. Wrapping the interior side of both front and rear wheel wells with heavy deadening mats should be a priority in any build.
For additional noise reduction, consider wheel well liners for the exterior side. These flexible plastic or rubber shields fit between the tire and the metal wheel house, absorbing impacts and reducing the amount of noise that reaches the body in the first place. Combined with interior deadening, the transformation is dramatic — what once sounded like driving inside a bass drum becomes a manageable, almost pleasant hum.
Creating a Comfortable Travel Environment
The ultimate goal of all this work isn’t just a quieter van — it’s a better travel experience. When your mobile home doesn’t assault you with noise, everything improves. You can actually hear your travel companion without shouting. Podcasts and audiobooks become listenable at normal volumes. And when you park for the night, you sleep through the 5 AM delivery truck rumbling past your stealth camping spot.

For road trip travelers who aren’t doing a full van build, many of these principles still apply. Even adding a few strategically placed deadening mats inside your vehicle’s door panels and trunk area can meaningfully reduce highway fatigue. Combined with quality travel pillows and proper seat cushioning, sound control completes the comfort equation for long drives.
The investment in materials for a complete van treatment runs between $300 and $600 depending on van size and product choices. Given that this same van might serve as your home for months or years, that’s a remarkably small price for the quality of life improvement it delivers. Approach it as a system — mats first for vibration, insulation second for airborne sound, then seal every gap — much like how proper window installation seals your van against the elements while letting light in.

Planning Your Sound Control Project
Timing matters in a van build. Sound deadening and insulation should happen early — after the vehicle is stripped and cleaned but before any framing, electrical, or plumbing goes in. Once the walls are up, you’ve lost access to the metal surfaces where these materials do the most good.
Work in sections rather than trying to tackle the entire van at once. Start with the wheel wells and lower walls, move to the doors, then finish with the roof and upper panels. This approach lets you test your technique on less visible areas and keeps the mess contained. Keep your measuring tools handy — precise cutting saves material and reduces waste.
Whether you’re planning a weekend getaway or a cross-country odyssey, the quiet comfort of a well-insulated vehicle changes the entire character of travel. The road noise that once defined your journey fades into the background, replaced by conversation, music, and the simple pleasure of moving through the world in your own space — on your own terms.

2 thoughts on “Campervan Soundproofing: How to Build a Quiet, Comfortable Van for Better Road Trips”