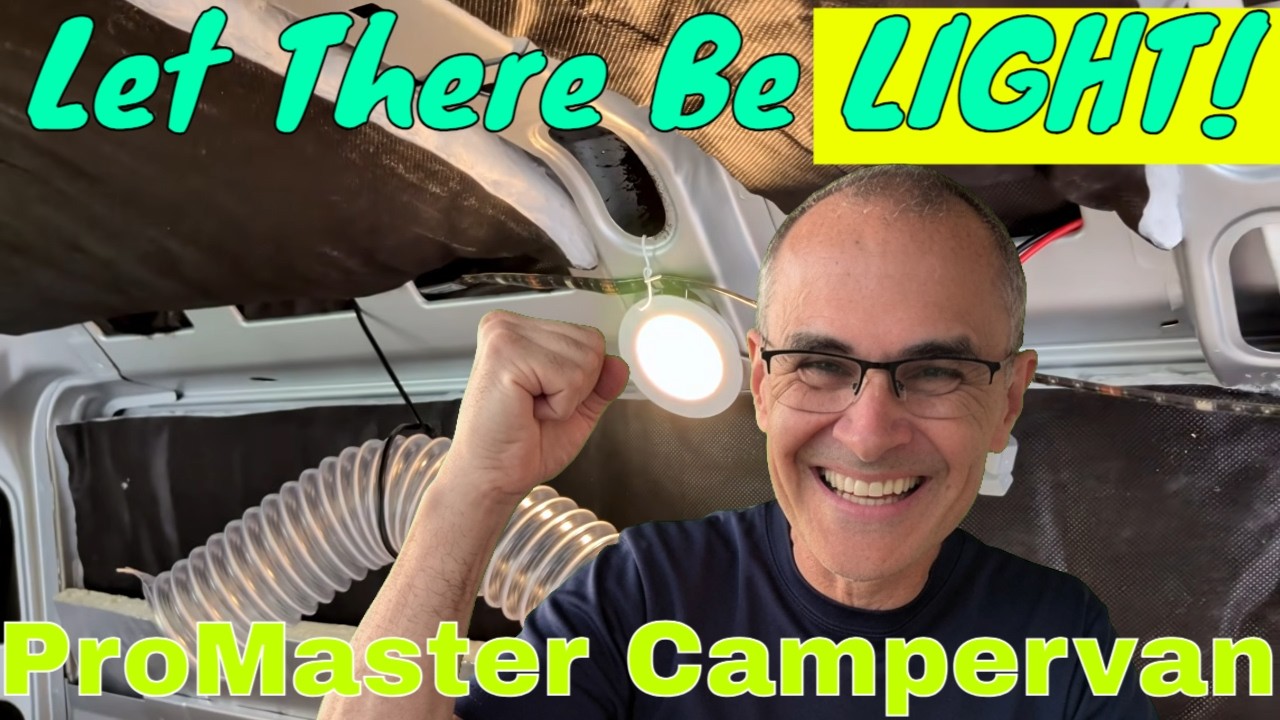
Two days before a trip, our van had a bed, a roof fan, a fuse box full of spare slots, and a ceiling that was still bare ribs, insulation, and black felt. What it did not have was a single overhead light. Anyone who has tried to cook dinner, find a headlamp, or dig a charging cable out of a bin by phone flashlight knows how fast that gets old. Darkness in a van is not romantic for long. By the second night it is just annoying.
So the last real job before packing was lighting. Not the finished, flush-mounted, cut-into-the-headliner version. A temporary version: six small 12V LED puck lights, two switches, and a handful of lever connectors, wired so they could be pulled down and reused the day the ceiling panels finally go up. It took an afternoon, cost very little, and changed how the van feels after sunset more than anything else we have added lately.
Here is how I would think about doing the same thing if your build is behind your travel calendar, which, if you are like most van owners I know, it is.
Why Light Comes Before the Ceiling
Most build guides put interior lighting near the end, right after the ceiling. That order makes sense if you are building straight through. It makes much less sense if you want to actually use the van while the build is still going. You can sleep without cabinets and cook without a finished galley, but every evening task gets harder without light, and in November it is dark by dinnertime in most of the country.
I have written before about why I think a van should be sleep-ready long before it is finished. Overhead light is the piece I would now add to that short list. A headlamp works for one person. Two people sharing a van with headlamps means somebody is always getting blinded mid-conversation. A few warm lights overhead let you read, sort gear, and wind down like you are in a small room instead of a cargo box.
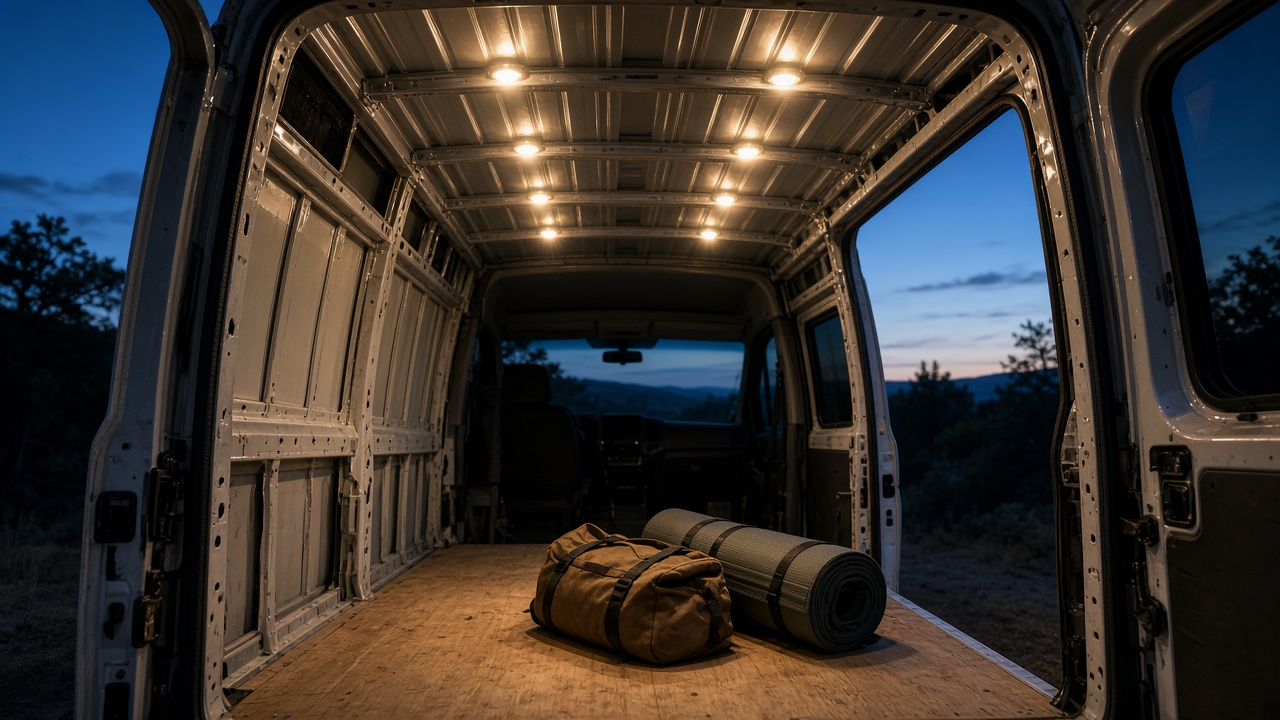
The trick is to wire the lights so the temporary part is only the mounting. The wiring itself should be the real thing: the right gauge, a fuse, proper connectors, and switches where you will actually reach for them. When the ceiling material goes in later, you cut a hole for each light, push it through, and you are done. Nothing gets torn out and redone.
The Short Kit List
This is everything that went into our setup. None of it is exotic, and all of it is the kind of thing that keeps being useful after the build is done.
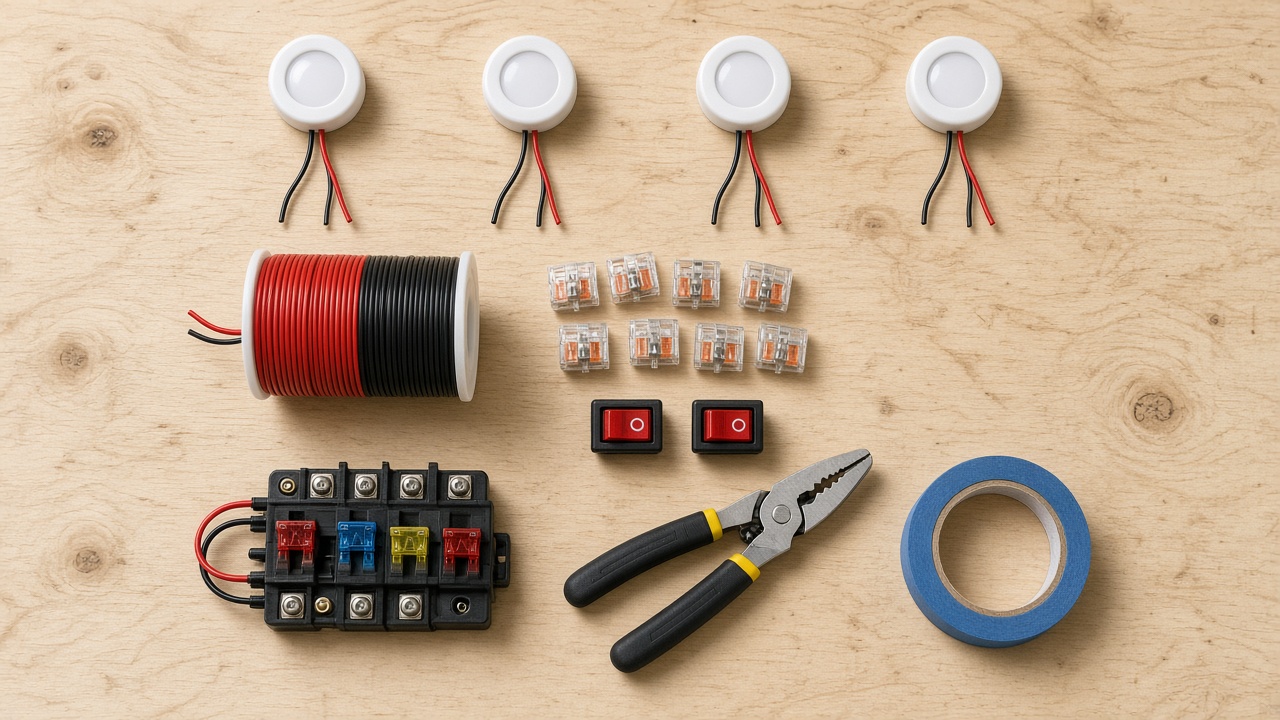
- Recessed 12V LED puck lights, six of them, each with a simple two-wire lead
- 16 AWG red and black two-conductor wire for the supply runs
- Wago-style lever wire connectors in two-port and four-port sizes
- 12V rocker switches, one per side of the van
- DC blade fuse box to protect the circuit
- Self-adjusting wire stripper and crimper for clean, consistent strips
- Blue painter’s tape for the one light that refused to mount any other way
Borrowing a Circuit You Already Have
The cleverest part of our install was not adding anything at the fuse box at all. Our 11-inch six-speed reversible RV roof vent fan already had a dedicated run coming up to the ceiling, protected by a 5-amp fuse. That fan pulls somewhere around one to two amps. All six puck lights together pull about one and a half amps. Add the two together and you are still comfortably under the fuse rating, even with everything running at once.
So instead of running a brand-new circuit from the fuse box, the lights tap into the fan’s supply right at the ceiling. There were plenty of open slots on the fuse box that I could have used, and eventually I might. But when you do not yet know exactly where everything will end up, the easiest path is often the right one for now. It also meant less wire snaking through walls that are still going to change.
If you try this, do the math first and write it down. Add up the real draw of everything on the circuit, not the number you hope it is, and make sure the total stays below the fuse. The fuse is there to protect the wire, so never solve a blown fuse by dropping in a bigger one. If you want a refresher on the bigger picture, I covered fuse sizing, wire runs, and battery planning in how to design a van electrical system that never leaves you stranded. A cheap digital multimeter is worth carrying for exactly this kind of check, both at install time and when something acts strange on the road.
Two Switches, Three Lights Each
I split the six lights into two groups of three. One switch controls the passenger side and the other controls the driver side. That small decision pays off every single night. One person can be reading in bed on one side while the other is still sorting the kitchen or packing for the morning, and nobody has to light the entire van to do it.
It also gives you a cheap form of dimming. On a quiet night at a dark campground, three lights is often plenty, and it keeps the van from glowing like a lantern to everyone else on the loop. When you are setting up camp after a long drive and need to find everything at once, flip both.
Mount the switches where your hand naturally goes when you climb in, not where the wiring happens to be convenient. That sounds obvious, but in an unfinished van it is tempting to stick a switch wherever the wire ends. You will be reaching for it in the dark, probably with your hands full.
Lever Connectors Make It Reversible
At each light location I left a free connection point on a lever connector. Where several lights share a run, I used four-port connectors with three of the four ports filled. The lights at the very end of each run use simple two-port connectors. Installing a light becomes almost silly: strip the two leads, open the levers, push the wires in, close the levers, and find somewhere for the light to hang.
That reversibility is the whole point of a temporary install. When the ceiling goes up, each light can come out of its connector, go through its new hole, and clip back in without cutting or re-stripping anything. Lever connectors also handle the kind of small changes that always come up on a trip, like moving a light six inches because it ended up right over your pillow.
One detail tripped me up for a second. The puck lights in our kit came with a black lead and a white lead, and on these lights black is positive and white is negative. My supply wire is the usual red for positive and black for negative. So the pairing is black to red and white to black, which feels backward until you have done it once. Check the paperwork or the markings on your own lights, test the first one before you wire the rest, and you will save yourself a confusing half hour.
Mounting When There Is Nothing to Mount To
Puck lights are designed to sit in a round hole in a panel, held in place by two spring clips. With no ceiling, there is no panel. So every light became its own small problem, and I solved each one differently.
- One fit neatly into an existing hole in the van’s sheet metal, and the spring clips held it just like they would in a ceiling panel.
- The two rear lights slid into factory slots in the van body and stayed put without any help.
- Another sat comfortably in a slot farther forward.
- One hangs from the 80/20 aluminum framing, with a bread-tie-style twist tie pulling the springs back so it clamps tight around the rail.
- The last one simply had nowhere graceful to go, so it is held up with painter’s tape.
Is the tape elegant? No. Will it hold for a road trip? It does, and it peels off cleanly when the real ceiling goes in. A roll of reusable hook-and-loop cable ties would do the same job as the bread tie and tidy the slack wire at the same time. The point is not perfection. The point is light over your head on the first night, using whatever the half-built van gives you.
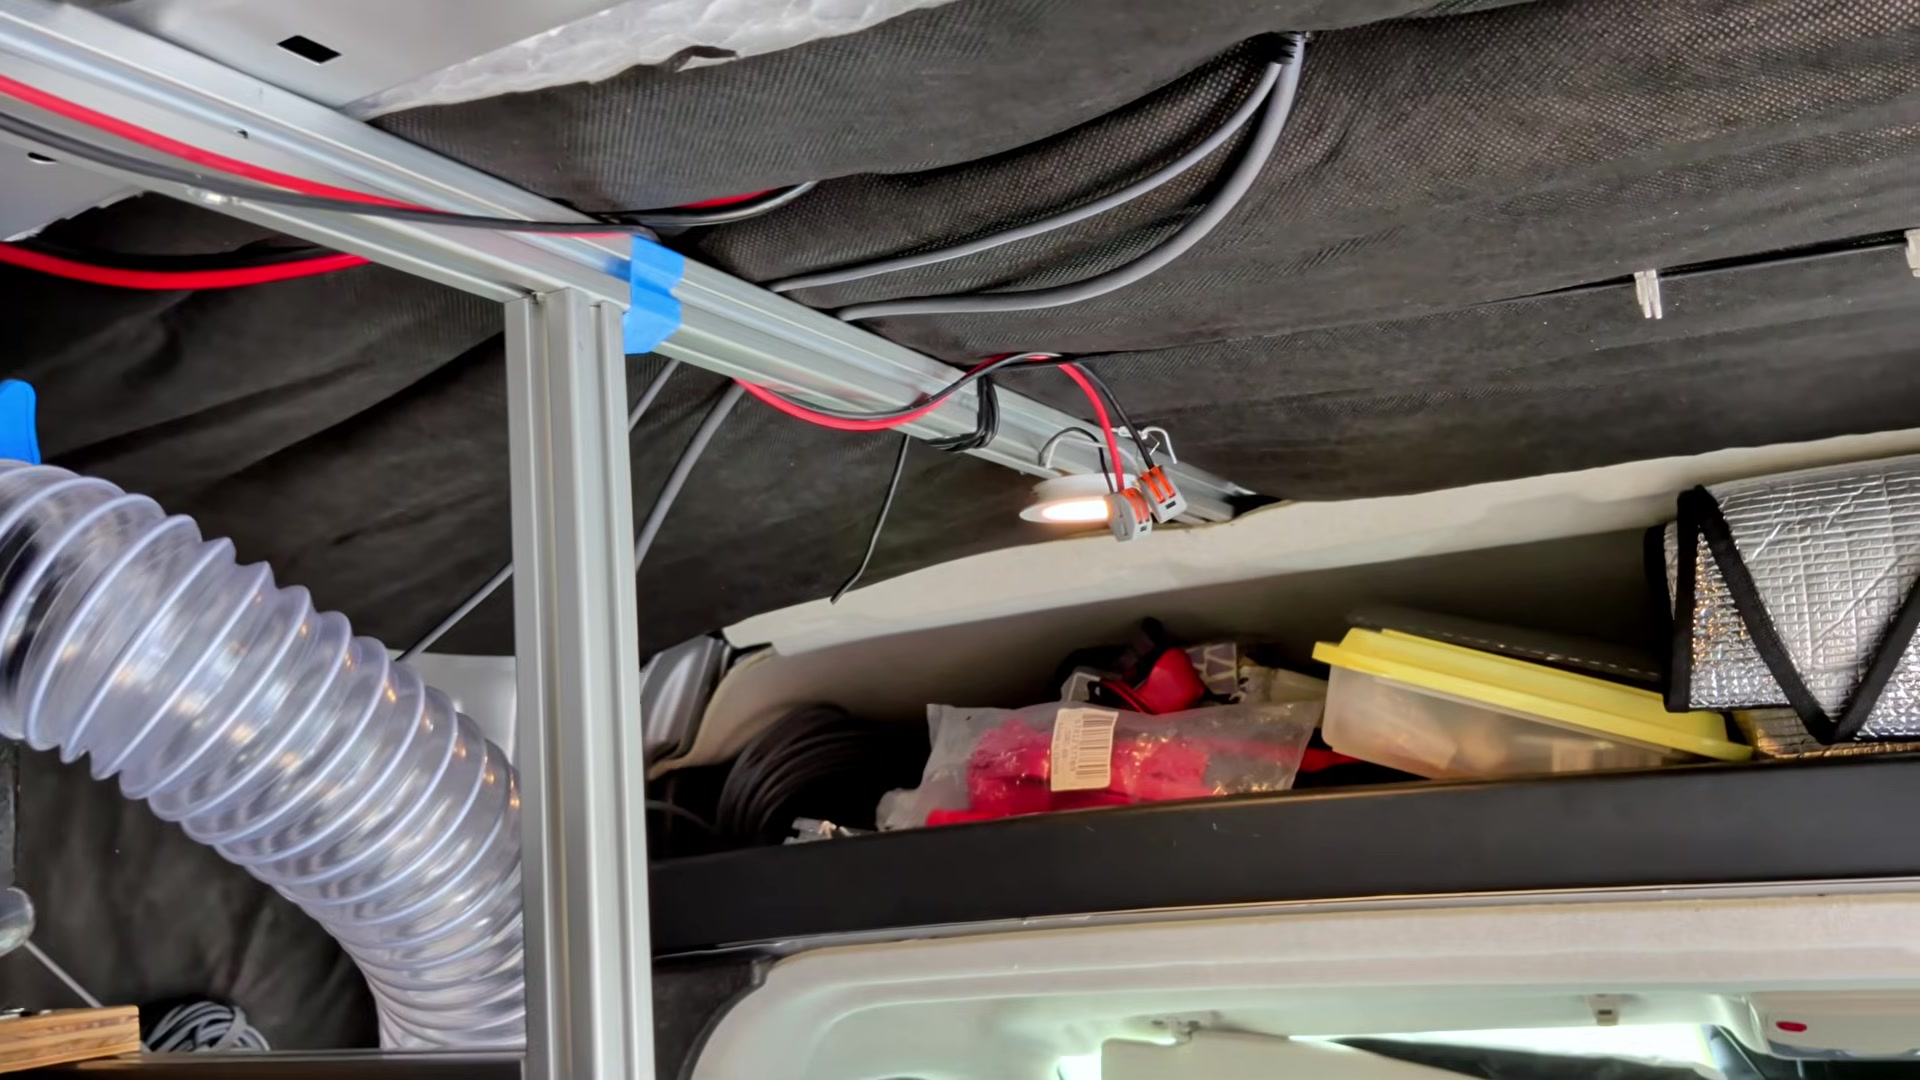
If you want to see the whole thing come together, from the bare wiring to all six lights glowing, here is the install in our ProMaster.
What Six Small Lights Cost Your Battery
This is where puck lights earn their reputation. At about one and a half amps for all six, a long evening is barely noticeable on a decent house battery. Run everything for four hours after dark and you have used roughly six amp-hours. Run only one side, and it is closer to three. Compare that to a single portable heater or an induction burner and it is practically a rounding error.
That efficiency changes how you camp. You stop rationing light. You can leave a side on while you cook, read until you fall asleep, and still wake up with plenty of battery for coffee and phones. On the road it means one less thing to manage, which is exactly what you want on a first trip in a van that is still teaching you its habits.
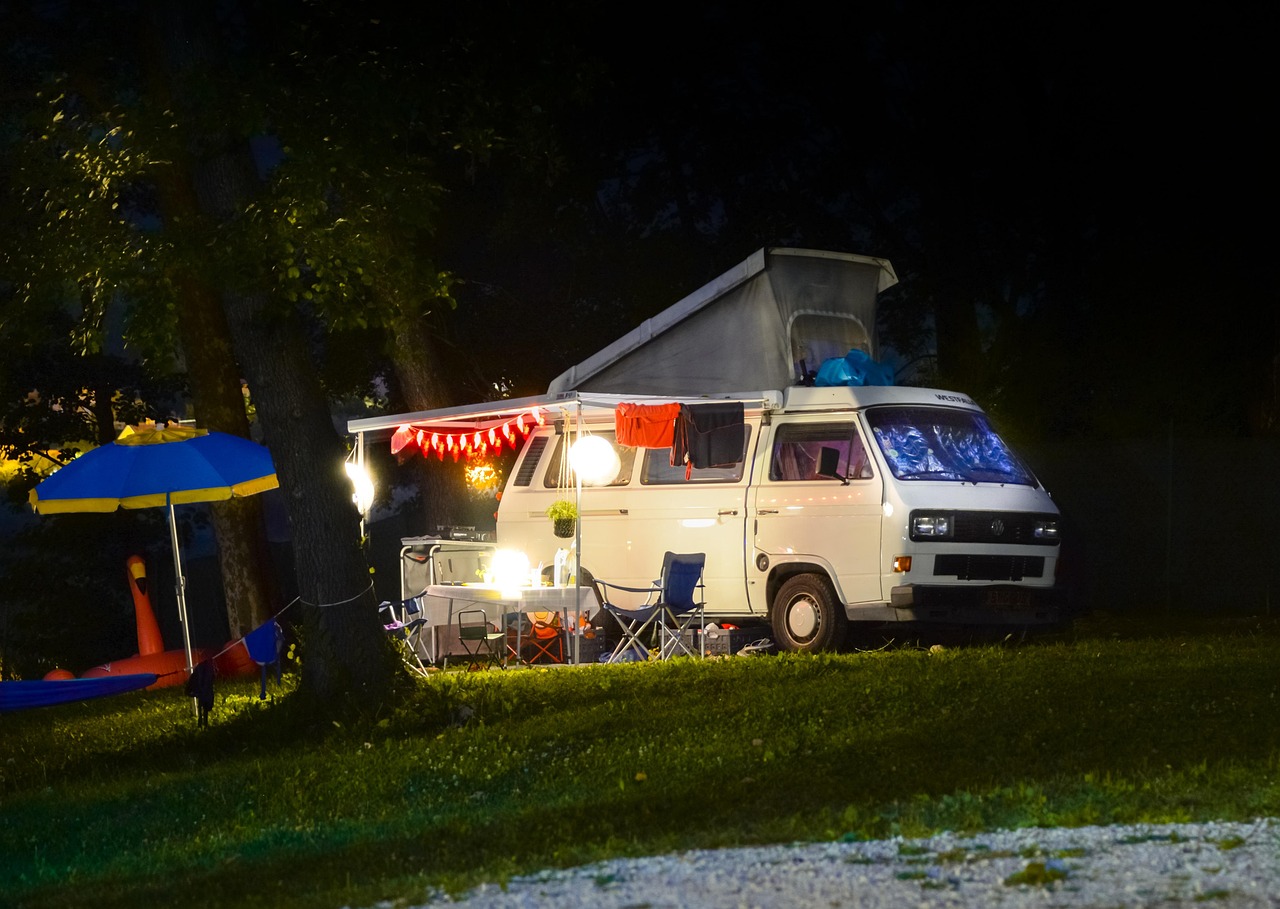
Before you head out, it is also worth doing a quick pass over every connection you just made. Tug each wire in its connector, make sure nothing is pinched against sharp metal, and confirm the fuse is seated. The routine I run before every trip is in the 10-minute task that keeps your van electrical system safe, and it is even more important on a temporary install where things are hung, taped, and tied rather than screwed down.
Leave Room for the Build to Change
The best thing about doing lights this way is that nothing is locked in. Our van still has unanswered questions. The omnidirectional fan we use for circulation is sitting in a spot it cannot stay in. It cannot go low near the bed because of the bed height, cabinets are planned for the upper area where it might otherwise live, and moving it too far means rerouting wire away from the little fuse box. So it stays where it is for now, and the trip will tell us where it belongs.
Lighting works the same way. After a few nights you will know whether the light over the kitchen should shift toward the stove, whether the bed side needs a dedicated reading light, and whether six is one too many or two too few. With temporary mounts and lever connectors, every one of those changes is a five-minute job. If your roof fan is still on your to-do list, my notes on choosing and installing a campervan roof fan are a good place to start, especially since that fan circuit may end up powering your lights too.
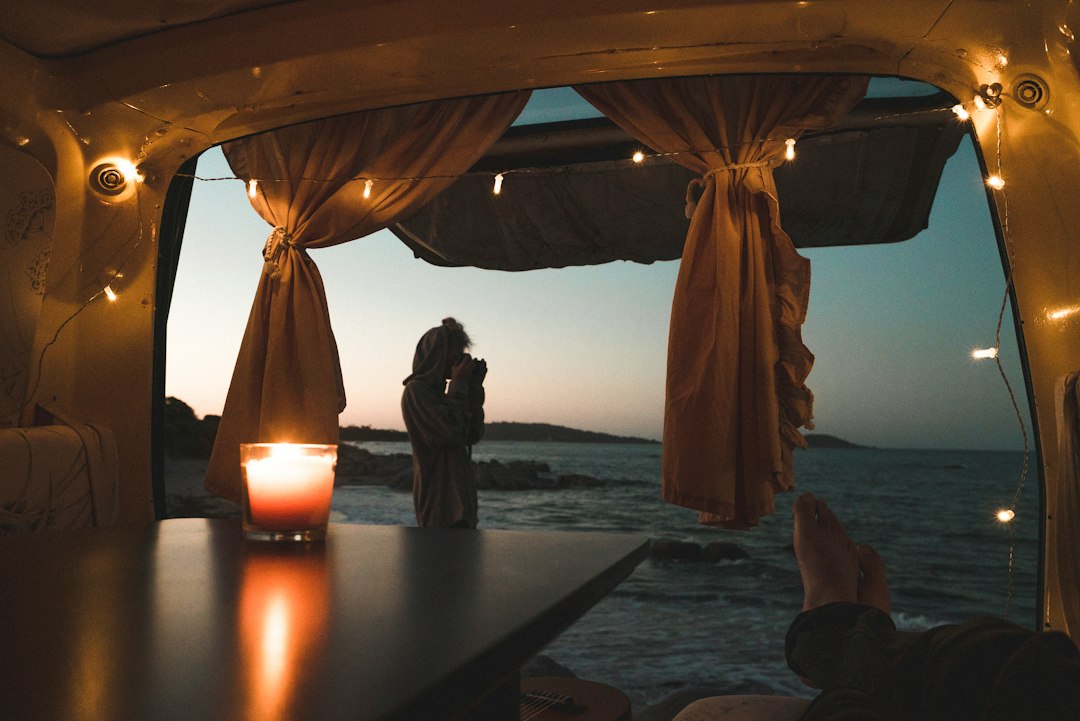
One more habit worth stealing: photograph every junction before anything gets covered up. I shot each connector, switch, and wire run with my Pixel 11 Pro while the ceiling was still open. When the panels go up, those photos become the map of where every wire runs, which is worth far more than any memory you think you will have six months from now.
A Few Things I Would Tell a First-Timer
Buy one or two more lights than you think you need. A spare costs little, and the mounting locations in a bare van are never quite where you planned. Having an extra means you can light a dark corner instead of living with it.
Test as you go. Wire one light, flip the switch, and see it turn on before you wire the next five. If the first one works, the rest are simply repetition. If it does not, you only have one connection to troubleshoot.
Warm white beats cool white in a small space. Cooler light reads as brighter in photos, but after dark in a van, warmer light feels calmer and does not make the space feel like a cargo hold.
And do not wait for the build to be done to go somewhere. A van with temporary lights and taped mounts is still a van you can sleep in, cook in, and wake up somewhere new in. Keep a good headlamp or a rechargeable lantern in the door pocket for the moments when house power is not an option, and the rest can wait.
The First Night Under Your Own Lights
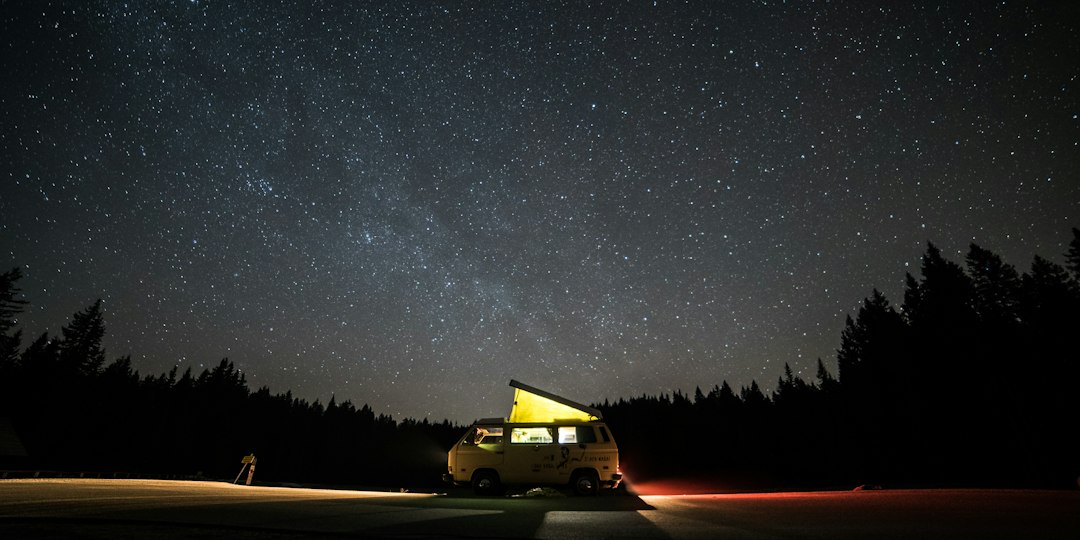
Our lights went up the afternoon before packing started, and before it was even fully dark they were putting out a noticeable amount of light. That was the last real task on the list. After that it was cleanup, packing, and pointing the van at the road.
There is something quietly satisfying about the first evening when you flip a switch you wired yourself and the space you have been building suddenly looks like a place to live. It does not matter that one light is held up with tape. It matters that you are out there, somewhere new, with the doors closed and the light on.
The ceiling will come later. The trip will not wait for it, and it does not have to.