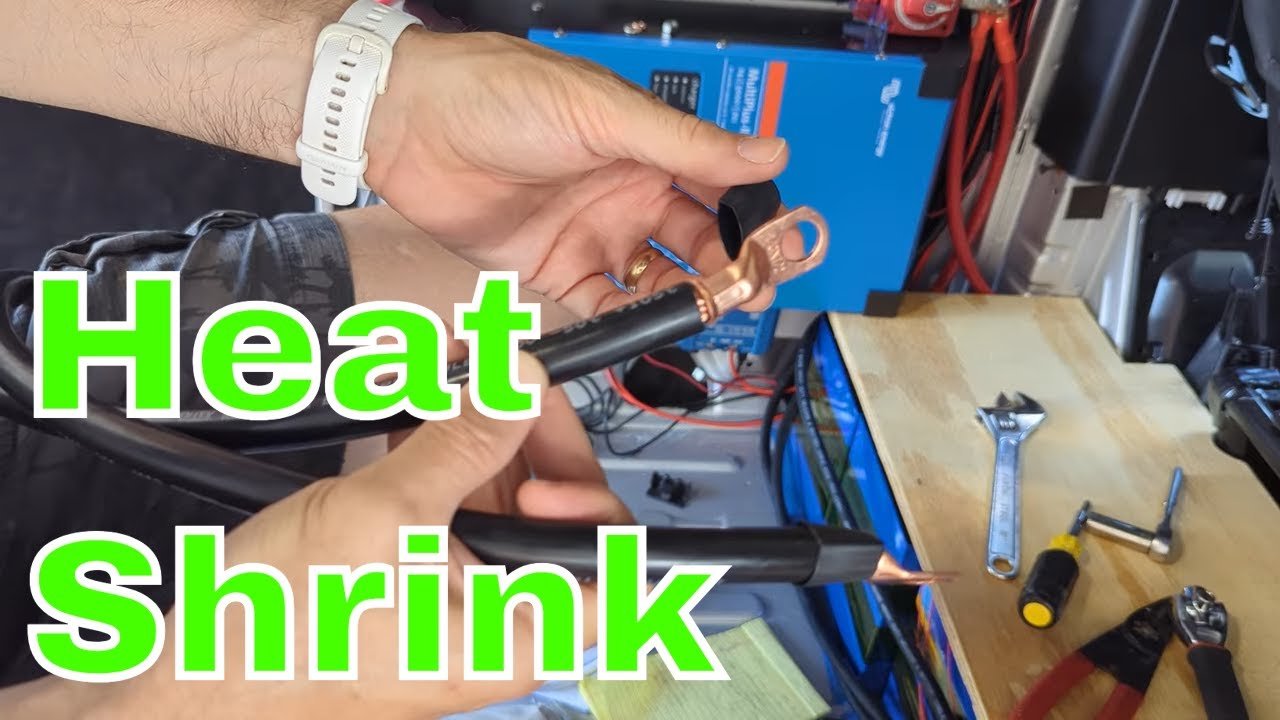
When you’re building a campervan electrical system, the connections between your battery cables and terminals are the lifeline of everything that powers your off-grid life. A loose lug, a exposed copper terminal, or a vibration-loosened connection can leave you stranded miles from the nearest cell signal — or worse, start a fire in the vehicle you also sleep in. That’s why properly insulating those connections with heat shrink tubing isn’t just a cosmetic flourish. It’s the difference between a system you trust and one that keeps you up at night.
I’ve spent the better part of a year building out a 37-kilowatt-hour electrical system in a Ram ProMaster, and if there’s one thing I’ve learned, it’s that the small details matter more than the big components. You can buy the best batteries, the most expensive inverter, and the highest-efficiency solar panels on the market — but if your cable connections aren’t properly sealed and insulated, you’re one bumpy forest service road away from a short circuit.
Why Bare Wire Lugs Are a Problem in Moving Vehicles
A wire lug — that copper or tinned brass connector at the end of a heavy-gauge cable — is how your battery power actually gets from point A to point B. The lug bolts to a bus bar, a battery terminal, or an inverter post, creating the physical bridge that carries hundreds of amps of current. The problem is that the portion of the lug where the cable is crimped leaves bare copper exposed. In a house, that’s not ideal. In a vehicle that bounces down dirt roads, flexes through temperature swings from 20 to 110 degrees, and subjects every connection to constant vibration, it’s a genuine hazard.
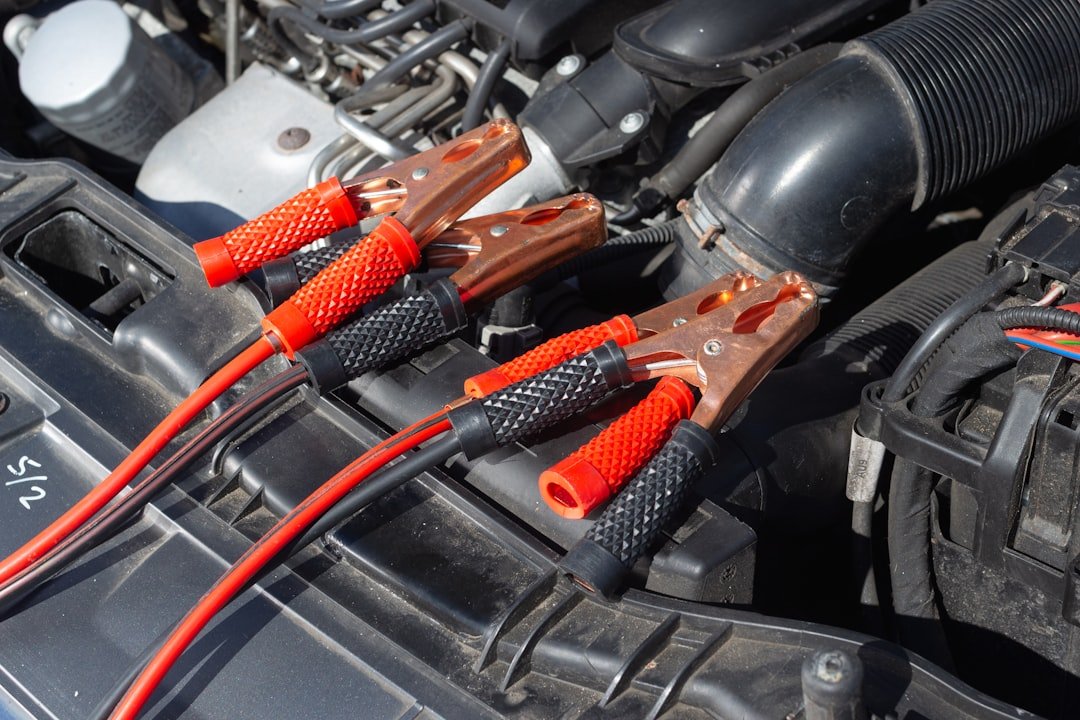
The exposed crimp area can touch metal framing, other cables, or conductive dust that accumulates over time. In a tightly packed van build where everything sits inches from everything else, the margin for error shrinks dramatically. Heat shrink tubing closes that gap — literally — by forming a seamless, insulating sleeve over the crimped connection that moves with the cable and resists moisture, oil, and abrasion.
The Right Way to Apply Heat Shrink Over Copper Lugs
The process itself is straightforward, but the technique matters. You slide a piece of adhesive-lined heat shrink tubing over the cable before crimping the lug. After the crimp is made and verified, you position the tubing so it covers the crimp barrel and overlaps onto the insulation of the cable itself. Then you apply heat.
A butane torch works exceptionally well for this because it delivers concentrated, fast heat that shrinks the tubing evenly. You hold the flame a few inches away and keep it moving — never lingering in one spot. The tubing contracts, the adhesive lining melts and flows, and within seconds you have a waterproof, vibration-resistant seal. A heat gun works too, but it’s slower and less convenient when you’re working in a tight van space.
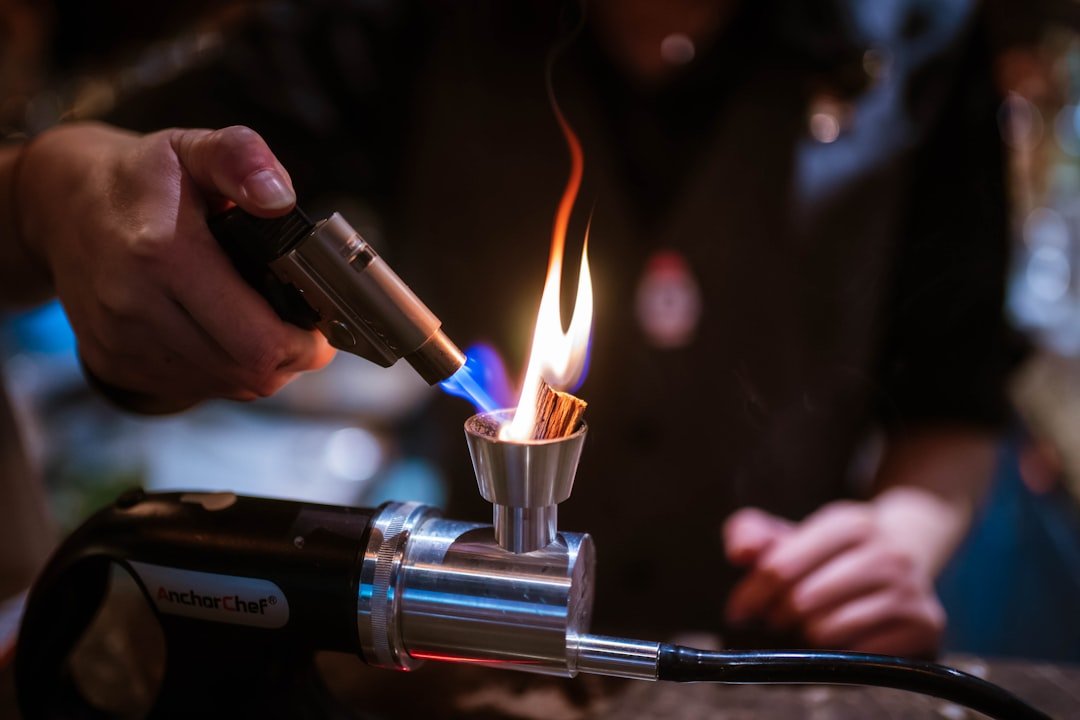
One thing to watch for: copper conducts heat rapidly. If you linger too long in one spot, the heat travels through the lug and into the cable, which can damage the insulation underneath. Keep the torch moving in a circular pattern around the tubing, and watch for the visual cue — most heat shrink has a glossy finish that goes matte as it fully contracts and seals.
Positioning the Tubing Correctly
The most common mistake is letting the tubing extend over the flat mounting surface of the lug. That flat pad needs to make direct metal-to-metal contact with whatever you’re bolting it to. If heat shrink gets sandwiched in there, you’ve created a high-resistance connection that will heat up under load and potentially melt or arc. Slide the tubing up to the barrel of the lug — the cylindrical part where the crimp happens — and no farther.
Choosing the Right Heat Shrink for Van Electrical Work
Not all heat shrink tubing is created equal, and the cheapest option on Amazon is rarely the right choice for a vehicle that serves as both transportation and shelter. Here’s what matters:
Shrink ratio: Standard 2:1 tubing shrinks to half its original diameter, which works for most cable-to-lug transitions. But if you’re dealing with a significant step between cable insulation and lug barrel, a 3:1 or even 5:1 ratio gives you a tighter, more professional seal. Marine-grade 5:1 adhesive-lined tubing costs more but creates a connection that can genuinely be submerged without leaking.
Adhesive lining: This is the difference between tubing that sits on the cable and tubing that bonds to it. The inner layer of adhesive melts during heat application and flows into every gap, creating a seal that’s waterproof, airtight, and mechanically bonded. For van builds where condensation is a year-round reality, skip the non-adhesive stuff entirely.
Wall thickness: Thicker walls mean better abrasion resistance. In a van where cables might rub against metal framing or pass through grommets in body panels, that extra thickness buys you years of worry-free service.
Building a Kit That Covers Every Connection
A typical van electrical system might have 30, 40, or even 50 cable connections — battery interconnects, bus bar links, inverter cables, solar panel leads, chassis ground straps. Each one needs properly sized tubing. Rather than buying individual sizes piecemeal, an assorted heat shrink tubing kit with multiple diameters and colors lets you match the right piece to each connection without a last-minute Amazon order delaying your build.
For builders who want the best of both worlds, a heat shrink kit that includes a mini heat gun gets you everything in one package — tubing in assorted sizes plus the tool to apply it. That said, if you already own a butane torch for other van build tasks (sealing heat shrink on plumbing connections, for example), it pulls double duty nicely.
The Full Connection Workflow: Strip, Crimp, Shrink, Verify
Heat shrinking is the final step in a four-part process, and each step builds on the last. Skip any of them and you’re compromising the integrity of your electrical system.
Step one: Strip the cable. Use a self-adjusting wire stripper to remove exactly the right amount of insulation — enough to fill the lug barrel completely without leaving bare copper exposed beyond the crimp area. Self-adjusting strippers remove the guesswork and prevent nicking individual wire strands, which weakens the cable.
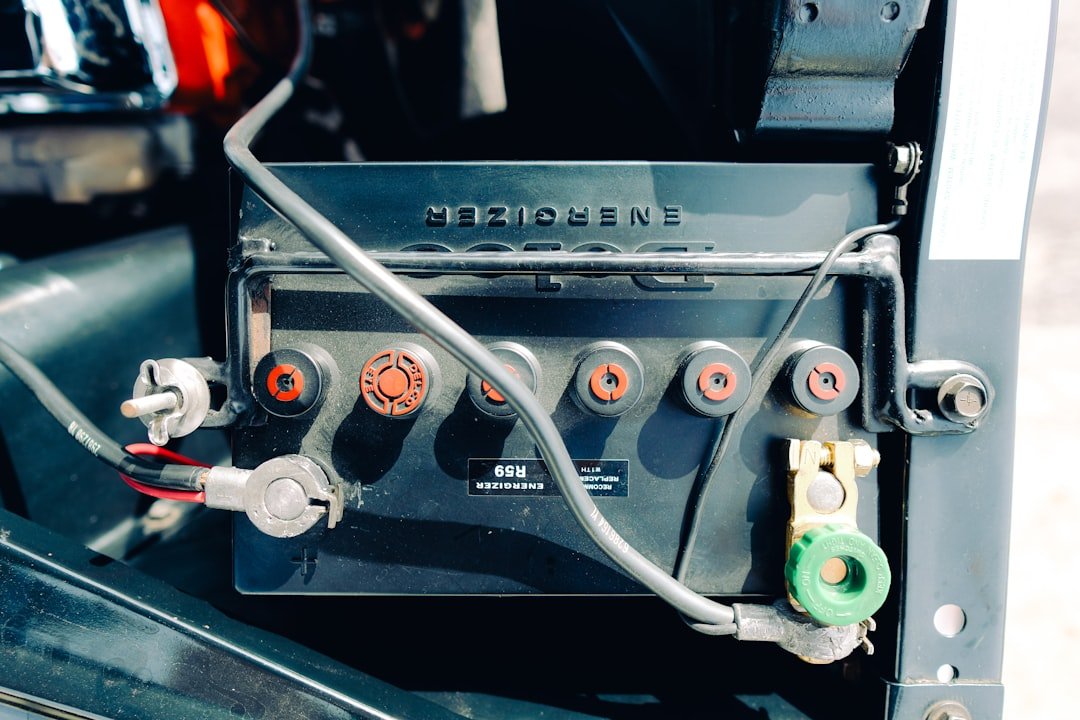
Step two: Crimp the lug. Insert the stripped cable fully into the lug barrel and use a proper hydraulic crimping tool to compress the lug onto the cable. A good crimp creates a cold weld between the copper wire and the lug — the connection should be physically impossible to pull apart by hand. For budget-conscious builders, a hammer-style lug crimper gets the job done, though it requires more effort and produces less consistent results.
Step three: Apply heat shrink. Position the pre-cut tubing over the crimp barrel, overlapping onto the cable insulation by at least a quarter inch. Apply heat evenly with a butane torch or heat gun until the tubing fully contracts and adhesive appears at the edges.
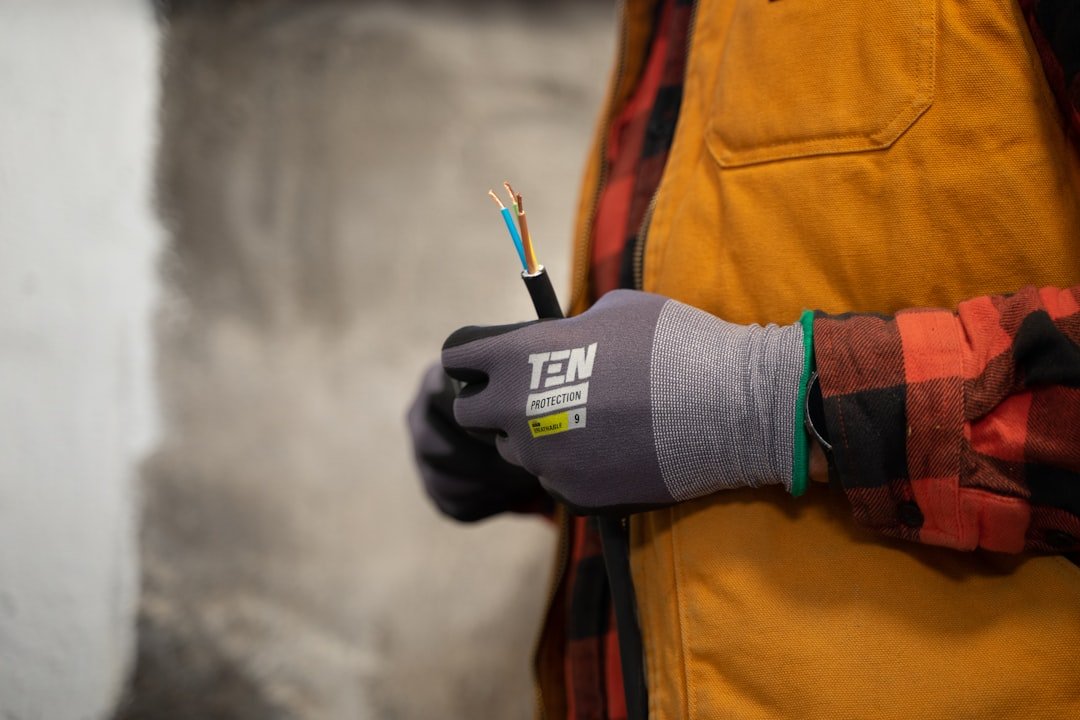
Step four: Verify. Give the cooled connection a firm tug. Inspect visually for any gaps, bubbles, or uneven shrinkage. If something looks off, cut it off and redo it. The cost of a few inches of tubing is trivial compared to the cost of an electrical failure on the road.
Sizing Your Cable and Lugs for High-Power Van Systems
The heat shrink is only as good as the connection it protects, and that connection starts with properly sized components. Most camper van electrical systems use 2 AWG or larger cable for battery interconnects and inverter feeds. A quality 2 AWG welding cable — with fine-stranded, flexible pure copper — handles the 200-300 amp loads that a large inverter demands without excessive voltage drop or heating.
For a system like mine running 32 EVE MB31 cells in an 8S4P configuration at 24 volts, the interconnect cables between cell groups carry significant current. Every connection in that chain is a potential failure point, which is why each one gets a properly crimped copper lug — like those in a comprehensive lug and heat shrink assortment kit — sealed with adhesive-lined tubing.
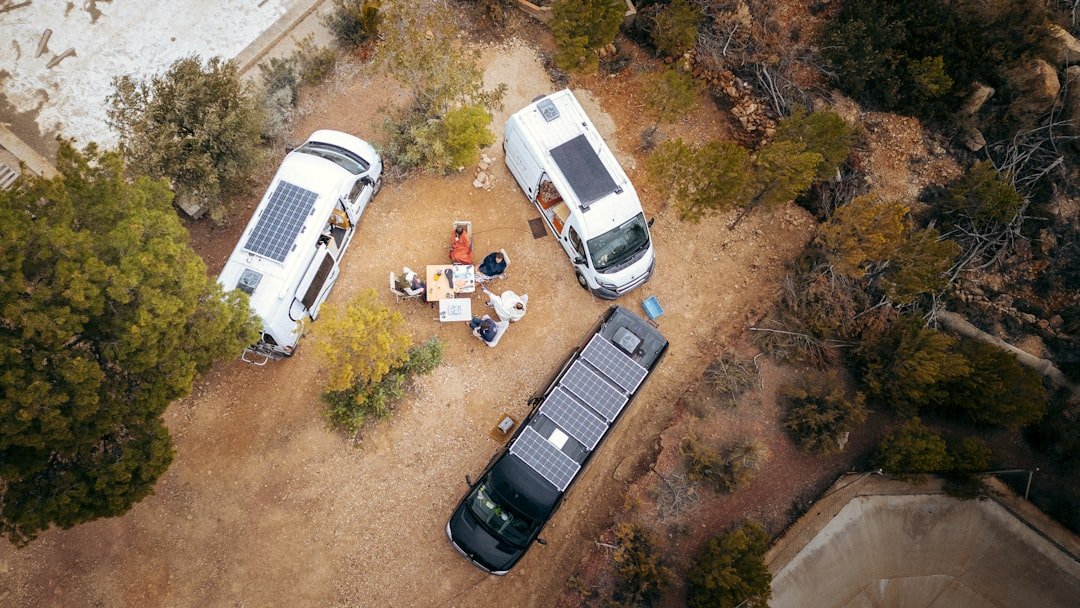
The key insight for anyone building a system larger than a basic weekend camper: buy more lugs and tubing than you think you need. You will make mistakes. You will redo connections. You will decide to re-route a cable and need to terminate it differently. Running out of materials mid-build is the most common reason people cut corners, and cut corners are where problems live.
Tools That Make the Job Professional
There’s a noticeable difference between a van electrical system assembled with the right tools and one thrown together with whatever was in the toolbox. The connections look different, they perform different, and they age differently. Here’s what separates a clean install from a questionable one:
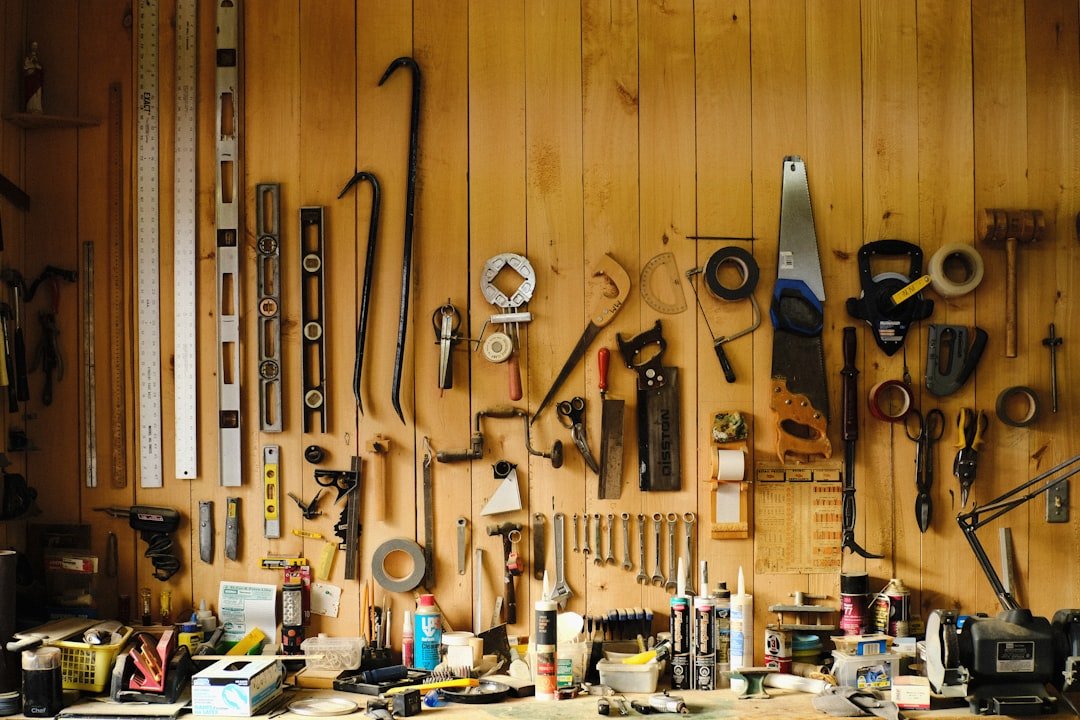
- A real crimping tool. Pliers and hammers produce crimps that sort of work — until they don’t. A purpose-built crimper, whether hydraulic or mechanical, creates a defined, repeatable crimp geometry that maximizes surface contact between wire and lug. For high-current systems carrying hundreds of amps, this is non-negotiable.
- Adhesive-lined heat shrink in multiple sizes. Keep a 400-piece assortment in your build kit so you’re never tempted to use the wrong size because it’s what you have on hand. Wrong-size tubing either doesn’t fully contract or splits from over-stretching.
- A reliable heat source. A butane torch is fast, portable, and doesn’t require a power cord — ideal when you’re working in a van that may not have shore power yet.
Why This Matters More Than You Think
I’ve talked to too many van builders who treated electrical connections as an afterthought — something to knock out quickly so they could get to the fun parts like building cabinets and picking out bedding. Those same builders are the ones posting in van life forums six months later asking why their inverter keeps shutting off or why their batteries aren’t charging properly.
Nine times out of ten, the problem traces back to a connection. A lug that worked loose because it wasn’t properly crimped. A bare terminal that corroded because it wasn’t sealed. A cable that shorted against the van frame because someone skipped the heat shrink to save five minutes. When you’re designing an electrical system that needs to work reliably for years, every connection deserves the same care you’d give to the components themselves.
The beautiful thing about doing it right is that properly sealed connections are genuinely set-and-forget. Once that adhesive-lined tubing contracts and bonds, it stays sealed through temperature cycles, vibration, humidity, and the general abuse of life on the road. You bolt the connection, verify it, and move on with confidence — which is exactly the feeling you want when your home is also your vehicle and your power grid is the battery bank under your bed.
For anyone in the middle of a build or planning one, take the time to secure every connection properly. The tubing costs a few dollars. The torch costs less than a tank of gas. And the peace of mind that comes from knowing your electrical system is built to last — that’s priceless.