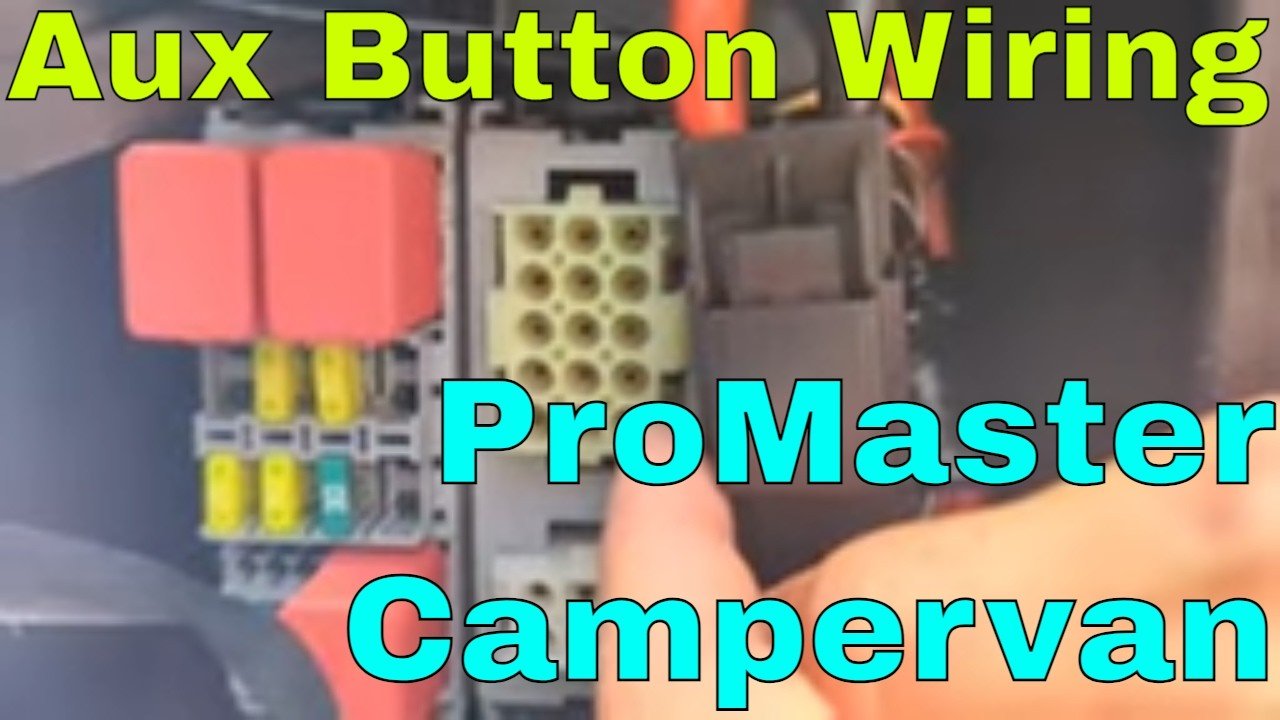
When you’re building out a campervan, the big decisions get all the attention. Which fridge? What battery bank? How much insulation? But it’s the small, thoughtful upgrades — the ones nobody sees — that end up changing how the van actually feels to live in. And few things are more satisfying than repurposing a factory dash switch to control something it was never designed for.
The Ram ProMaster comes with an upfitter wiring package that includes auxiliary dash buttons — those unmarked AUX 1 and AUX 2 switches sitting on your dashboard, quietly waiting for a purpose. Most van owners never touch them. But with a bit of patience, a multimeter, and some heat shrink connectors, those switches can become the most useful buttons in your entire build.
Why Factory Upfit Switches Beat Aftermarket Solutions
You could install a separate switch panel somewhere on your wall. Plenty of van builders do. But there’s something elegant about using the controls the vehicle manufacturer already built into your dash. The ProMaster’s upfitter package runs dedicated wiring from the dash buttons all the way through the body harness, terminating at a connector block behind the B-pillar battery compartment. That means no wires running across your living space, no holes drilled through your dashboard, and no questionable aftermarket switches dangling from adhesive strips six months down the road.
The integration goes deeper than aesthetics. Factory switches are designed to handle automotive voltage and current loads. They’re sealed against dust and moisture. They light up with the rest of your dash illumination. And because they’re part of the vehicle’s native harness, you don’t have to worry about parasitic draws or poorly fused circuits causing headaches when you’re parked off-grid for a week.
Finding the Right Wires Behind the B-Pillar
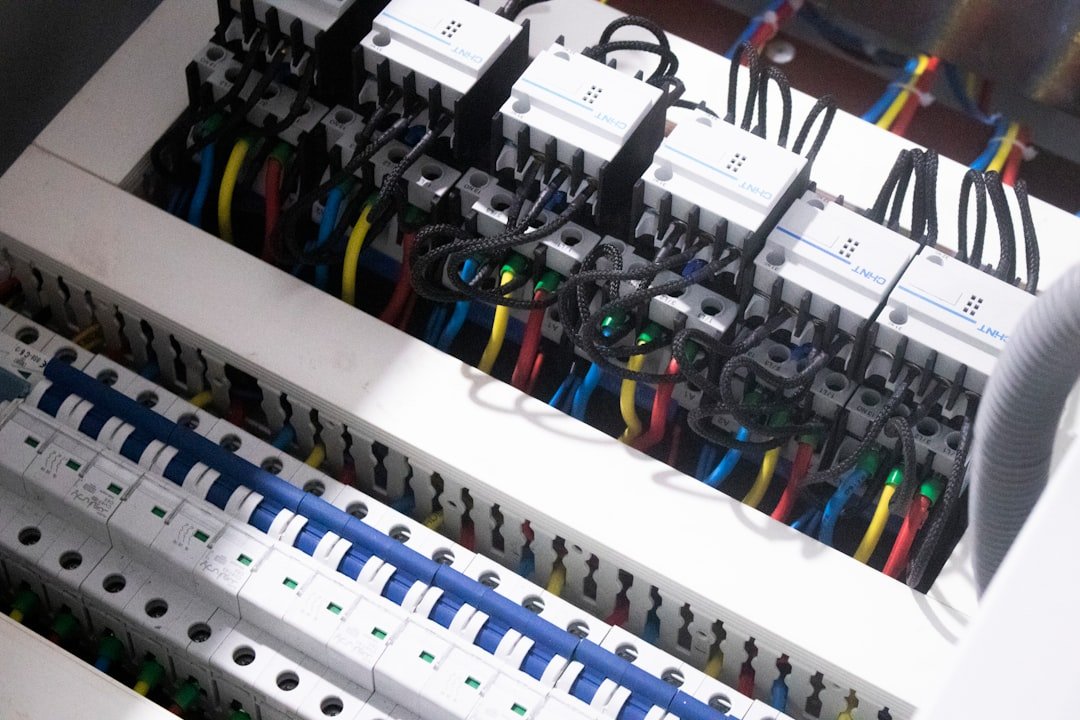
The hardest part of this whole project isn’t the wiring itself — it’s finding the right wire. Behind the battery compartment panel on the ProMaster’s B-pillar sits a dense harness of connectors. The upfitter package terminates here, and each AUX switch corresponds to a specific pin on one of these connectors. The challenge is identifying which pin belongs to which switch without a factory service manual.
In practice, the process is straightforward if methodical. Remove the battery compartment cover — it’s held in place with several bolts — and locate the main wiring harness connector block. On a typical ProMaster upfitter harness, counting pins from one end, connector 15 corresponds to AUX 1 and connector 12 corresponds to AUX 2. But never take anyone’s word for it when electricity is involved.
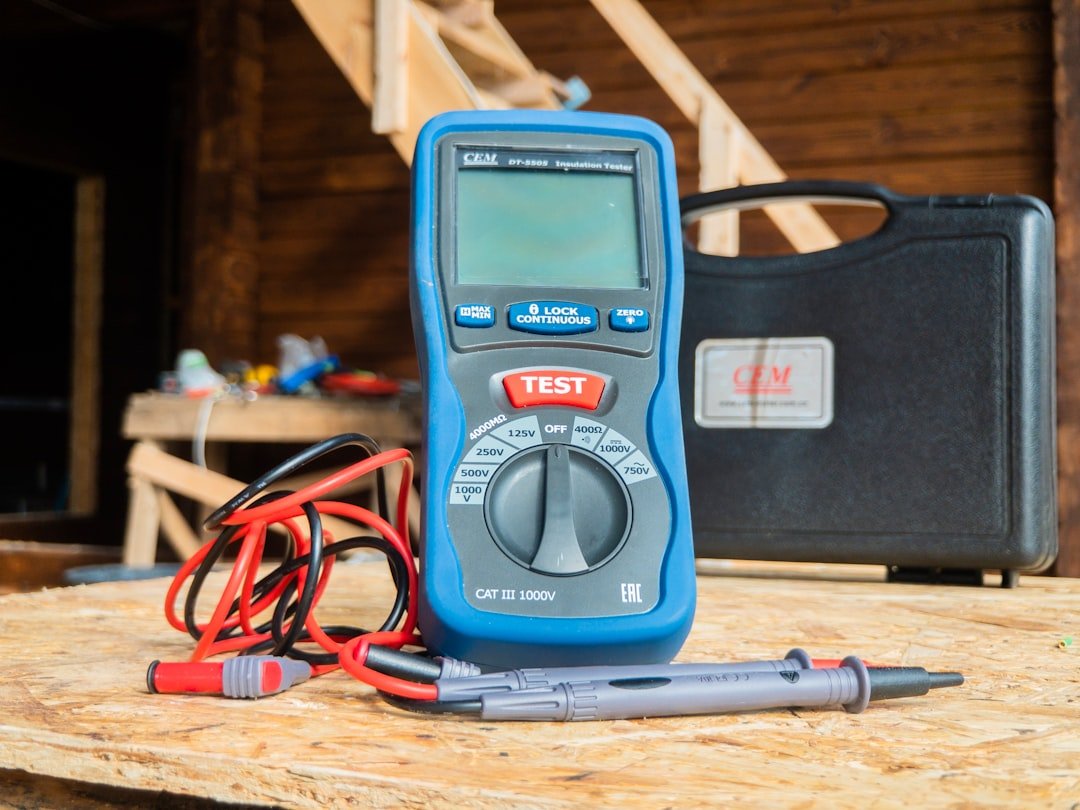
This is where a quality digital multimeter earns its place in your toolkit. Set it to DC voltage, ground the black probe to the chassis, and touch the red probe to each pin while a partner toggles the dash switch on and off. The correct pin will read 0V at rest and jump to approximately 12V the moment the switch activates. That confirmation — seeing the numbers change on the display — is the difference between guessing and knowing.
Building a Reliable Connection That Won’t Fail on the Road
Once you’ve identified the correct pin, the next decision is how to tap into it. There are several approaches, and they are not created equal. The cheapest option — stripping the wire and twisting on a jumper — is a recipe for intermittent failures that will haunt you across every mile of washboard road. Solder and heat shrink is reliable but permanent and difficult to service. The sweet spot for most van builders is a quality quick-disconnect system.
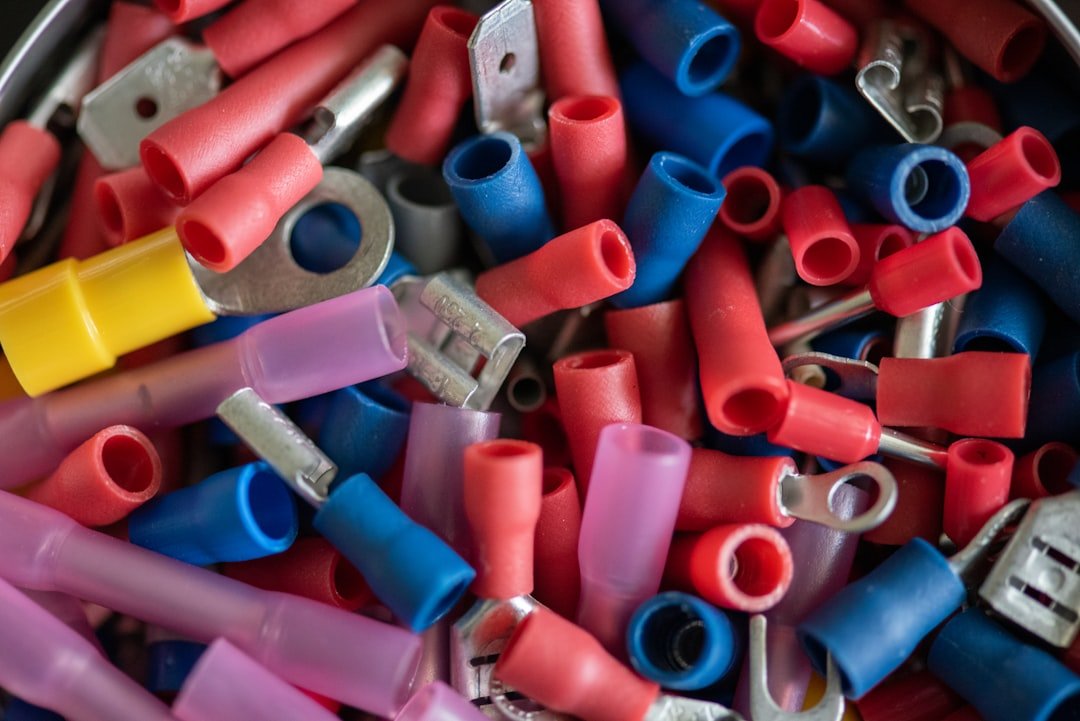
Heat shrink bullet connectors offer a weatherproof connection that can be disconnected when needed for maintenance or troubleshooting. The bullet design provides a positive click when seated, giving you both audible and tactile confirmation that the connection is solid. The heat shrink tubing seals out moisture and provides strain relief at the crimp point — critical in a vehicle that flexes and vibrates with every mile.
To build the connection, you’ll need a proper ratcheting crimping tool designed for heat shrink connectors. The ratcheting mechanism ensures consistent crimp pressure every time, which matters more than most people realize. An undercrimped connection develops resistance and heat. An overcrimped one cuts the wire strands and eventually fails. A quality crimper removes the guesswork.
Routing Wires Through the Van Floor
With the B-pillar connection made, the wire needs to get from inside the van to wherever your component lives. In many ProMaster builds, that means routing through the van floor. The battery compartment area offers a relatively accessible path, but you’ll still need to drill through the floor — a moment that gives every first-time van builder pause.
Use a step bit to create a clean hole, then immediately coat the bare metal with rust-inhibiting paint. Galvanic corrosion is real, and a bare steel hole in your floor will start rusting faster than you’d think. After the paint dries, install a rubber grommet to protect the wire from chafing against the metal edge. Even with a grommet, it’s worth wrapping the wire where it passes through the floor with an extra layer of abrasion-resistant split wire loom tubing for good measure.
Below the floor, run the wire along an existing frame member using zip ties and adhesive mounting bases. Keeping wires secured and away from moving parts isn’t just about organization — it’s about survival. An unsupported wire hanging near a driveshaft or exhaust will eventually find a way to fail.
What You Can Control From the Driver’s Seat
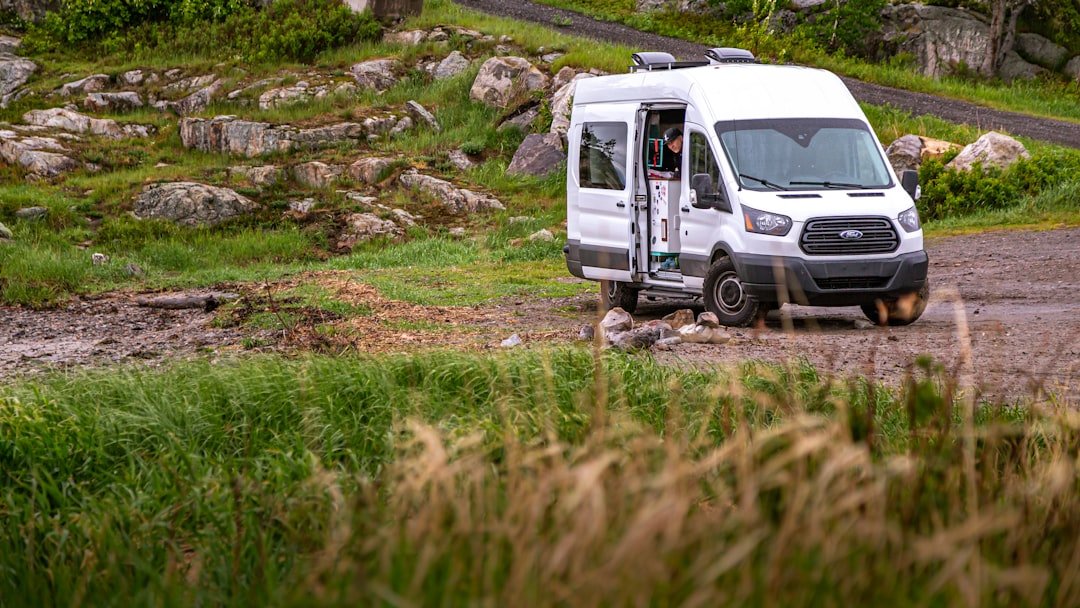
The beauty of a factory-integrated switch is that it puts control exactly where you need it. A grey tank dump valve is the obvious candidate — being able to actuate the valve from the driver’s seat means you can dump your tank at a dump station without climbing out of the van in the rain or fumbling with a manual handle in a cramped utility bay. But that’s just the beginning.
Other components that pair well with factory AUX switches include:
- Exterior lighting: Flood lights, scene lighting, or a perimeter light for late-night arrivals
- Water pumps: Activate your fresh water pump only when needed to save battery
- Awnings: Deploy or retract a 12V-powered awning without leaving your seat
- Air compressors: Fire up an onboard air system for tire inflation or air bags
- Heated mirrors: Add aftermarket defrost capability for cold-weather travel
The key consideration is current draw. The AUX switches in the ProMaster upfitter package are designed for low-current signal circuits, not high-current loads. For anything drawing more than a few amps — air compressors, water heaters, large lighting arrays — you’ll want the switch to trigger a relay or solid-state controller rather than carrying the full load directly.
Electrical Fundamentals: Getting the Ground Right

One of the most common pitfalls in DIY van electrical work is the ground connection. It’s easy to focus on the positive side of the circuit and treat the ground as an afterthought. But a poor ground connection will cause problems that are maddening to diagnose — dim lights, intermittent operation, voltage readings that don’t make sense, and components that work sometimes but not others.
The fix is simple but requires discipline. Every circuit needs a ground path that’s at least as robust as the positive path. Use dedicated copper bus bars for your negative returns rather than stacking multiple ring terminals on a single bolt. When multiple wires share a grounding point, the resistance increases and the connection becomes a bottleneck. A bus bar distributes current evenly and gives each circuit its own clean connection point.
This is especially important in van builds with large battery banks. If you’re running lithium battery cells with high discharge rates, your ground path needs to handle significant current without introducing voltage drop. Undersized or poorly terminated grounds can cause your battery management system to read incorrect voltages, leading to premature cutoffs or unsafe charging behavior.
The Tools That Make Van Electrical Work Painless

You don’t need a professional electrical shop to do quality wiring work in a van. But the right tools make the difference between a job that takes an afternoon and one that takes a weekend. Beyond the multimeter and crimper already mentioned, a few items are worth their weight in gold.
A cordless impact driver speeds up disassembly of panels and compartment covers — something you’ll do frequently when routing wires through a van. An assortment of heat shrink connectors covers every wire size you’re likely to encounter. And having your wiring documented — even a simple sketch with wire colors and destinations — saves enormous time when you’re troubleshooting months later.
Planning Your Electrical System holistically
The AUX switch integration is one piece of a larger electrical puzzle. If you’re still in the planning stages of your build, think about how every component talks to each other. Where does power enter the system? Where does it get stored? How does it get distributed? And critically, how do you control and monitor all of it?
A well-designed van electrical system has clear separation between charging sources (solar, alternator, shore power), storage (battery bank), distribution (fuse box or bus bar system), and loads (everything from your fridge to your lights to your grey tank valve). Each layer should be protected, labeled, and serviceable. When everything is integrated thoughtfully — even the dash switches — the result is a van that works with you instead of against you.
If you’re looking for inspiration on how others have tackled their van electrical systems, the community of ProMaster builders has developed some remarkably clever solutions. Designing an electrical system that never leaves you stranded covers the fundamentals of van power architecture, while planning your campervan roof layout demonstrates how spatial planning affects where components — and their wiring — end up living.
Making Smart Upgrades One Switch at a Time
The most rewarding van builds aren’t the ones that happen all at once. They’re the ones where each visit to the hardware store solves a real problem, each weekend project makes life on the road a little easier. Wiring up a factory dash switch to control a grey tank valve might seem small. But the first time you dump your tank from the driver’s seat during a downpour, you’ll understand why these invisible upgrades matter.
Start with one switch. Get comfortable with the process — pulling panels, testing circuits, building reliable connections. Then expand. Before long, those AUX buttons will be doing real work, and your van will feel less like a vehicle with some stuff bolted into it and more like a thoughtfully designed home that happens to have four wheels.
And if you’re documenting your own build (which you should — future you will thank past you), a good phone for capturing video and photos means you’ll always have a record of where wires go before they disappear behind paneling. Because the one certainty in van life is that you’ll eventually need to trace a wire, and having a photo from installation day turns a two-hour hunt into a five-minute fix.