Why Windows Matter in Van Life
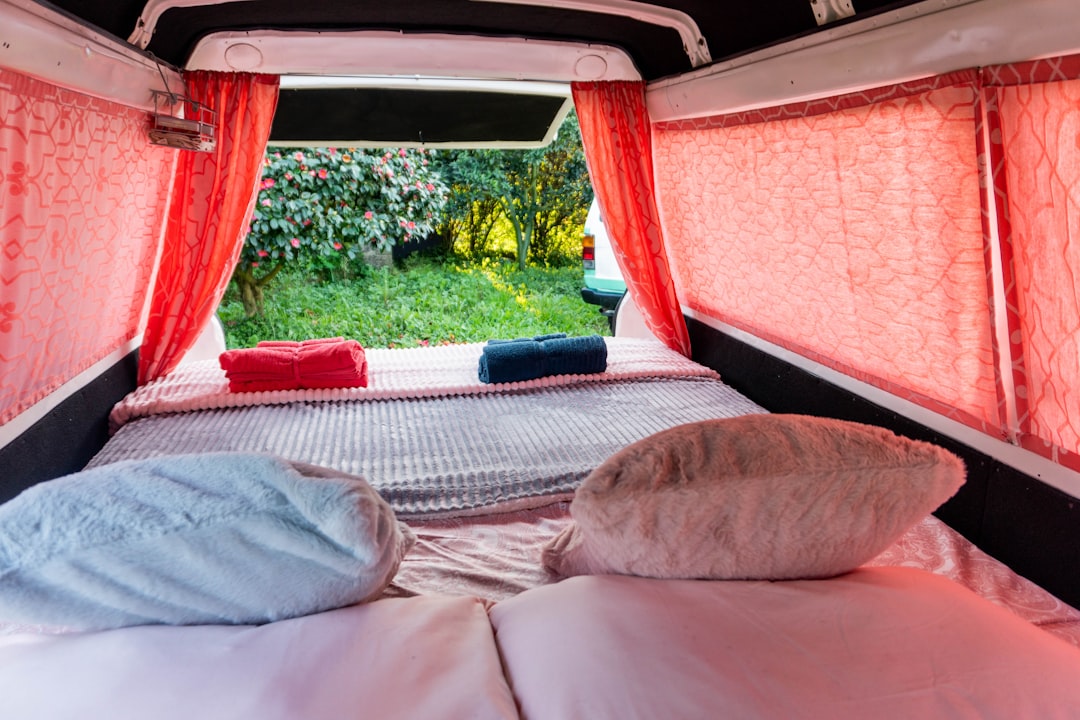
There’s something magical about waking up in your campervan, rolling over, and seeing sunlight streaming through a properly placed window. After years of van life travel, I’ve learned that windows aren’t just holes in the wall—they’re the difference between feeling like you’re sleeping in a metal box and feeling connected to the stunning landscapes you’ve worked so hard to explore. When I first started traveling full-time in my converted van, I underestimated how much natural light and ventilation would impact my daily experience on the road. Now, I wouldn’t dream of designing a camper without careful consideration of window placement and functionality.
The psychological benefits of natural light in small living spaces cannot be overstated. Research shows that exposure to natural light regulates our circadian rhythms, improves mood, and boosts energy levels—all crucial when you’re waking up in a new location every few days. Properly positioned windows transform a cramped cargo van into a bright, airy living space that feels expansive rather than confining. I’ve spent mornings watching sunrises over mountains, afternoons tracking storm clouds rolling across valleys, and evenings stargazing from the comfort of my bed—all because I took the time to install windows that frame the world outside.
Ventilation: The Hidden Comfort Factor
Beyond the views and natural light, windows are your primary ventilation system in van life. Anyone who’s cooked breakfast in a van on a summer morning understands the importance of airflow. Moisture from breathing, cooking, and showering creates a recipe for condensation problems that can lead to mold and mildew—two things you definitely don’t want in your tiny home on wheels. Strategically placed awning-style windows create cross-ventilation that pulls fresh air through your space while pushing out stale, humid air.
I’ve learned through experience that you can never have too much ventilation. During a summer trip through the Southwest, temperatures inside my van would easily exceed 90°F by mid-morning without airflow. But by cracking my awning windows just a few inches, I could create a cooling breeze that made the space comfortable even in peak heat. The key is placing windows to take advantage of natural airflow patterns—typically lower on the windward side and higher on the leeward side to encourage convection currents. This passive cooling strategy has saved me from relying on powerful portable air conditioners or fans in all but the most extreme conditions.
Window Types: Understanding Your Options
Not all camper windows are created equal, and choosing the right type for your travel style makes a significant difference in comfort and convenience. Awning-style windows, like the Arctic Tern design I installed, are popular among van lifers for good reason—they can be left open in light rain while still providing ventilation. This feature is invaluable when you’re parked in beautiful locations and want fresh air without worrying about sudden weather changes.
Fixed windows offer the best insulation and are ideal for climates where heating efficiency is crucial. Slider windows provide adjustable ventilation but typically don’t offer the rain protection of awning styles. For my travels, I opted for a combination: awning windows in the living area for maximum ventilation flexibility, and a fixed window in the sleeping area to reduce heat loss during cold nights. Consider your typical travel destinations and climate patterns when deciding—full-time travelers in varied climates might prioritize versatility, while weekend warriors in mild regions might opt for simple RV window installations.
One often overlooked consideration is window tinting. While it might seem counterintuitive to reduce light coming in, quality window tint can significantly reduce solar heat gain while preserving visibility. I installed a light ceramic tint on all my windows, and it made a noticeable difference in interior temperatures during sunny desert days. The key is choosing effective window tinting solutions that don’t compromise your connection to the outdoors—after all, that view is half the reason you chose van life in the first place.
Placement Strategy: Framing Your Journey
Where you position your windows matters as much as what type you choose. The goal is to capture views while maintaining privacy and structural integrity. In my Ram ProMaster conversion, I spent hours with cardboard templates taped to the walls, sitting in different positions to imagine how the window placement would frame the world outside. This foresight paid off—my dinette window perfectly frames mountain vistas while I’m eating, and a smaller window near the bed lets me check weather conditions without leaving my warm sleeping bag.

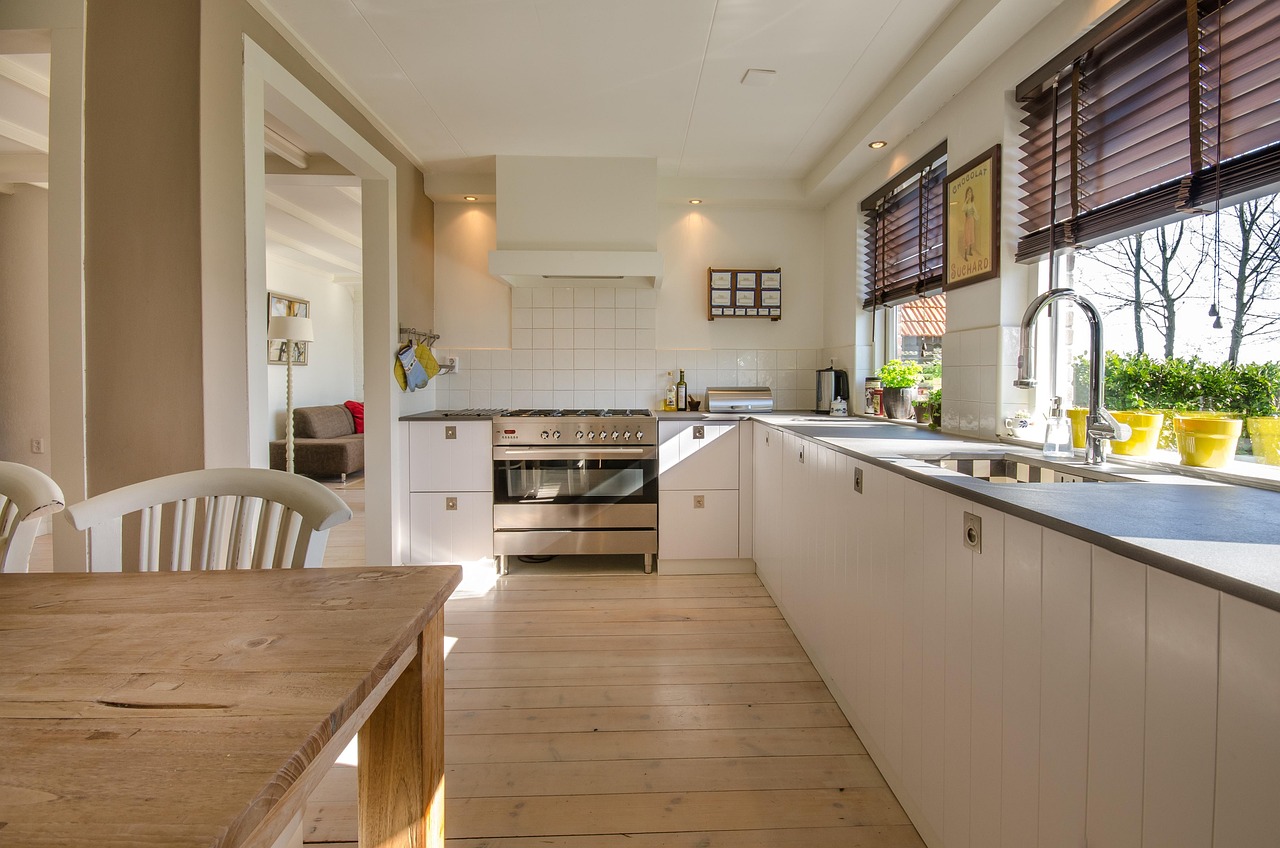
Consider how you’ll use each space when planning window locations. Kitchen areas benefit from windows positioned to provide natural light for cooking while allowing you to enjoy outdoor views during meal prep. Sleeping areas might prioritize windows that can be covered for darkness and temperature control but still offer morning light. Living spaces are ideal for larger windows that maximize the sense of openness and connection to your surroundings.
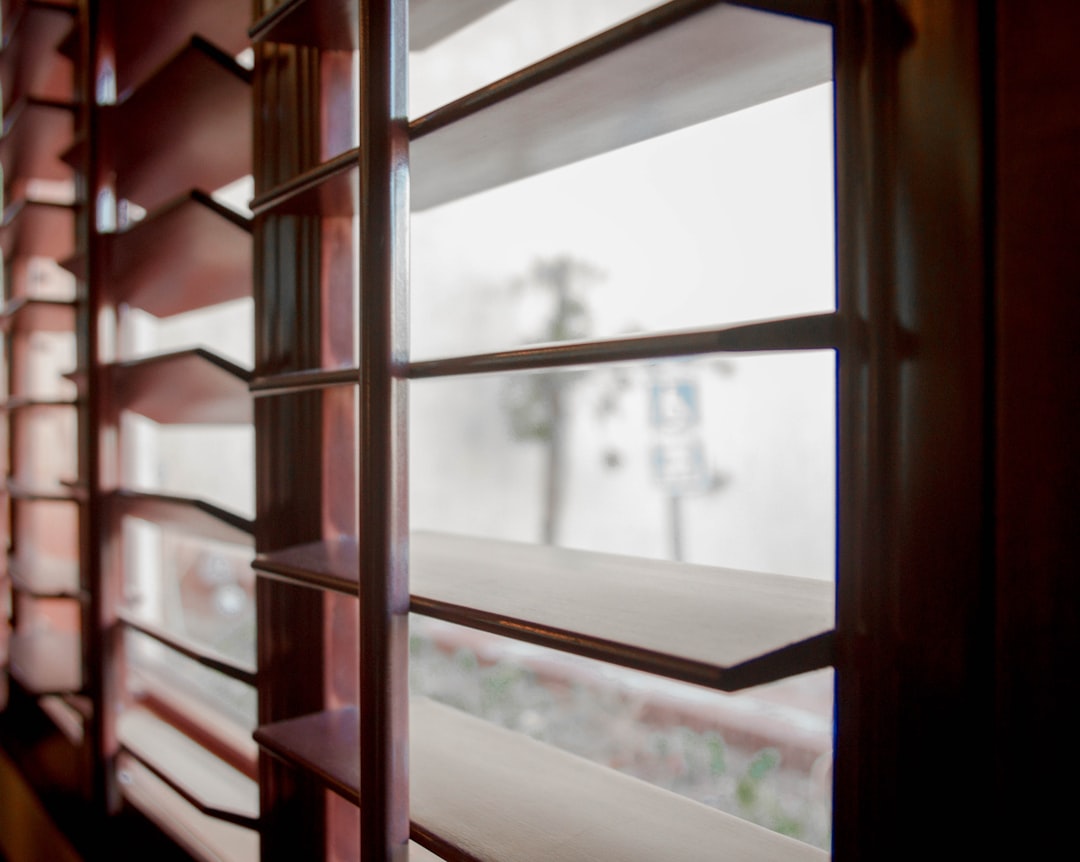
Don’t forget to think about privacy and security. While you want to maximize your connection to the outdoors, you also need to consider that you’ll sometimes be parked in urban areas or campgrounds where prying eyes are a concern. Quality window coverings are essential—choose insulating shades that can block light and retain heat while providing privacy when needed. I installed thermal blinds that can be positioned anywhere from fully open to completely closed, giving me precise control over light, privacy, and temperature regulation.
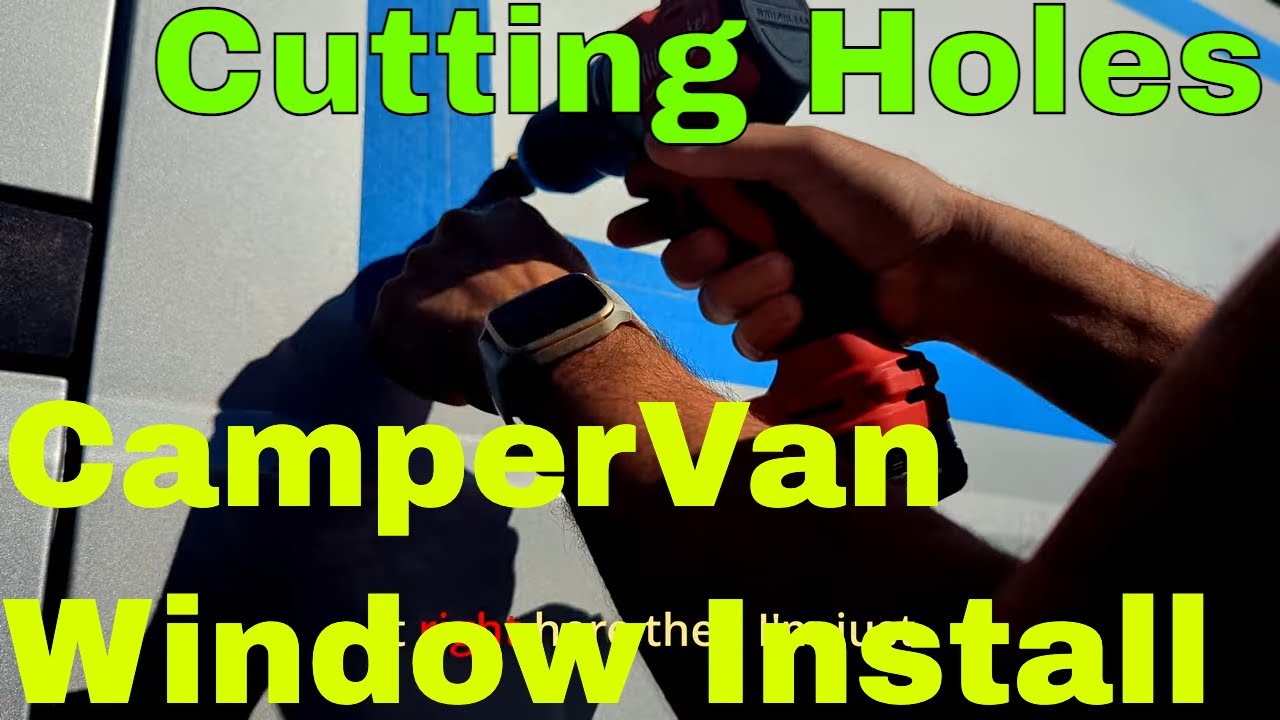
The Installation Journey: Planning Your Project
Adding windows to a campervan is a significant undertaking that requires careful planning and attention to detail. The process begins with precise measurements and template creation. I learned this lesson the hard way—my first attempt at window templates was overly complicated, with rounded corners that required hours of tedious work. In reality, a simple rectangle with slightly rounded corners works perfectly and saves considerable time and frustration.
Start by creating full-scale paper templates based on your window dimensions. Tape these templates inside your van and sit with them for a few days, imagining how the views and light will change throughout the day. This visualization process helps you confirm placement before you commit to cutting any holes. Once you’re satisfied with the position, drill small pilot holes through the template at key reference points, then transfer those measurements to the exterior of your van.
When marking the exterior, apply painter’s tape to protect the van’s paint and use a straightedge to ensure clean lines. The key is accuracy—measure twice, cut once, as the saying goes. Even a small error in hole size can create problems, as windows need precise openings to fit properly and seal correctly. I found it helpful to have a second person confirm measurements from different angles, catching potential mistakes before they became permanent issues.
Cutting and Installation: Tools and Techniques
The actual cutting process requires the right tools and a methodical approach. A step drill bit creates clean pilot holes for your jigsaw, while a quality metal cutting blade makes straighter cuts with less vibration. One technique I learned is to leave small tabs of metal uncut until the very end—this reduces vibration of the panel as you cut, resulting in cleaner edges and more control over the jigsaw.

After cutting the opening, immediately treat the exposed metal edges with rust-preventive paint or coating. Raw steel in a van environment will rust quickly if left untreated, and accessing these areas after installation is nearly impossible. Take the time to do it right the first time—your future self will thank you when your windows remain rust-free for years of travel. Use quality rust prevention products designed for automotive applications.
The installation process varies by window type, but most awning-style windows mount using either interior screws or exterior mounting tape. I prefer mechanical fasteners for security and ease of future replacement if needed. Apply butyl tape behind the window flange to create a watertight seal, then secure with screws following the manufacturer’s recommended spacing pattern. Finish with exterior-grade sealant around the perimeter, ensuring complete water protection for thousands of miles of travel ahead. Using reliable sealants prevents leaks that could cause serious water damage down the road.
Maximizing Your Window Investment
Once your windows are installed, small accessories can dramatically enhance their functionality. Window screens are essential if you plan to travel in areas with insects—I’ve spent peaceful evenings watching sunsets through screened windows while fellow campers swatted mosquitoes around their unscreened vans. Reflective sunshades help regulate temperature in extreme climates, while window deflectors can allow ventilation during light rain without water intrusion.
Consider adding window awnings or rain guards if you frequently travel in wet climates. These simple additions allow you to keep windows open for fresh air even during steady rain, dramatically improving comfort during stormy weather. I installed a small awning over my kitchen window, and it transformed rainy days from claustrophobic ordeals into cozy experiences enhanced by the sound of rain on metal. Adding window awnings is a relatively simple upgrade that pays huge dividends in comfort.
Regular maintenance ensures your windows continue to perform optimally throughout years of travel. Clean the moving parts of awning mechanisms annually, check sealant for cracks or deterioration, and lubricate hinges and latches as needed. A few minutes of maintenance each season prevents expensive repairs and keeps your windows operating smoothly for the lifetime of your van build. Keep window maintenance supplies on hand for quick repairs when needed.
Real-World Benefits on the Road
The investment in quality windows pays dividends every day you spend on the road. During a month-long trip through the Pacific Northwest, my well-placed windows allowed me to enjoy misty forest views while staying warm and dry inside. In the deserts of the Southwest, strategic cross-ventilation kept my van comfortable without air conditioning. And everywhere I travel, the natural light transforms my small living space into something that feels expansive and connected to the beautiful landscapes I’ve worked so hard to explore.
Perhaps most importantly, good windows enhance safety and awareness. You can monitor weather changes, observe wildlife, and stay aware of your surroundings without leaving the comfort of your home. After parking at a remote trailhead for a week of hiking, I watched through my windows as elk herds grazed mere feet from my van—a magical wildlife encounter that would have been missed without strategically placed glass.
Final Considerations for Your Build
Adding windows to your campervan is a significant project, but one that dramatically enhances the travel experience. The combination of natural light, ventilation, and connection to the outdoors transforms a simple cargo van into a comfortable home that’s ready for any adventure. Take the time to plan carefully, invest in quality windows suited to your travel style, and don’t rush the installation process. The result will be a living space that enhances every mile of your journey, framing the beautiful views that make van life so rewarding.
Whether you’re building out a new van or upgrading an existing conversion, prioritize windows as a crucial element of your design. The views, ventilation, and natural light they provide aren’t just luxuries—they’re essential components of a comfortable and enjoyable traveling home. Every morning I wake up in my van and roll over to see a new landscape framed by my windows, I’m reminded that this extra effort during the build was worth every hour spent measuring, cutting, and installing. Your future traveling self will feel the same.