
When you’re building out a campervan for full-time travel, every installation decision matters. Water storage is one of the most critical systems in your van life setup, and secure tank mounting isn’t just about preventing rattles—it’s about protecting your investment and ensuring reliable water access wherever your adventures take you. After spending countless hours researching and installing water systems in our Ram ProMaster conversion, I’ve learned that proper mounting hardware makes all the difference between a frustrating road trip and a seamless off-grid experience.
Why Plusnuts Are Essential for Van Water Tank Installation
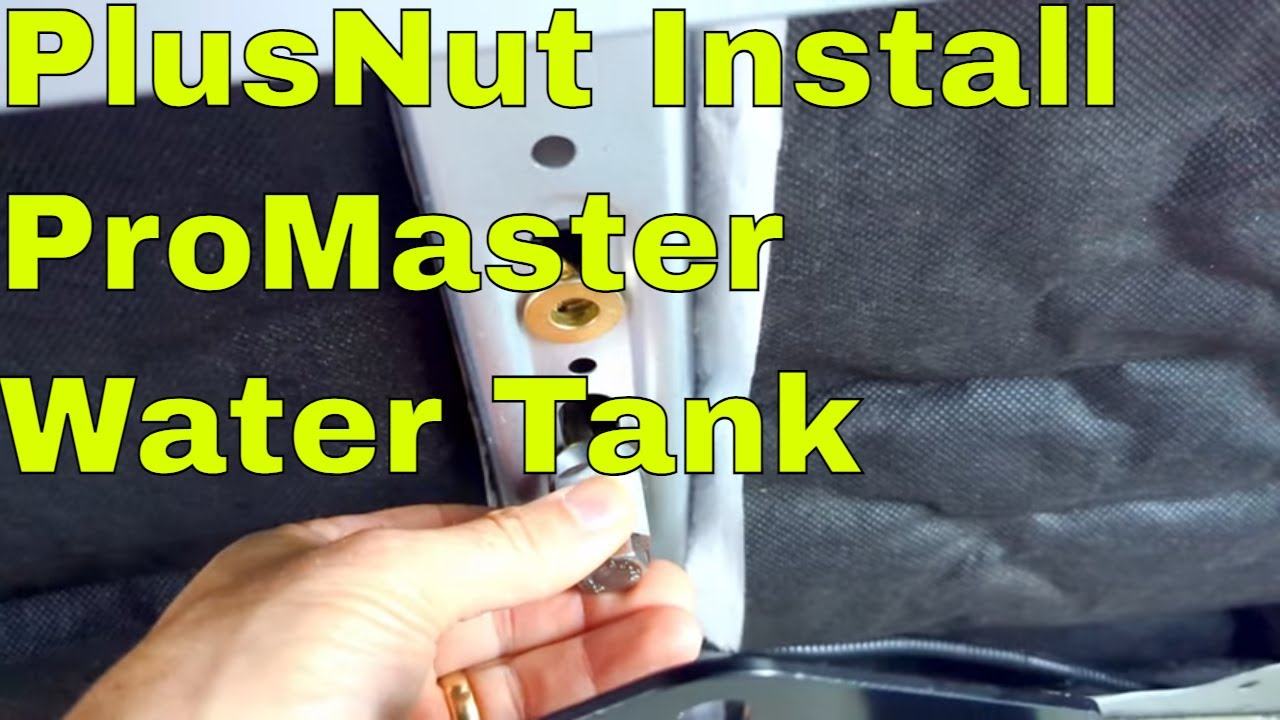
Traditional mounting methods like self-tapping screws or bolts with nuts often fail in the vibration-heavy environment of a moving vehicle. Your water tank is constantly subjected to movement, temperature changes, and the weight of shifting water as you drive. Plusnuts—also known as rivet nuts—provide a permanent, threaded mounting point that won’t loosen over time, even when subjected to the rigorous demands of cross-country travel. These specialized fasteners create a secure anchor point in thin metal, which is exactly what you need when mounting water tanks to your van’s interior panels or wheel wells.
The beauty of plusnuts lies in their versatility. Unlike standard rivets that create permanent holes, plusnuts give you threaded inserts that allow you to remove and reinstall your water tank as needed. This flexibility is invaluable for van lifers who may need to access their plumbing for maintenance or upgrades down the road. Whether you’re installing a 39-gallon wheel well tank like we did or working with smaller custom containers, plusnuts distribute the load evenly across the mounting surface, preventing the metal fatigue that leads to cracks and leaks.
Tools and Materials You’ll Need
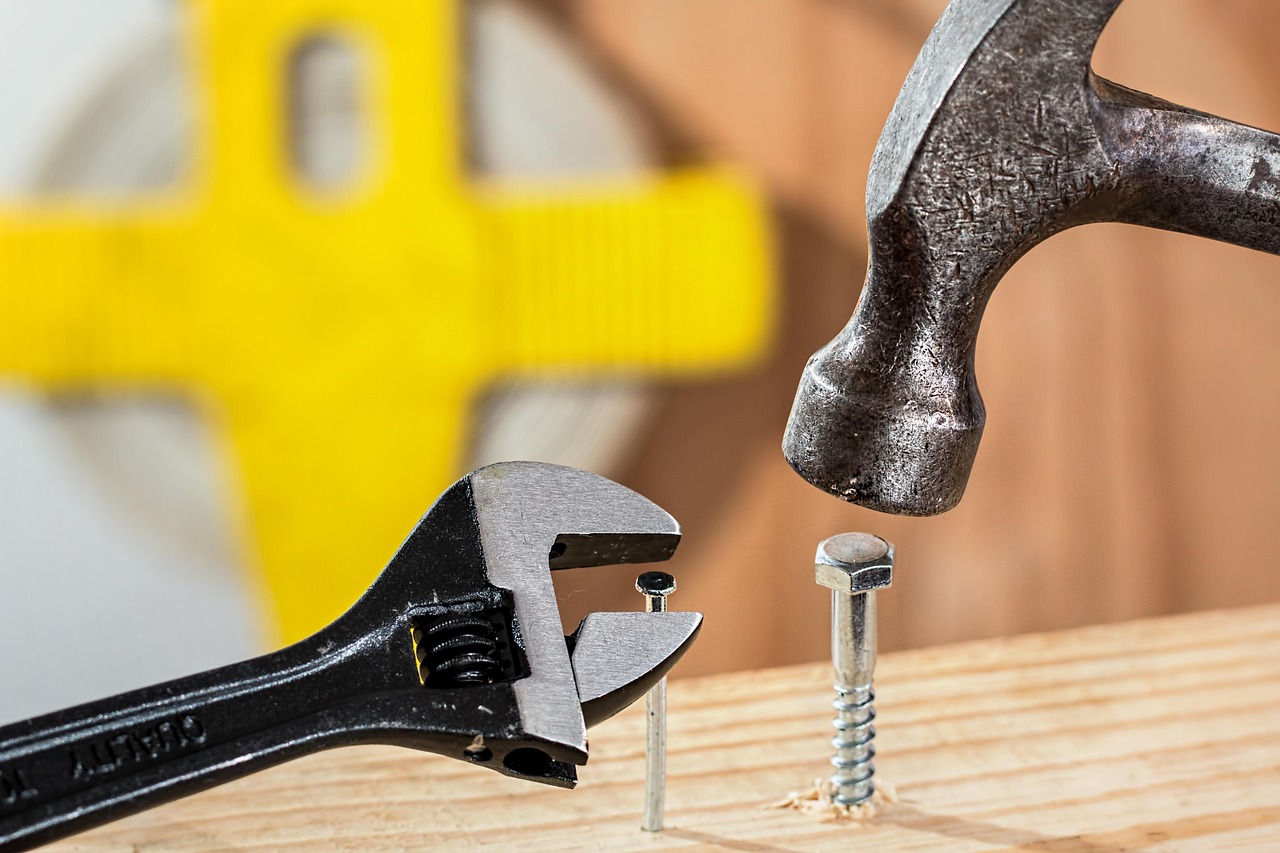
Before diving into the installation, gather the right tools and materials. You’ll need a plusnut installation tool, which typically consists of a long bolt and an end nut that compresses the fastener into place. A socket set with good leverage is essential—these fasteners require significant torque to set properly. You’ll also need a drill with the appropriate bit size for your plusnuts, and your water tank mounting hardware. The 39-gallon wheel well tank we installed from S&B Filters came with all the necessary plusnuts, screws, and activation tools, which made the process much more straightforward.
Don’t forget safety equipment and workspace preparation. Work in a well-ventilated area, use eye protection, and consider having mechanics gloves handy for handling sharp metal edges. If you’re working in tight spaces like a wheel well, a rechargeable work light will make visibility much better. The process isn’t complicated, but having everything ready before you start will prevent frustrating mid-installation trips to the hardware store.
Step-by-Step Plusnut Installation Process

The installation process begins with proper hole placement. Mark your mounting holes carefully, ensuring they align with both your water tank’s mounting brackets and the structural supports in your van’s body. When drilling, use a step bit to create clean holes that match your plusnut size exactly. Too large, and the fastener won’t grip properly; too small, and you’ll struggle with installation. Take your time here—rushed hole placement leads to misaligned tanks and potential leaks down the road.
Once your holes are drilled, insert the plusnut into the hole and hand-tighten the installation tool. This initial threading helps seat the fastener properly before applying torque. Then, using your socket, begin drawing the plusnut into the body. Here’s where the technique matters: apply steady, even pressure rather than sudden force. You’ll feel resistance as the fastener compresses—that’s normal. What you don’t want is to overtighten, which can twist the plusnut and create a weak point. The goal is a secure fit without deforming the surrounding metal.
After setting all your plusnuts, test each one by threading in a mounting screw and applying gentle pressure. The insert should feel solid with no movement or spinning. If any plusnuts feel loose, you’ll need to remove and reinstall them—better to fix it now than discover a wobbling water tank miles from civilization. This attention to detail during installation prevents headaches later when you’re relying on your water system in remote locations.
Common Installation Challenges and Solutions
One challenge we encountered was access to tight mounting locations. The wheel well area in our ProMaster presented limited working space, making it difficult to reach some mounting points. We solved this by using a wobble extension on our socket, which allowed us to angle the tool into confined areas. Another common issue is plusnuts spinning during installation, especially if the surrounding metal is thin or damaged. If this happens, stop immediately and remove the fastener using reverse motion on your installation tool. Attempting to force it will only damage the mounting surface further.
Temperature can also affect installation. In cold weather, metal becomes more brittle and less forgiving, while extreme heat can make fasteners more prone to deformation. If you’re installing in temperature extremes, consider warming your work area slightly or working during the warmest part of the day. Additionally, always deburr your drilled holes before installing plusnuts—sharp edges can cut into the fastener and compromise its grip. A simple deburring tool or even a small file will create clean edges that help the plusnut seat properly.
Choosing the Right Water Tank for Your Van
The installation process is only half the battle—choosing the right tank for your travel style is equally important. Wheel well tanks like the 39-gallon S&B unit we used maximize space by utilizing otherwise dead areas of your van. However, if your conversion prioritizes garage storage or you have different wheel well dimensions, smaller undermount tanks might be more appropriate. Consider your water needs based on travel style: weekend warriors can get by with 20-30 gallons, while full-timers often want 40+ gallons for extended off-grid stays.
Material choice matters too. While many van lifers opt for plastic tanks for their corrosion resistance and light weight, some prefer aluminum for durability. The key is matching tank capacity to your power system—larger tanks require more pump power and potentially more sophisticated filtration. Factor in your typical travel destinations: desert camping demands more water capacity than RV park hopping. Our 39-gallon tank provides about a week of conservative use for two people, which aligns perfectly with our preference for boondocking over developed campgrounds.
Integrating Your Tank with the Complete Water System
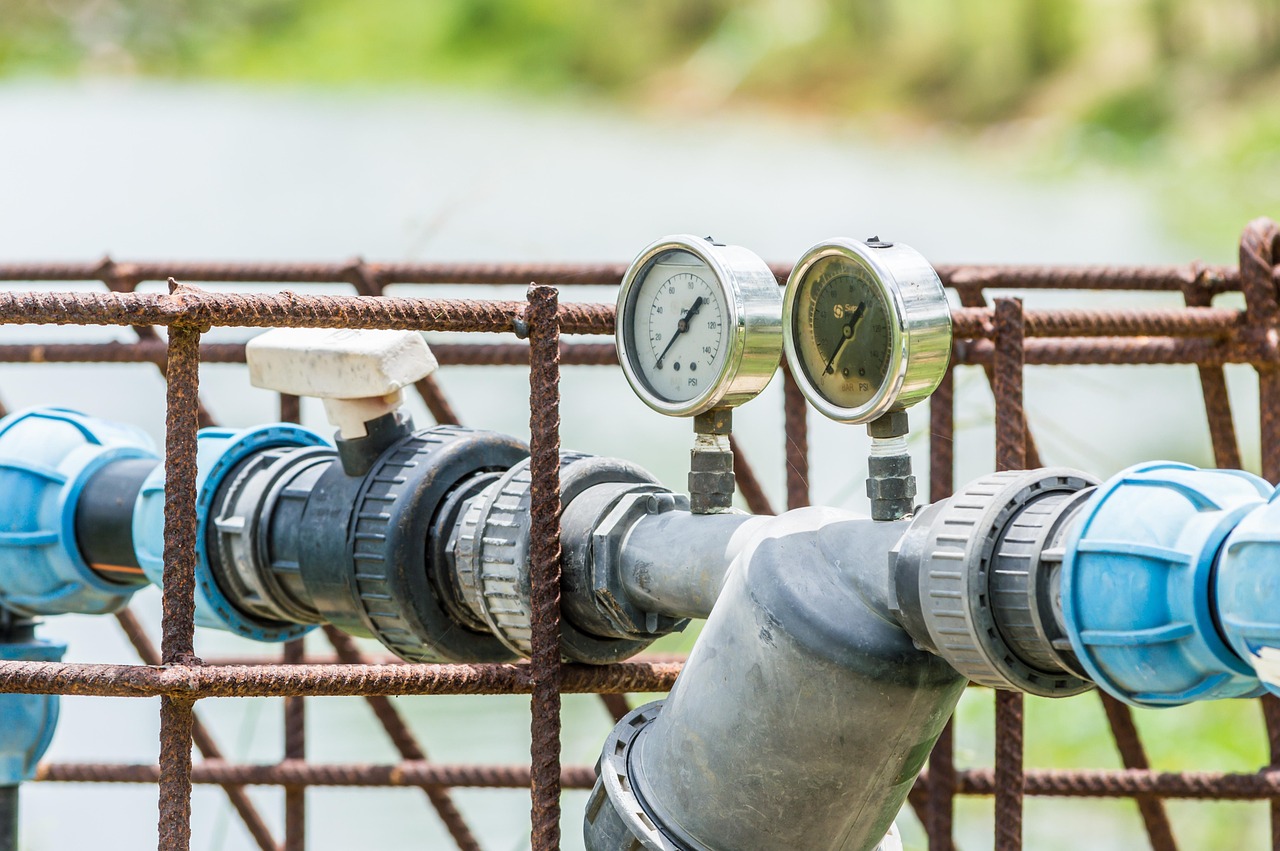
A securely mounted tank is just one component of a reliable van water system. Once your plusnuts are installed and the tank is mounted, you’ll need to connect it to a water pump, filtration system, and plumbing lines. Position your pump as close to the tank as possible to minimize strain on the system, and install shutoff valves at key points for maintenance access. Don’t forget venting—water tanks need proper ventilation to prevent vacuum lock and ensure smooth flow.
Consider integrating a pressure regulator to protect your plumbing from inconsistent campground water pressure when you do hook up to external sources. Many van lifers also install a filtration system between the tank and faucet, ensuring clean drinking water regardless of source. The beauty of a properly installed tank system is its flexibility—you can fill from campground spigots, natural sources with proper treatment, or even harvest rainwater if your setup includes filtration.
Maintenance Tips for Long-Term Reliability
After installation, establish a regular maintenance routine to keep your water system functioning flawlessly. Inspect your tank mounts periodically, checking for any signs of stress or loosening. The secure fit provided by plusnuts means you likely won’t need adjustment, but it’s worth checking before extended trips. Sanitize your tank every few months with a diluted bleach solution, especially if you’re not using it regularly. This prevents bacterial growth and ensures your water stays fresh.
Winterizing is crucial if you travel in cold climates. Even if your van is insulated, plumbing lines and tank fittings can freeze when temperatures drop. Drain your tank completely and use RV antifreeze in your lines to prevent burst pipes and cracked fittings. If you’re storing the van for winter, leave tank drains open and consider removing inspection caps to prevent pressure buildup. These preventive measures protect your investment and ensure your water system is ready to go when spring travel season arrives.
Planning Your Water Capacity for Travel Adventures

Your water capacity directly influences your travel style and destinations. With a 39-gallon tank like ours, we can comfortably boondock for 5-7 days with conservative usage—showers every other day, conscientious dishwashing, and responsible drinking water consumption. This freedom to camp away from developed facilities opens up dispersed camping opportunities on BLM land, National Forest roads, and other remote areas that larger RVs can’t access.
However, more water isn’t always better. Larger tanks add weight that affects fuel economy and payload capacity. Our 39-gallon tank weighs over 300 pounds when full, which we had to factor into our overall weight distribution planning. Consider your typical travel patterns: if you move locations every 2-3 days, you might not need massive capacity. Conversely, if you prefer extended stays in one location, prioritize water storage over garage space. The key is matching your system to how you actually travel, not how you imagine you might travel someday.
Final Thoughts on Van Life Water Independence

Installing a secure water tank with quality mounting hardware like plusnuts represents more than just another van build project—it’s an investment in travel freedom. The ability to carry your own water supply means you’re not tethered to campgrounds or worried about finding potable water sources in remote areas. Whether you’re parked on BLM land in the desert, nestled in a National Forest, or exploring backroads, having reliable water storage transforms your van into a truly self-contained travel vehicle.
The installation process we used with plusnuts for our S&B wheel well tank has proven exceptionally reliable over thousands of miles of travel. No rattles, no leaks, no maintenance headaches—just a secure water supply that’s ready whenever we are. That reliability is priceless when you’re miles from civilization and depending on your van’s systems. Take your time with the installation, use quality hardware, and your water system will serve you faithfully through countless adventures.
2 thoughts on “Van Life Water Systems: How to Install Plusnuts for Tank Mounting”