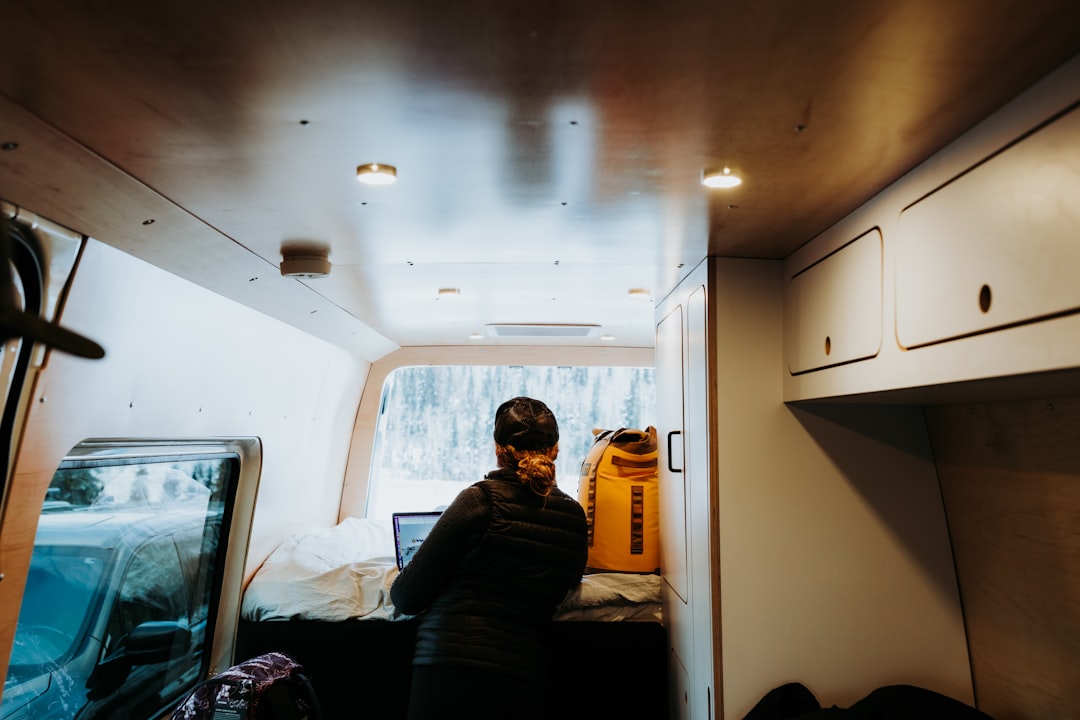
Nobody warned me about the condensation. I’d spent six weeks insulating my first campervan — every wall cavity stuffed, every ceiling panel sealed, every gap filled with expanding foam. I was proud of that build. Then I parked near Moab in November, woke up shivering at 3 a.m., and reached up to touch the ceiling. It was raining inside my van. Not a little damp. Literally dripping. My wooden bed frame had dark spots forming along the joints. My electronics bag was soaked. And the smell — that musty, basement-in-July smell — told me I had done everything wrong.
What followed was three months of research, one complete tear-out, and a rebuild that fundamentally changed how I think about thermal management in small spaces. My team and I have since insulated two more vans, helped friends with their builds, and made every mistake in the book so you don’t have to. Here’s what I learned the hard way about keeping a campervan warm, dry, and quiet — and the specific system I’d use if I started over tomorrow.
Why Van Insulation Is Nothing Like House Insulation
Here’s the first thing that tripped me up: I approached my van like a tiny house. That makes intuitive sense — four walls, a floor, a ceiling, stuff some fiberglass in there and call it done. But a campervan is a metal box sitting outside, fully exposed to the elements, with zero thermal mass of its own. The steel walls conduct heat faster than you’d believe. Park in the sun and the interior hits 110°F in twenty minutes. Park in the shade at altitude and you’ll see your breath before sunset.
The other factor that separates van insulation from home insulation is vibration. Your van is a vehicle. It shakes on the highway, flexes over potholes, and rattles on dirt roads. Materials that work beautifully in a stationary wall — rigid foam boards, for example — can squeak, shift, and eventually crumble from constant movement. I learned this after finding pink foam dust behind my wall panels after a particularly brutal stretch of Baja washboard road.

Then there’s the moisture problem. In a house, vapor barriers work because the interior is consistently warmer than the exterior. In a van, the temperature differential flips constantly. You sleep warm inside at night. You park in the sun during the day. The metal skin goes from cold to hot to cold again. Any trapped moisture between your insulation and the metal walls will condense on the nearest cold surface, and it has nowhere to go. That’s how you get mold, rust, and that lovely smell I mentioned.
The Three Enemies: Heat Transfer, Condensation, and Noise
Before you buy a single roll of insulation, you need to understand what you’re actually fighting. My first build failed because I conflated these three problems and tried to solve them with one material. That doesn’t work.
Heat transfer is the obvious one. Heat moves through conduction (direct contact with hot metal), convection (air circulation carrying warmth away), and radiation (the sun blasting your roof). Different insulation materials handle these differently. Foam boards are great at conduction. Reflective barriers tackle radiation. Thinsulate and wool handle convection by trapping air in their fibers. You need a combination approach, not a single solution.
Condensation is the silent killer. This is where most builds go wrong, including mine. You produce roughly a liter of moisture per night just by breathing. Add cooking, drying wet gear, and even propane heating, and you’re generating significant humidity inside a tiny metal box. If that moisture reaches cold metal, it condenses — and water trapped inside your walls doesn’t evaporate easily. I’ve opened up vans that looked fine on the surface and found black mold on the ribs and corrosion on the sheet metal behind the insulation. It’s ugly.
Noise is the problem most people underestimate until their first night trying to sleep in a van parked near a highway. That metal box amplifies every raindrop, every passing truck, and every gust of wind. Sound deadening and thermal insulation serve different purposes, but they overlap enough that smart material choices can address both.

The Materials I Tested (And What Actually Worked)
Over two builds and one full tear-out, I’ve worked with nearly every insulation material available to the DIY van community. Here’s my honest assessment, starting with the ones I’d actually recommend.
3M Thinsulate SM600L ended up being my go-to for walls and ceilings after the rebuild. It’s a synthetic acoustic insulation originally designed for luxury cars — the same stuff they put inside BMW doors to quiet the cabin. It handles both thermal and sound dampening, doesn’t absorb moisture the way natural fibers can, and installs cleanly with spray adhesive. No itching, no respirator required, no crumbling. The downside is cost: a 5′ x 10′ roll of Thinsulate SM600L runs around $100, and most Sprinter-size builds need three to four rolls. For larger vans, the 5′ x 30′ roll is more economical per square foot.
Reflective bubble insulation — products like Reflectix or the BXI foam-core reflective rolls — works exceptionally well for window covers and behind cab partitions where there’s an air gap. The reflective surface bounces radiant heat back, which matters enormously in summer when the sun is beating on your windshield. I made custom-cut Reflectix panels for every window, and the difference in cabin temperature was immediately noticeable. But here’s the trap: people stuff Reflectix into wall cavities where it’s compressed against the metal. Compressed reflective insulation does almost nothing. It needs an air gap to function. The SmartSHIELD 3mm reflective roll is another option I’ve used for curved surfaces and overhead cab areas — thinner and more flexible than standard Reflectix.
Polyiso foam boards are what I used for the floor. Rigid foam gives you a high R-value per inch — critical when you only have an inch or two of depth between the metal floor ribs and your finished subfloor. I used 1-inch polyiso boards cut to fit between the ribs, with Dicor butyl seal tape along the edges to prevent squeaking and create a thermal break. This is the one place where rigid foam shines: flat surfaces that don’t flex.
Sound deadening mats like Dynamat Extreme are not insulation in the thermal sense. They add mass to the metal panels, reducing vibration and road noise. This goes on first — directly on the bare metal before any thermal insulation. I skipped this in my first build to save money and regretted it on every highway mile. The difference in cabin noise after applying sound deadener to the doors, floor, and lower wall panels is night and night. It’s expensive, but a single bulk pack covers the critical areas of most vans.
RV-specific insulation rolls like this water-resistant thermal and sound barrier have improved dramatically in recent years. They’re designed for the specific vibration and moisture challenges of vehicles, and I’ve started recommending them as a budget alternative to Thinsulate. They’re easier to cut, adhere well with contact cement, and handle the condensation issue better than open-cell foams.
The Vapor Barrier Mistake That Cost Me Everything
This is the section I wish someone had written for me before my first build. The conventional wisdom on van forums when I started was simple: install a vapor barrier on the warm side of your insulation to keep moisture out of the walls. This advice comes from residential construction, and it makes perfect sense in a house. In a van, it’s a recipe for disaster.
Here’s why: your van is not a house. The temperature differential between inside and outside swings wildly throughout the day. You might have a 40-degree difference at night when you’re sleeping with the heater on, then near-zero difference when the van bakes in afternoon sun. Every time that differential exists, moisture-laden air from cooking, breathing, and drying wet jackets is trying to migrate outward. If it hits a vapor barrier before it reaches cold metal, the barrier traps it in your insulation. If it gets past the barrier — and it will, because no van conversion achieves a perfect seal — that moisture is now sandwiched between two impermeable layers with zero chance of drying out.
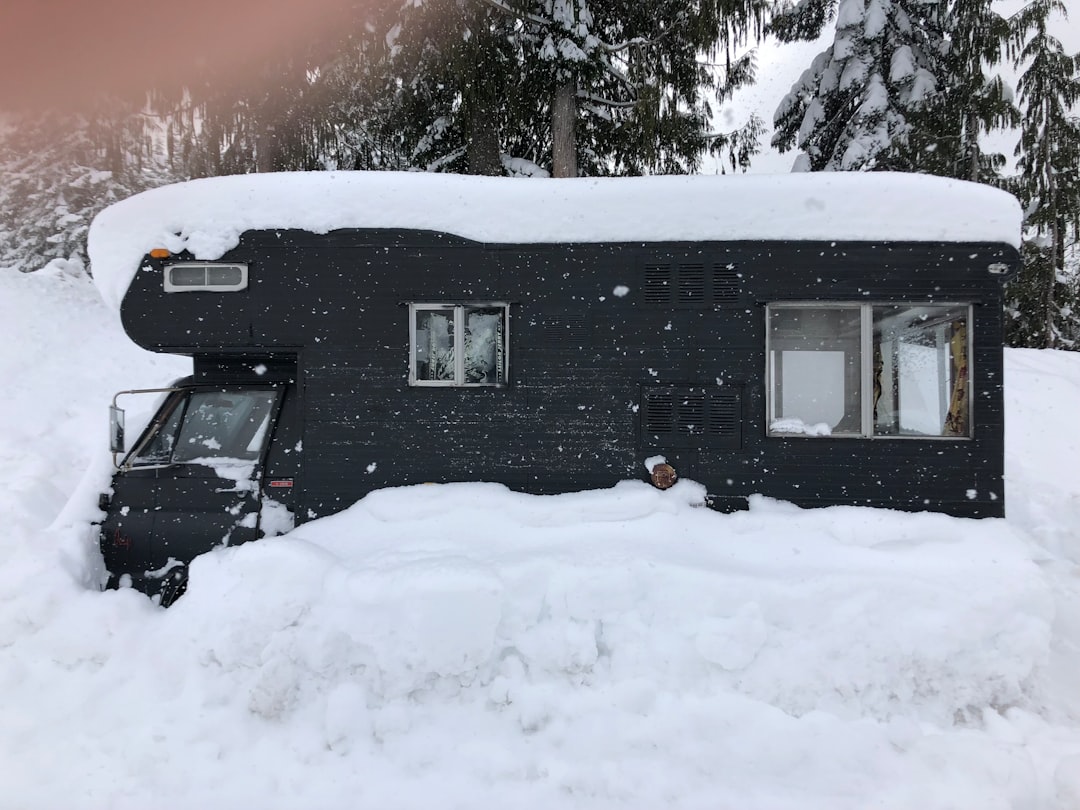
When I tore out my first build, the fiberglass batts I’d carefully installed were soaked. The vapor barrier I’d been so meticulous about had trapped months of condensation against the metal ribs. The insulation was doing negative work — it was holding water against the steel, accelerating corrosion. My wall panels were warped. The wooden furring strips I’d used to create my framing were growing mold along the edges. It was a complete failure, and it all stemmed from following house logic in a vehicle.
The approach that actually works is counterintuitively simple: let the walls breathe. Skip the vapor barrier entirely. Use moisture-resistant insulation like Thinsulate or closed-cell foam that doesn’t hold water. Ensure there’s an air path between your insulation and the metal skin so condensation can evaporate. And — this is the part most people skip — actively manage interior humidity with ventilation and moisture absorbers.
Ventilation: The Missing Half of Your Insulation System
I cannot overstate this: insulation without ventilation is like wearing a winter coat with no pit zips. You’ll trap heat, sure, but you’ll also trap every drop of moisture your body produces. The result is a damp, musty van that feels colder than it should because humid air conducts heat faster than dry air.
The single best upgrade I made in my second build was installing a Maxxair Deluxe roof vent fan. This is a 12-volt, variable-speed exhaust fan that mounts through the roof and moves an astonishing amount of air. Crack a window, run the fan on low, and you’ve got a continuous airflow path that flushes moisture before it can condense on cold surfaces. On hot days, it pulls in cooler evening air. On rainy nights, the built-in cover means you can keep it running without water coming in.
For passive moisture management — important when you’re parked and not actively running a fan — I keep hanging moisture absorber packets in the closet and near the bed. These calcium chloride crystals pull humidity out of the air passively. They won’t solve a major condensation problem, but they help maintain a comfortable baseline and they’re cheap to replace every few weeks.
If you’re planning a more comprehensive ventilation approach during your build, the campervan roof layout planning guide I wrote covers fan placement in detail. Where you put the vent matters almost as much as having one.
Thermal Bridges: The Sneaky Heat Leaks You Can’t See
Even with perfect insulation in every wall cavity, your van has thermal bridges — paths where metal connects directly from the exterior skin to your interior framing. The wall ribs, the floor channels, the structural cross-members: all of these conduct heat (and cold) straight through your insulation layer. In my first build, I insulated every cavity perfectly and then screwed my wooden furring strips directly to the metal ribs. Those strips became cold rails that conducted frost right into the wall panels.
The fix is something called a thermal break — a non-conductive material between the metal and your interior framing. I used strips of closed-cell foam tape along every rib where wood meets metal. It adds maybe $30 to your build and makes a measurable difference in both temperature stability and condensation control. The butyl seal tape I mentioned earlier works double-duty here: it creates an air seal and acts as a minor thermal break between overlapping materials.
This is also where sound deadener helps. That layer of Dynamat between the bare metal and your insulation doesn’t just quiet the cabin — it adds a thin, dense barrier that interrupts the direct metal-to-wood connection. Every layer you can put between the exterior skin and your finished walls, no matter how thin, contributes to breaking the thermal bridge.
What I’d Do If I Started Over Tomorrow
After two complete builds and helping with half a dozen others, I’ve landed on a system that works across climates — from skiing in Colorado to summer in the Utah desert. Here’s the exact layering order I’d use, from bare metal outward:

First, sound deadening mats on all flat metal surfaces — floor, lower walls, doors, and ceiling. Don’t cover every square inch; about 60% coverage is sufficient for noise reduction. Focus on large, flat panels that resonate.
Second, fill all wall and ceiling cavities with Thinsulate or a comparable moisture-resistant insulation. Don’t pack it tightly — these materials work by trapping air in their fibers, and compression reduces their effectiveness. For the floor, use rigid polyiso foam boards cut to fit snugly between ribs, with foam tape along the edges to prevent squeaks.
Third, skip the vapor barrier entirely. Let the wall assembly breathe. If you’re using Thinsulate, it’s inherently moisture-resistant and will dry out naturally when conditions allow.
Fourth, install a roof vent fan before you finish the ceiling. This is non-negotiable. The Maxxair Deluxe is the gold standard for a reason — it moves serious air, has a thermostat, and the integrated rain cover means you never have to worry about weather. If you’re working on your campervan cooling strategy, this fan does double duty in summer.
Fifth, make reflective window covers for every opening. Cut Reflectix or BXI foam to size, slip them between the glass and your curtains, and you’ve got instant radiant heat rejection in summer and retention in winter. This costs almost nothing and makes a bigger difference than any single insulation upgrade.
Sixth, maintain a dehumidification routine. Keep moisture absorbers in strategic locations, crack a window when cooking, and run the roof fan for ten minutes before bed to flush the day’s accumulated humidity.
The Honest Truth About R-Value
Van forums are full of heated debates about which insulation has the highest R-value per inch, as if that single number determines comfort. It doesn’t. A van with R-6 walls and good ventilation will be dramatically more comfortable — and healthier — than a van with R-10 walls and no airflow. The condensation control matters more than the insulation rating. The thermal break matters more than the cavity fill. The window covers matter more than the ceiling insulation.
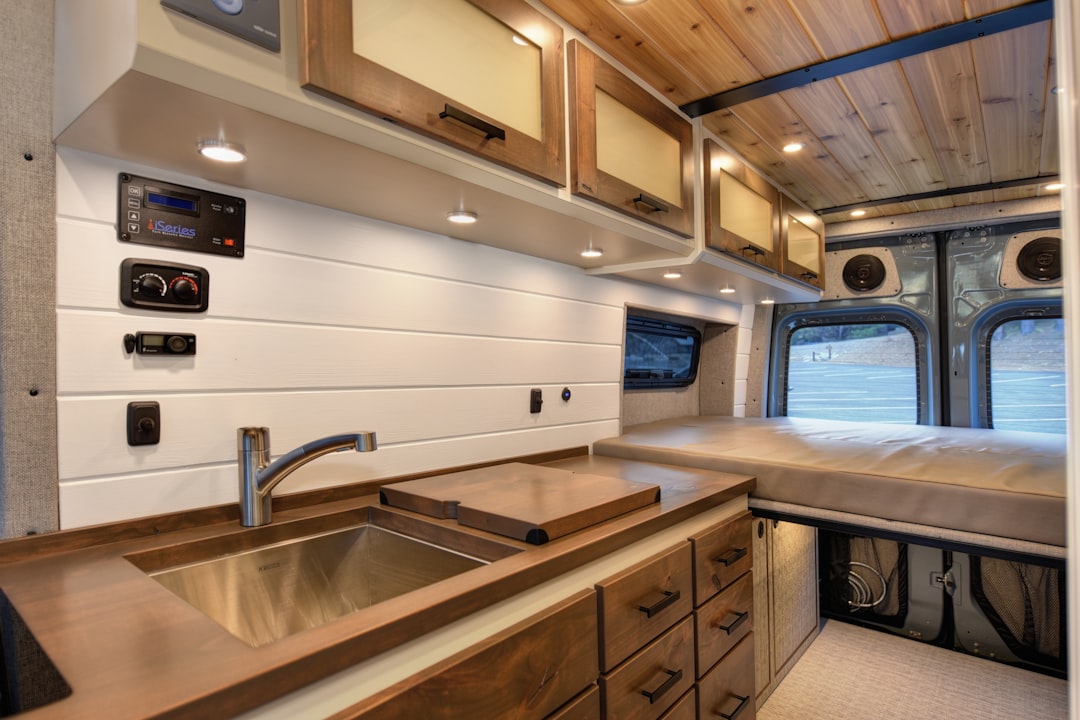
This is the lesson that cost me three months and a complete rebuild. I optimized for the number on the packaging and ignored the physics of how moisture moves through a small space. I sealed everything tight, trapped humidity against cold metal, and created a terrarium inside my own walls. The rebuild used less insulation overall — but placed it more strategically, paired it with active ventilation, and respected the fact that a van is a vehicle, not a building.
If you’re early in your build process, take a breath. The walls you insulate today need to perform for years. Consider how they’ll handle a January night in Montana and an August afternoon in Arizona. Think about what happens to the moisture you generate while cooking dinner when the interior temperature drops twenty degrees after sunset. And whatever you do, don’t seal those walls up tight without giving that moisture somewhere to go.
For more on building out your van’s systems, the campervan kitchen build guide covers how to plan around your insulation when designing cabinetry, and the off-grid toilet setup addresses moisture management from a different angle. Every system in your van interacts with every other system. Insulation is just the foundation — but get it wrong, and nothing built on top of it will work the way it should.
3 thoughts on “The Condensation Nightmare That Forced Me to Rewire Everything About Campervan Insulation”