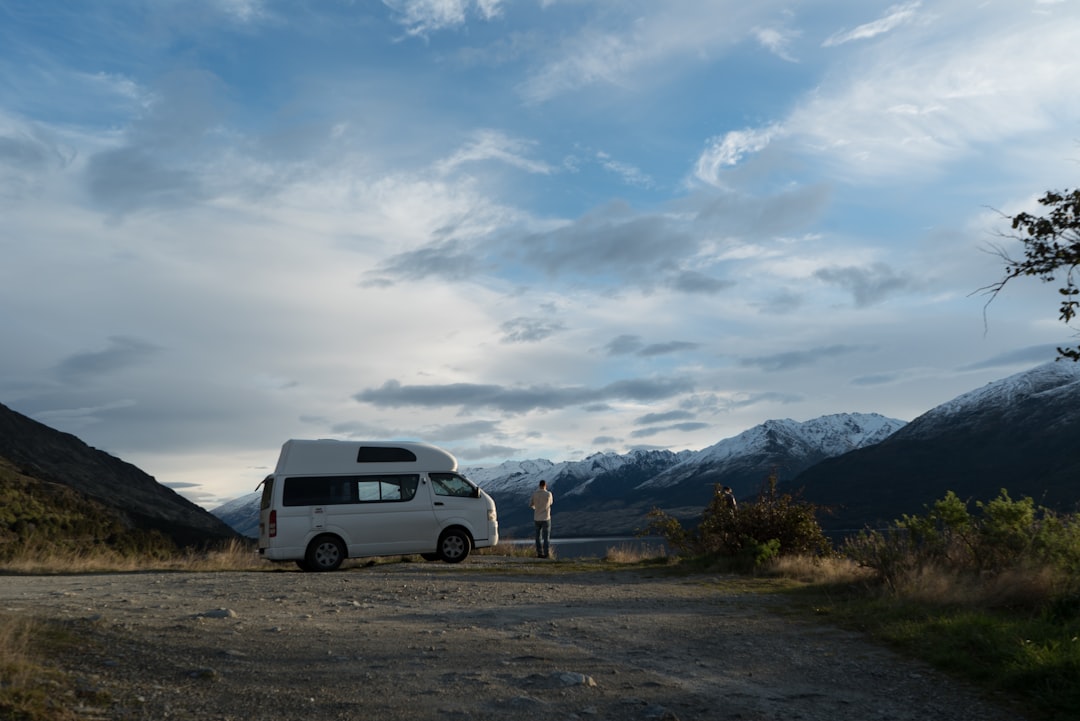
The first hard freeze of last October caught me in the Sawtooth Valley with a water bottle frozen solid on the shelf above my head and frost furring the inside of my own windshield. Not the outside — the inside. Every breath I’d exhaled overnight had condensed on the cold glass and crystallized. I scraped it off with a spatula while my coffee brewed on the stove, and I made myself a promise right there in the dark: never again. This year, the van gets real heat before the first frost warning, not after.
I’ve spent the months since talking to builders, lurking forums where people argue about combustion chambers the way other people argue about sports teams, and running my own test install. What follows is everything I learned about putting a diesel heater in a campervan — the mistakes, the math, the safety gear, and the parts nobody on the forum mentions until you’re already three beers into a troubleshooting thread at midnight.
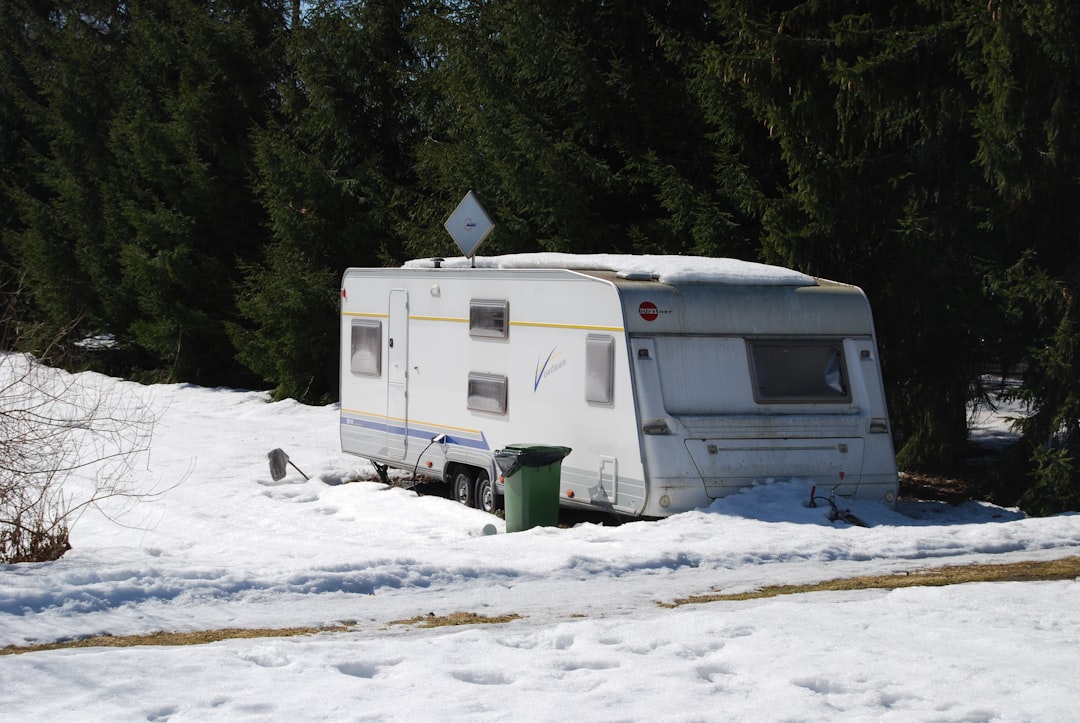
Why Diesel Beats Everything Else for Van Heat
I looked at every option before committing. Propane furnaces work, but they drink fuel, dump moisture into the air with every burn, and force you to carry another tank. Electric space heaters are glorious if you’re plugged into shore power and useless the second you’re boondocking — my house battery would run a 1,500-watt element for about as long as it takes to make a pot of tea. Wood stoves are romantic and heavy and a genuine fire risk in a rolling home.
A diesel air heater splits the difference beautifully. It sips fuel from either the van’s own tank or a small standalone reservoir, burns it in a sealed combustion chamber that vents outside, and pushes dry, clean heat through ducting at a rate you control from a thermostat or even a phone app. The air inside the van never touches the flame. That dry heat matters more than you’d think, too — if you’ve ever dealt with the moisture side of cold-weather camping, you know condensation is the silent killer of van builds, and I’ve written about my insulation battle in detail elsewhere.
The Great Debate: Budget Heaters vs. the Name Brands
Here’s where every van forum descends into chaos. On one side: Espar and Webasto, the German heavyweights, bulletproof and altitude-compensated and priced north of $1,300 once you’ve bought the install kit. On the other: the wave of Chinese-built all-in-one units that cost less than a nice dinner for four and somehow keep thousands of vans warm every winter.
After weighing warranty against price, my team and I landed where most budget-conscious builders do: a VEVOR 8KW all-in-one diesel heater as the test mule, with the smaller 2KW 12V version waiting in the wings for a second build. The philosophy is simple — if the budget unit dies in year three, I can buy four more before matching the price of one Espar, and the savings stay in the fuel fund. The name brands still make sense if you’re building a forever-home rig or regularly camping above 8,000 feet, where the cheap units’ fixed fuel metering struggles in thin air.
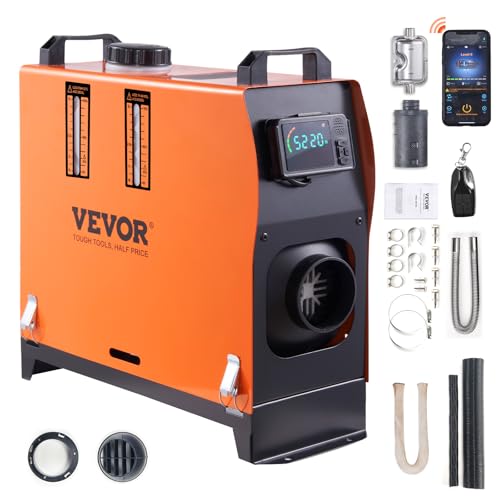
One honest caveat from the forums that matches my experience: quality control on the budget units is a lottery. Two identical heaters can behave like different products. Buy from a seller with actual return handling, run yours hard during the first week while you can still box it up, and don’t skip the safety gear below.

Sizing the Fire: How Many Kilowatts Your Van Actually Needs
Everyone overbuys. A well-insulated camper van is a tiny space — think 60 to 90 square feet of floor — and even a modest heater can cook it. My rule of thumb after talking to builders in Montana and Maine: a 2KW unit handles a Transit or ProMaster with decent insulation down to the teens; a 5KW covers high ceilings, poor insulation, or subzero ambitions; the 8KW brute I installed is honestly oversized for my rig, but I bought headroom, not efficiency, and I don’t regret it during arctic blasts.
Why oversized isn’t the sin it is in a house: diesel heaters modulate, and running slightly under max keeps combustion clean. What you want to avoid is a heater that runs flat-out constantly because it can never satisfy the thermostat. That’s the failure mode that kills units early and drains batteries. Size for your worst realistic night, not your average one, but don’t double it.
Mounting and Placement: Where I Put Mine
Placement decisions ripple through everything else. I mounted my unit on a plywood panel against the rear wheel-well box, low and out of the galley splash zone, with the exhaust routed through the floor using the supplied through-hull fitting. Under-seat and inside a bench cabinet are the other classic spots — the requirement is always the same: a flat mounting surface, clearance around the hot exhaust run, access for maintenance, and a fuel tank location that sits lower than the metering pump.
That pump is the diva of the whole system. It needs to sit at an angle — around 15 to 30 degrees from horizontal is the common guidance — with a gentle downhill fuel line run, and it needs to be isolated from the chassis so its rhythmic tick-tock doesn’t transmit through the whole van at 2 a.m. The first night I ran mine, mounted straight to the floor pan, the pump’s pulse was loud enough to hear through my pillow. A rubber isolation mount and fifteen minutes of work silenced it completely.

For sealing the exhaust and intake penetrations through the floor, don’t improvise with silicone. Butyl sealant tape is what the RV industry uses for exactly this job — it stays flexible for decades, grips to bare metal, and won’t crack when the floor flexes on washboard roads. My crew chief on this build insisted on it after watching a badly sealed floor penetration soak a wheel well in road spray.
Install Day: The Honest Timeline
Clock the calendar honestly: a first-time all-in-one install is a full weekend, not an afternoon. Cutting the floor penetration is the moment of no return — measure three times against the mounting bracket template, check what’s underneath the van (fuel lines, brake lines, the spare tire carrier), and then cut. The wiring side is straightforward but non-negotiable to do right: a fused connection straight to the house battery, because a diesel heater draws a serious startup spike while the glow plug fires. If your electrical foundation is shaky, sort that first — my electrical system design writeup covers the sizing math, and I’ve since made the pre-trip checks on it a standing 10-minute safety ritual.
On the hardware side, use a proper inline fuse holder with blade fuses sized for your wire gauge rather than whatever crimp connectors came rattling loose in the kit box. Cheap kits ship marginal electrical hardware, and this is one corner where the $12 upgrade is the cheapest insurance you’ll ever buy. A quality 12V heater with a decent harness saves an afternoon of re-soldering, too.
Then comes the first fire. Run it outside, doors and windows open, for a solid hour before you ever sleep near it. New heaters burn off manufacturing oils and produce a smell that forums politely call “the break-in period” and impolitely call much worse. My first burn-off stunk up the whole campsite. The second was faint. By the third, nothing.
Fuel Strategy When the Mercury Drops
Diesel gels in deep cold — that’s not a myth, it’s chemistry. Straight summer-blend fuel can start waxing up around 20°F, and a gelled fuel line will starve your heater exactly when you need it most. Northern fuel stations switch to winter blends automatically, but if you’re filling from a jerry can or traveling early in the season, treat your fuel. I keep a bottle of Hot Shot’s Secret anti-gel winter treatment in the galley bin from October through April, and I dose every can before it goes in the tank.

The other decision is where fuel comes from. Tapping the van’s own tank with a drop-in pickup tube means you’re always running treated road diesel — but it means you can’t let the tank run low in winter. A standalone tank, which most all-in-one kits include, decouples heating fuel from driving fuel at the cost of refilling one more container. I run the standalone tank for independence; a friend with the tank-tap setup never has to think about it. Both work. Pick the failure mode you’d rather manage.
The Safety Kit That Lives Next to the Heater
I’m going to be blunt here, because this section matters more than the rest of the article combined. A diesel heater’s combustion is sealed from the cabin, and thousands run safely every night — but you’re still burning fuel inches from where you sleep, in a space you can cross in two steps. The margin between a non-event and a tragedy is detection equipment.
My rig carries both layers. A hardwired Safe-T-Alert 12V RV carbon monoxide alarm is mounted at sleeping height near the bed — CO mixes with air, but you mount detectors where you breathe, not on the ceiling of a space with stratified air. A portable battery-powered Kidde CO detector rides in the bag I take when I’m testing gear in rentals or friends’ rigs. And within arm’s reach of the heater lives a Kidde Auto 10 fire extinguisher rated for vehicle fires. Total cost of that layer: less than a tank of diesel. I’ve never needed any of it and I hope I never do, and I re-test every alarm on the first of each month without exception.
Cold-Weather Habits That Make the Heater Look Good
The heater is half the system; how you live around it is the other half. I dropped a wireless indoor-outdoor thermometer with a remote sensor by the bed, and it changed my mornings — knowing it’s 9°F outside and 67°F inside before I leave the sleeping bag makes the whole endeavor feel engineered rather than lucky. I set the thermostat to its lowest comfortable setting overnight, then bump it up ten minutes before wake-up so the coffee routine happens in a warm kitchen.
It’s the same philosophy I apply to summer, just inverted: when the Arizona heat rolled in last year, beating it was about strategy and shading, not one miracle gadget. Winter rewards the same kind of thinking — vent moisture from evening cooking before bed, park nose-out of the wind when you can, keep the fuel tank treated and topped, and let the heater run its cooldown cycle every single time so it burns clean and self-clears.

Was It Worth It?
Two hundred and change in parts, one bruised weekend, one frozen-solid water bottle retired with honors. This winter the plan is the Sawtooths again in November, then whatever the forecast looks least inviting — which, if I’m honest, is now exactly the point. The whole reason I built this van was to stop letting the calendar decide where I sleep.
If you’re on the fence, let the fence be about which heater and which mounting spot, not about whether. The first below-freezing morning you wake up in a T-shirt, coffee steaming, frost on every window except the one you’re looking through — that’s the whole argument, settled.
3 thoughts on “The Night My Water Bottle Froze Solid: My Diesel Heater Install, From Box to First Burn”