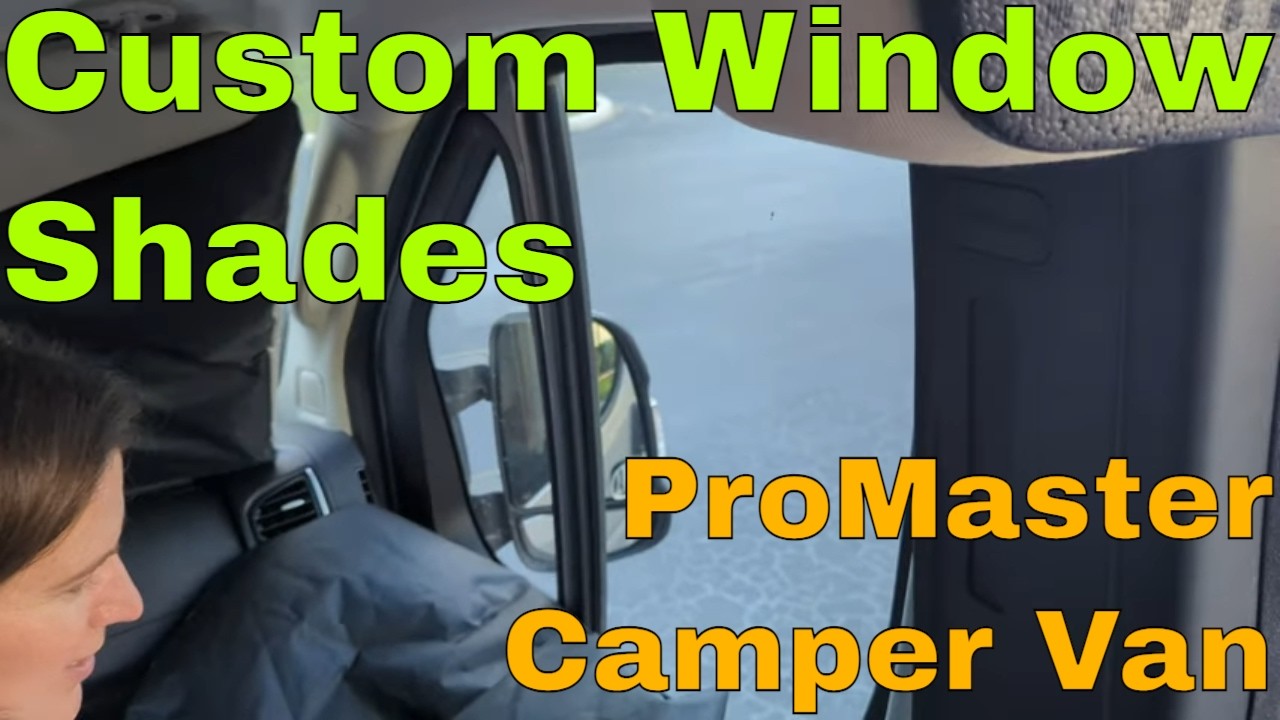
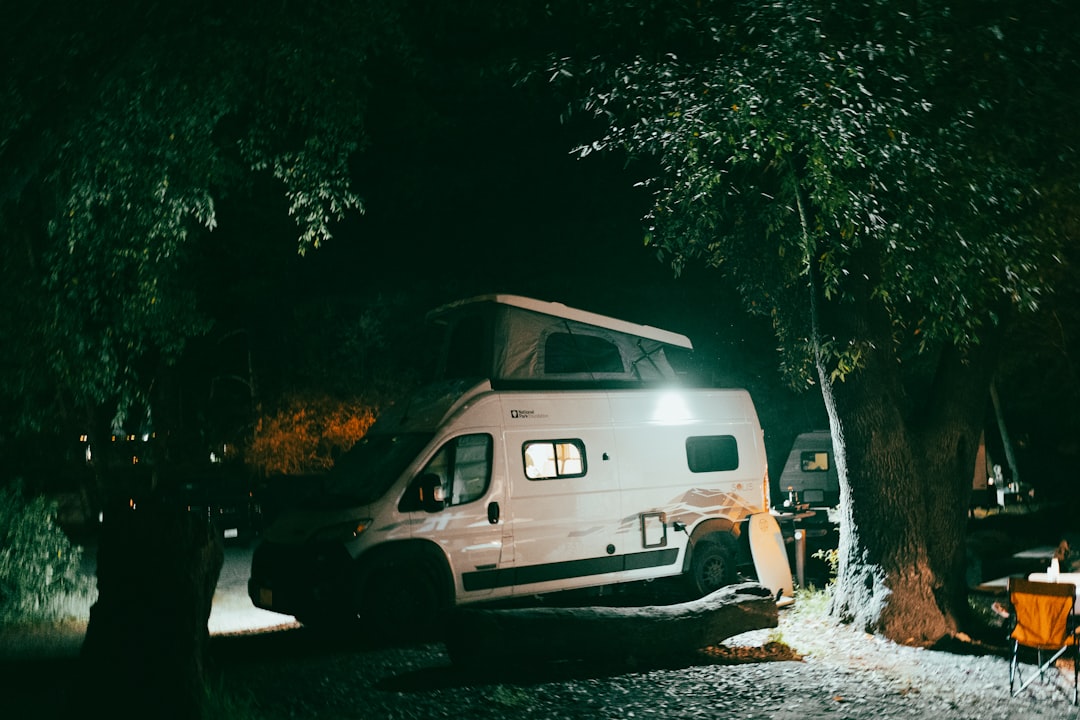
The sun came up at 4:52 a.m. last June, and my campervan turned into a lantern. Six windows, no covers worth the name, and a bedroom that lit up like a display case the moment the horizon cracked. I draped a fleece blanket over the cab seats. I bought a suction-cup blackout panel that surrendered to the humidity by Tuesday. By the third dawn of squinting at my watch and realizing it wasn’t even five yet, I accepted the obvious: nothing I could buy was going to fit six irregular ProMaster windows, and it was time to sew.
What I ended up with — custom insulated shades, reversible, held on with magnets — took a weekend of cutting and cursing and one very gluey kitchen table. It also quietly fixed three problems at once: the light, the heat, and the feeling of sleeping in a fishbowl. This is how the whole thing came together, including the mistakes I’d skip if I did it again.
Why Glass Is the Weakest Link in Your Van
Van builders obsess over wall insulation and then leave a dozen square feet of it as single-pane glass. Automotive glazing has an R-value hovering around one, which is to say: thermally, it’s barely there. In August, sunlight pouring through unshaded windows can push a parked van twenty degrees past the outside air in under an hour. In October, the same panes radiate your heat straight into the night sky.
There’s a reason window placement deserves as much planning as your electrical system — I wrote about how much the right glass changes daily van life when I chose my own layout, and how much light management shapes campervan windows and natural light. Light you can’t control is the enemy; the whole point of shades is putting a dimmer switch on it.
The fixes pile on top of each other, too. Hot days mean running fans or a temperature-control strategy harder than you should have to; cold nights mean burning through water and battery you budgeted for other things. One layer of insulated fabric across every pane changes the math in both directions.
The Off-the-Shelf Options All Come Up Short
Before you sew anything, you’ll probably try what I tried. Suction-cup blackout panels work on a flat bedroom window and nowhere else; van glass curves, and the panels bow off it, leaving glowing gaps at every edge. Generic curtains need track hardware that eats headroom and still leaks light around every bend. Reflectix cutouts — the classic silver bubble-material solution — genuinely insulate, and a roll of Reflectix is cheap enough that it’s worth keeping as a backup set. But silvered foil pressed against every window makes a cozy van look like a logistics depot, and after a few weeks of Velcro tabs shedding adhesive, I was done with it.
The one off-the-shelf piece I kept is a fitted accordion windshield sun shade that folds flat behind the seat when not in use. For the big flat windshield, it does eighty percent of the job with zero sewing. For every other window — the arched cab doors, the slider, the odd rear quarters — nothing standard comes close, because ProMaster windows simply aren’t rectangles.
Start With Paper, Not Fabric
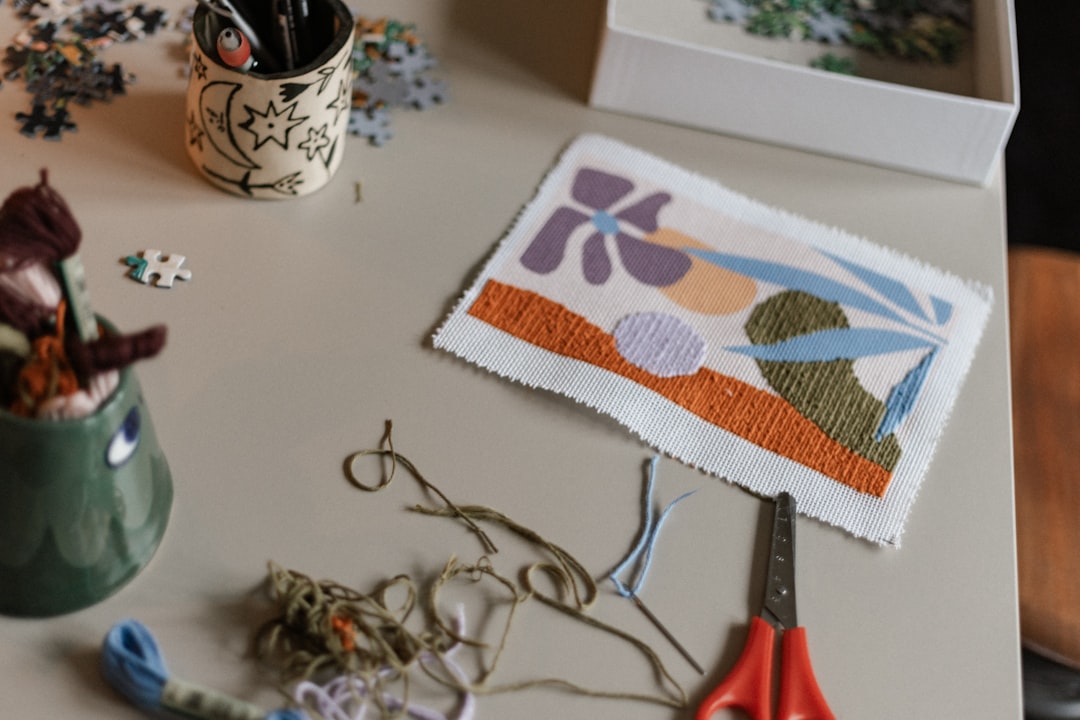
The single best decision in this whole build was refusing to cut fabric first. Trace every window onto brown craft paper, pressed flat against the glass, then cut the templates out and label them in pencil — cab left, cab right, slider, rear one, rear two. These paper masters become the pattern for the insulation and the reference for every fabric panel, so keep them. Six months from now, when a shade tears or you add a window, you’ll want them.
Then comes the math that trips everyone up. The insulation lofts about an inch and a half thick, and it needs room to puff once it’s inside the fabric envelope. Cut the fabric roughly an inch and a half beyond the template line all the way around — loft plus seam allowance — or your finished shade will bow in the middle and refuse to sit flat against the frame. Ask me how I know.
Two Fabrics, One Insulation, and a Reversible Trick
The fabric choice is where this goes from “window covers” to something you’re happy to look at every day. I used outdoor-rated canvas with a waterproof nylon backing, and the reversible trick is simple: buy it in white and black. Sew the shades with the white side out and they reflect summer sun all day — day mode. Flip them black side out in the evening and the cabin goes properly dark for sleep — night mode. Center the magnets in the seams so either face can point outward, and one set of shades does both jobs.
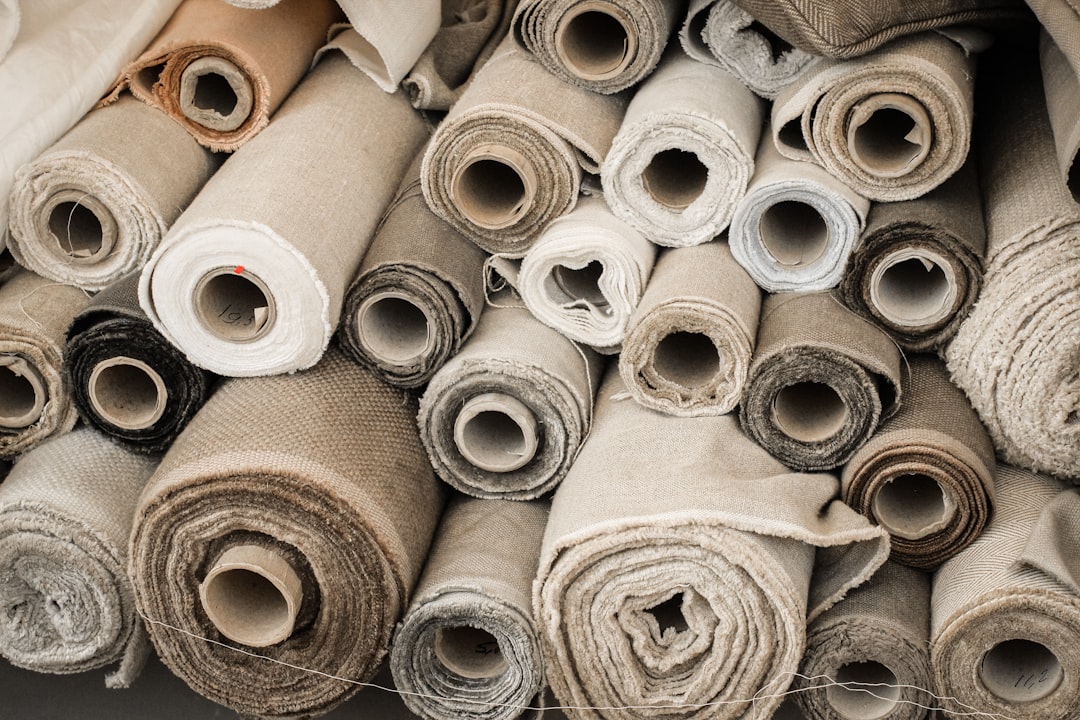
Inside each envelope goes Thinsulate, cut exactly to the paper template size. Unlike fiberglass batts, it doesn’t hold moisture, doesn’t itch, and keeps its loft when it’s been rolled and unrolled a hundred times — which matters, because these panels get handled daily. It’s the same quiet, breathable stuff engineered for jackets, and it happens to be excellent at damping the drumming rain noise on a metal roof-adjacent window, too.
Sewing Without Stabbing the Waterproofing
Here’s the gotcha that took me an hour to understand: pins are sabotage. Every pinhole through the waterproof backing is a future drip line when condensation runs down the glass in January. Use tiny clothespins or quilting clips to hold seams instead — same function, zero punctures.
The construction order is straightforward. Sew the two fabric faces right-sides-together with an opening left along the bottom edge, turn the whole thing right side out, slide in the Thinsulate, then close the opening with a final machine pass. One small detail that looks fussy until you do it: white thread in the top spool, black in the bobbin, so each face gets its matching color and no visible stitch line screams across the panel. Any serviceable machine will handle canvas — this was done on an old workhorse with a fresh needle — though if you’re buying, a basic metal-frame sewing machine with adjustable presser-foot pressure makes the thick seams dramatically less dramatic.
The full walkthrough above shows the entire process end to end — tracing, cutting, the adhesive work, and every gotcha I hit along the way. It’s a twenty-minute watch that will save you at least that many hours of unpicking stitches.

Magnets Beat Velcro Every Time
Mounting is where most DIY shade systems age badly. Adhesive hooks yellow and let go in heat; Velcro collects lint and surrenders at the worst moment; suction cups were never your friends. Magnets sewn into the seam allowances are the answer, because the window frames on a ProMaster are steel. The shades snap themselves on, come off one-handed, make zero noise on washboard roads, and leave no residue to scrub off when it’s time to sell the van.
Size them to the panel: larger magnets along the top edges of the big window shades where gravity pulls, smaller ones for the sides and the narrow quarter windows. Position them before sewing anything permanent, and test the pull against the actual frame — a magnet that’s strong enough through fabric on the bench can feel feeble on a cold morning.
Bonding the Thinsulate to the fabric is the one genuinely chemical step. High-tack spray adhesive — the 3M 90 grade, not the lighter craft stuff — goes onto both surfaces from four to six inches away, then you wait a minute or two until it’s tacky rather than wet, press the layers together, and weight everything under flat boards while it cures. Do this outside or in a garage with the door open, and keep a bottle of Dawn within reach: overspray on skin and tables releases with dish soap and warm water, while dry adhesive mostly releases with your dignity.
The Windshield Is Still Undefeated
Honesty section: the giant windshield shade — roughly thirty-five by sixty-five inches — is the one panel that still isn’t solved. It’s too big for the sewing table, so it gets glued in two halves at table height rather than wrestled on the floor, and the insulation wants to shift while you work. And because the windshield frame isn’t steel the way the window frames are, the magnet trick doesn’t grab. For now mine wedges in with the sun visors and a strip of the fabric’s own stiffness, which works about as well as it sounds. If I crack it — a magnetic tape perimeter, maybe — that’ll be its own follow-up.
Cold Nights, Bright Mornings, and Actual Sleep
The payoff showed up in October, on a night the outside thermometer read 28 degrees. With every shade snapped in place and the diesel heater cycling gently, the cabin held its warmth until morning instead of bleeding it through the glass by midnight. Insulated shades and a heater aren’t competing upgrades; they’re halves of the same system, each one making the other cheaper to run.
Condensation is the other half of cold-weather van life, and shades change that conversation too — I learned the hard way how much moisture management shapes campervan insulation choices. Leave a finger-width gap at the bottom of a shade or two so air can still crawl past the glass, and you get the insulation without trapping a wet layer against the pane.
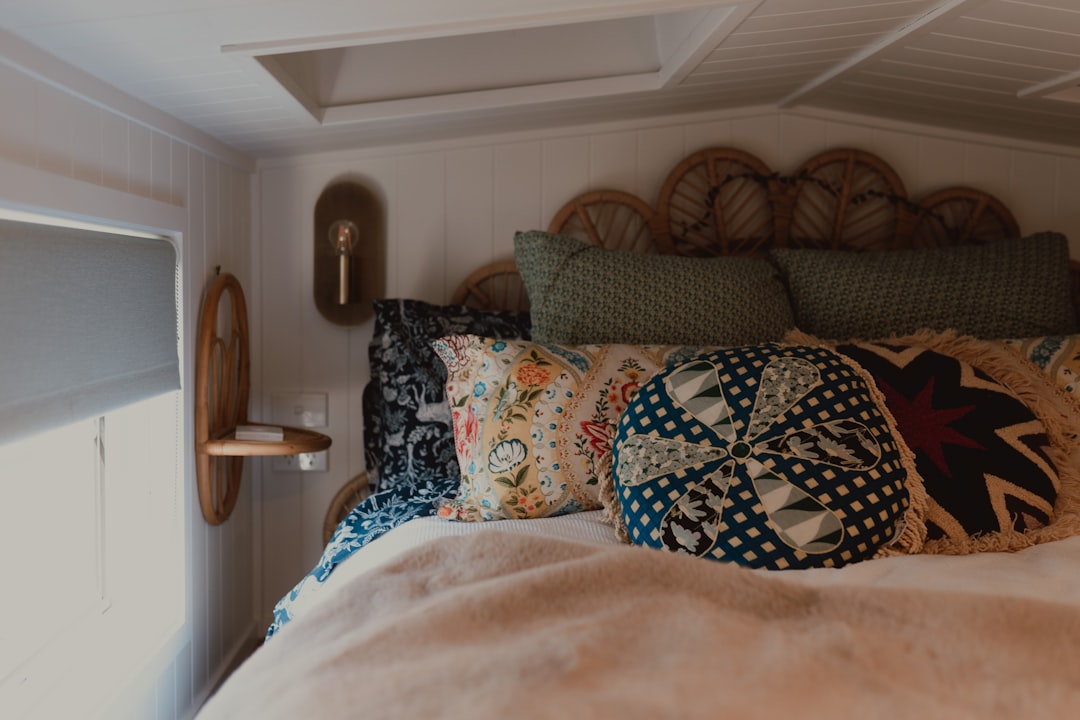
And the darkness itself is the part I underestimated. A van that goes truly black at night produces sleep I didn’t think a vehicle could. For the final sliver of light — the gauge LEDs, the gap at the slider — a good contoured sleep mask finishes the job, and it packs into the center console.
Should You Sew Your Own?
Realistically: this is a weekend project, not an evening one. Budget a full day for templating and cutting, a second for sewing and gluing, and expect the adhesive work to eat an extra hour you didn’t plan. The skill floor is low — every seam is straight, and nobody will ever inspect your bobbin tension — but patience is mandatory, because cutting a shade an inch small means starting that panel over. Total spend landed under two hundred dollars for six windows, which is roughly what two quality fitted commercial shades cost, and mine actually fit.
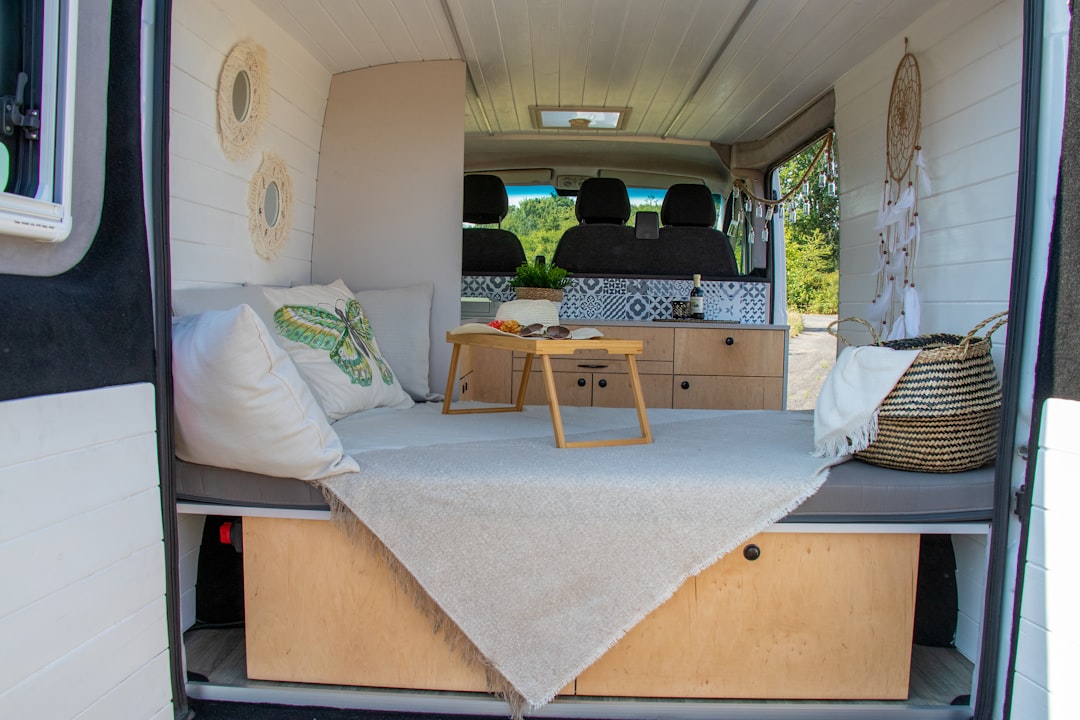
If you build for a living or your windows are standard rectangles, buy off the shelf and don’t look back. But if your van is your bedroom, your office, and your basecamp, custom insulated shades are the highest-comfort-per-dollar upgrade left in the build. The next time I park at a trailhead the night before an early hike, the sunrise can do whatever it wants at 4:52. I’ll be sleeping through it — on purpose, this time.