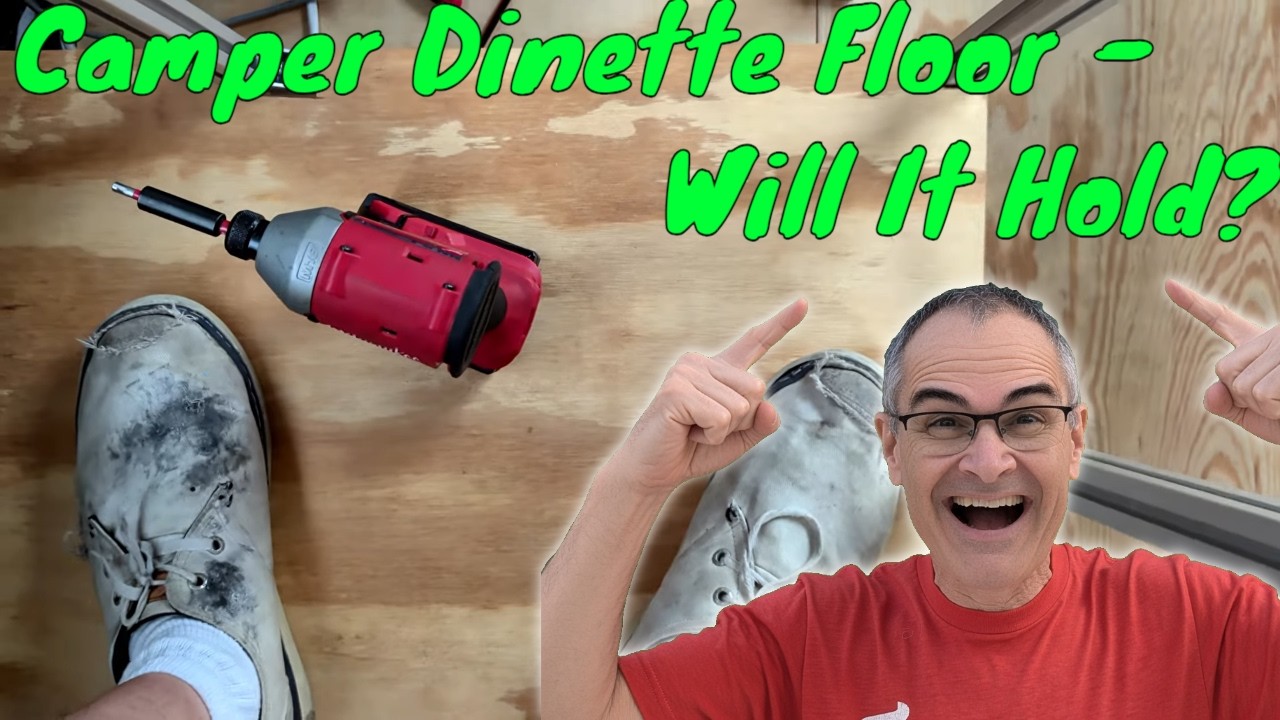
Every van conversion reaches the moment when the empty metal shell stops looking like a cargo hold and starts answering questions. Where will we eat? Where will the gear live? In my build, both questions got the same answer, and it took me a few sketches to see it. The dinette seats needed a floor of their own — a raised platform sitting several inches above the main van floor — and once that platform went in, the space beneath it stopped being dead air and became the closest thing a camper van has to a basement.
Raised seating is one of those ideas that sounds like a compromise until you build it. Then it feels obvious. Here is how the platform came together, the mistakes included, and why the extra inches matter more than you would guess.
The Case for Seats That Sit Higher
Walk through any vintage camper and you will notice the dining booth sits well above the floor line. That was not a style choice. When your dinette doubles as a lounge, a reading nook, and the overflow closet for everything that does not fit in the kitchen cabinets, the volume under the seats is the most valuable cubic footage in the vehicle. A bench built flush with the floor wastes all of it.
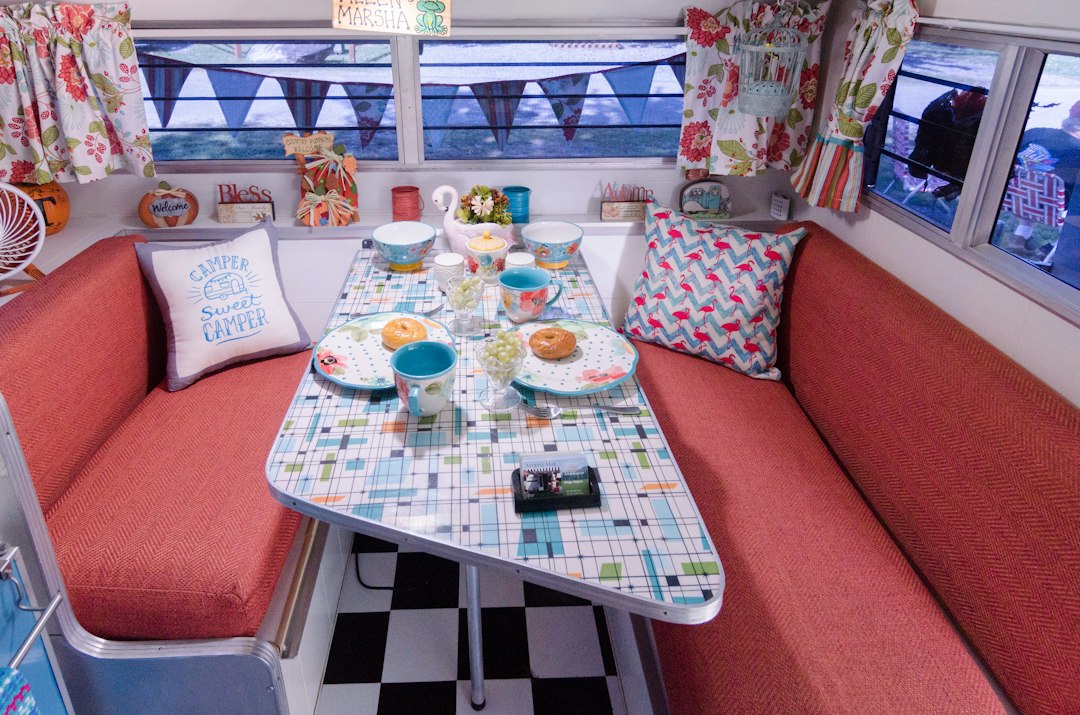
The math is not subtle. Raise a dinette platform six inches across a footprint of, say, forty by seventy inches and you have created roughly ten cubic feet of enclosed storage — the equivalent of two large steamer trunks — in a vehicle where a shoebox of found space feels like a windfall. Camp shoes, tool rolls, the folding chairs, the haul of groceries that always seems to multiply on resupply days: all of it tucks out of sight under the place you eat dinner. When I planned my own dinette layout, the decision to raise the whole assembly was settled before the first cut of aluminum, and it shaped everything after — the framing, the cushion heights we later obsessed over, even the way the table mounts.
Sizing the Platform: Plywood, Thickness, and Honest Overkill
The platform itself is a single sheet of plywood cut to drop into the aluminum frame. I went with five-eighths-inch birch, and I will admit up front that this lands on the conservative side of the dial. The panel spans an extrusion frame with close support spacing, and by the time I stood on the finished floor and bounced, five-eighths felt like honest overkill — three-eighths-inch plywood would almost certainly have carried the load. If weight matters to your build, the thinner sheet saves real ounces; if you want a floor you never think about again, the thicker one buys peace of mind. A good middle path is a quality birch plywood sheet in whatever thickness your span demands, since the stiff face veneers do a lot of work that cheap underlayment simply cannot.
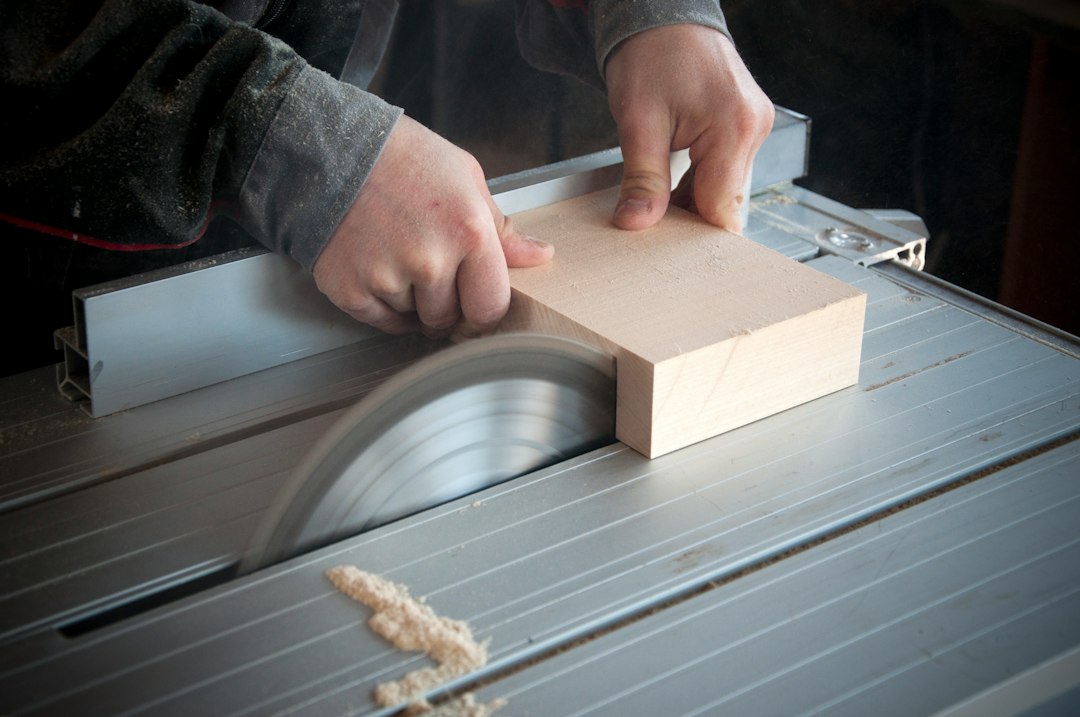
Cutting the panel is straightforward until you remember what a van interior actually looks like: not a rectangle, but a shape negotiated around wheel wells, ribs, and the frame members themselves. I marked the corners that would collide and notched them first, which brings us to the part of the project that no drawing fully prepares you for.
Framing the Void in 80/20 Aluminum
The platform does not float. It rests on a frame of Series 10 extruded aluminum, the slotted T-slot profile that has quietly become the lingua franca of DIY van builds. The attraction is simple: it bolts together, it comes apart, and it forgives. Where a welded steel frame commits you to every decision, an extrusion frame lets you move a crossmember three inches next month because you bought a bigger cooler.
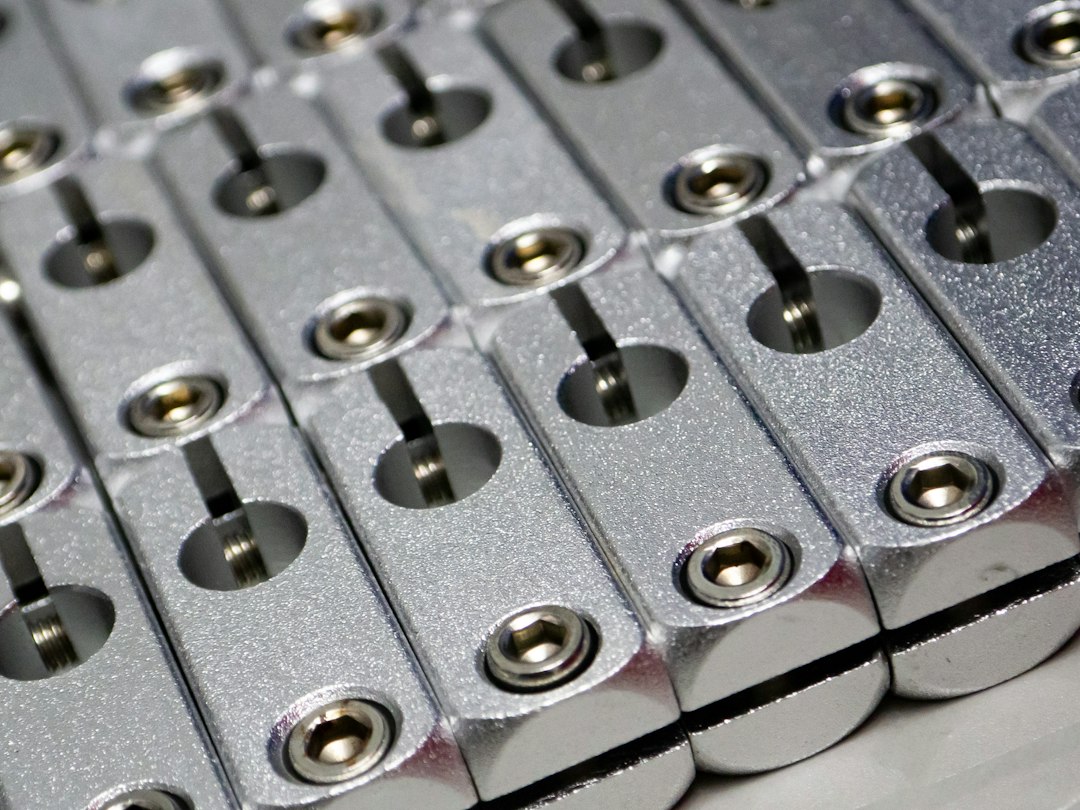
Joining the members is where a lot of first-time builders hesitate. The clean answer is elastic connectors — internal fasteners that pull the profiles tight from inside the slot, leaving nothing protruding above the surface the plywood will rest on. Anything that stands proud of the frame becomes a hard point underfoot or a squeak generator on washboard roads, and neither is acceptable in a floor.
The Test-Fit Ritual: Notch, Trim, Repeat
Here is the part nobody puts on the highlight reel: the first fit will be wrong. My panel dropped onto the frame and rocked — a corner was bearing on the framework where I had underestimated a cutout. The fix is unglamorous and effective. Mark the interference. Take a small bite with the jigsaw. Fit again. A flat, snug fit is the goal, snug enough that the panel cannot shuffle sideways but loose enough that you can still lift it out with fingertips once the storage cavity below needs attention.
The temptation is to take one big corrective cut and be done. Resist it. Material you remove is gone forever, and a panel that ends up a quarter-inch shy of the frame lets dust, crumbs, and the occasional escaped grape fall into the basement forever. Sneaking up on the line costs an extra twenty minutes; a sloppy fit costs you every time you sweep the floor.
Drilling True: Jigs, Clamps, and Trusting Gravity
With the fit dialed, the mounting holes come next, and their placement has to be perfect — the screws must land in the center of the extrusion below, not grazing its walls. Freehanding that from above is a coin flip. The professional move is an access-hole jig paired with the matching access-hole drill bit, which locates the hole precisely over the extrusion’s center bore every single time.
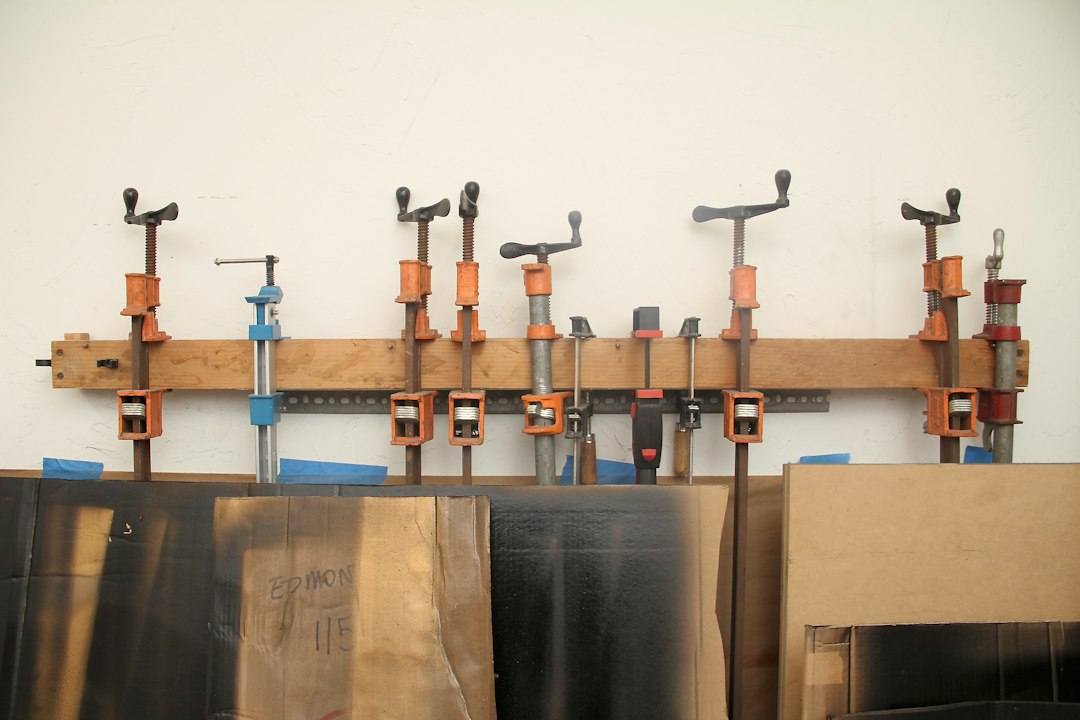
The trick I would pass along: clamp the floor in its final position, then drill through from below. Gravity becomes your alignment system. The holes you open from underneath land exactly where the frame wants them, and when you flip the bit back to the top side, the paths are already true. A pair of quick-grip clamps holds the panel dead still while you work — one clamp per corner nearest the drill, repositioned as you go.
Tapping Threads Into Aluminum
Aluminum extrusion gives you two ways to attach things: slide-in hardware or threads you cut yourself. For a floor that needs to come up occasionally but never rattle, tapped holes are the answer. The process is friendlier than it sounds. A drop of cutting fluid keeps the tap cool and the chips flushing, and a drill tap does the drilling and threading in one pass — no swapping tools mid-hole, no broken taps in awkward places.
Quarter-twenty is the thread of choice here, and not by accident. It is the bolt size that runs through the entire T-slot universe, which means every future modification — a table leg bracket, a tie-down, a seatbelt anchor point certified for the purpose — speaks the same language. A T-handle hex key for driving the fasteners costs less than lunch and will be in your hand constantly for the rest of the build.
Screw Math: Why an Inch and a Half Wins
Fastener length is a word problem, not a preference. The screw crosses five-eighths of an inch of plywood before it ever reaches metal, and then it needs enough thread engagement in the one-inch extrusion to hold against a decade of door slams and frost heaves. One-and-a-half-inch button head screws split the difference exactly: full passage through the wood, healthy bite in the aluminum, nothing poking through the bottom of the frame to snag a wire or a water line later. Where the design called for bolts instead, standard quarter-twenty bolts in three-quarter-inch length did the joining work under the platform.
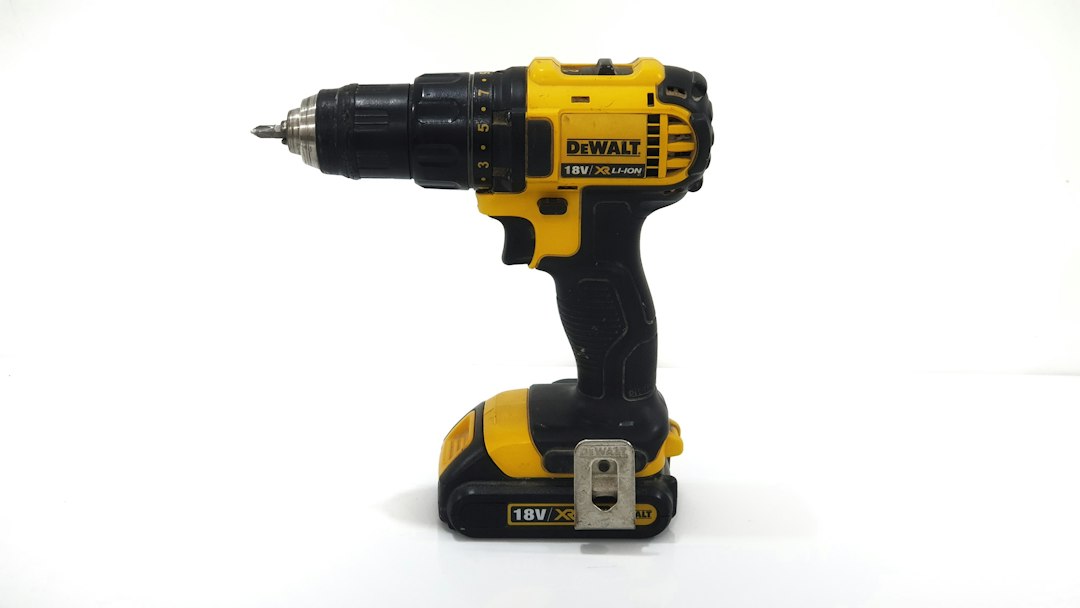
Enlarge the plywood holes to a quarter inch so the screws slide through the wood freely and pull the panel down against the frame instead of fighting for grip in both materials at once. Then drive them with a proper drill and driver combo — low speed, high patience. The finished floor does not flex, does not drum, and carries my full weight with the calm of a poured concrete slab.
The Footrest Panel That Bought Back an Inch
One detail separated this platform from every flat-deck build I have sat in: the rear panel. A second piece of plywood closes off the back face of the dinette frame, and it does two jobs at once. It hides the storage cavity from the seating side — out of sight, out of mind, no bungee-camouflage needed — and it becomes a footrest, a place to plant your heels when the bench becomes an evening reading seat.
The placement is the quiet genius part. Fastening that panel behind the rear extrusion rather than in front of it means the footrest sits an inch deeper, and your feet tuck under the bench the way they would under a proper dining chair. An inch sounds like nothing. Sit through a two-hour rain delay with a book and that inch is the difference between a seat you tolerate and one you choose. In a vehicle where the cushions themselves were engineered for marathon sitting, the footrest is the detail that completes the posture.
What Actually Lives Down There
A storage cavity only earns its keep if you can reach it and organize it. The under-dinette zone divides naturally: a bay for camp shoes and mud-season boots by the door, a long channel for the folding table and chairs, a bin zone for tools and recovery gear that wants to stay put. Under-platform storage works on the same logic as the bench lockers in smaller builds — clear bins, labeled, nothing loose that can migrate while you drive.
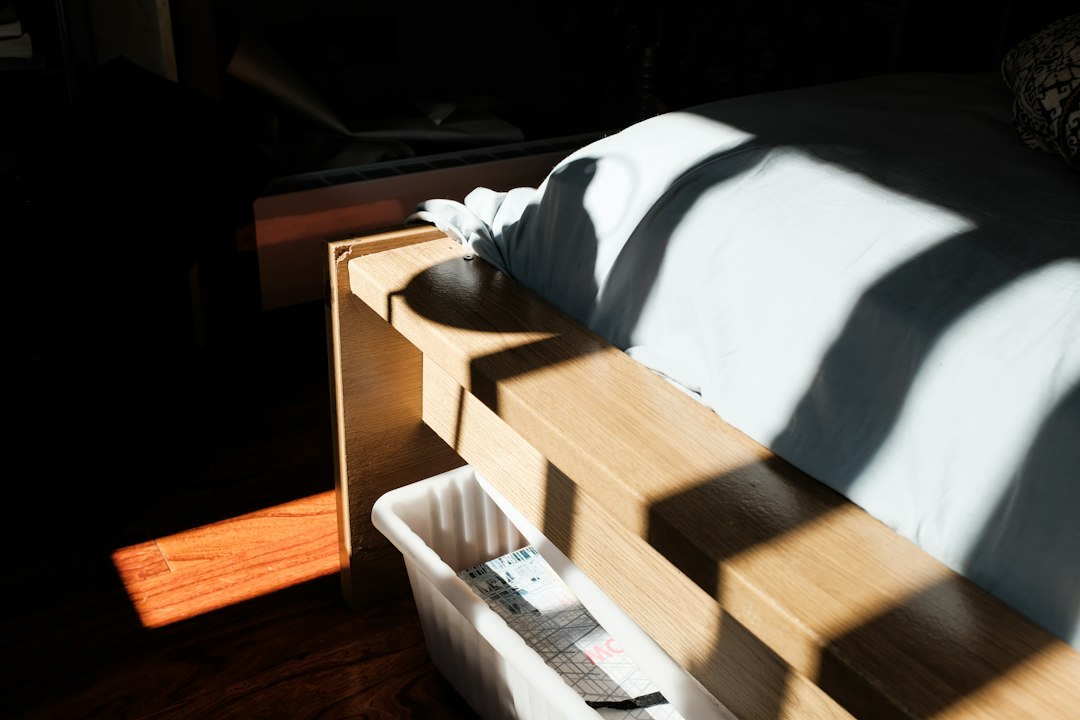
The lift-off floor panel is the access hatch. Because the screws thread into metal instead of glue and nails, the whole floor can come up with a hex key in five minutes to chase a wire, dry out a damp bin after a soggy week, or reorganize when the seasons turn. Try that with a screwed-and-glued plywood deck.
Raising the Seat, Lowering the Compromises
The pattern behind all of this is the oldest one in small-space design: make one element do two jobs, and make the overlap invisible. The dinette needed a floor. The build needed storage. The seat needed a footrest. Three problems, one raised platform, and a finished interior that reads as nothing more complicated than a pleasant place to have lunch.
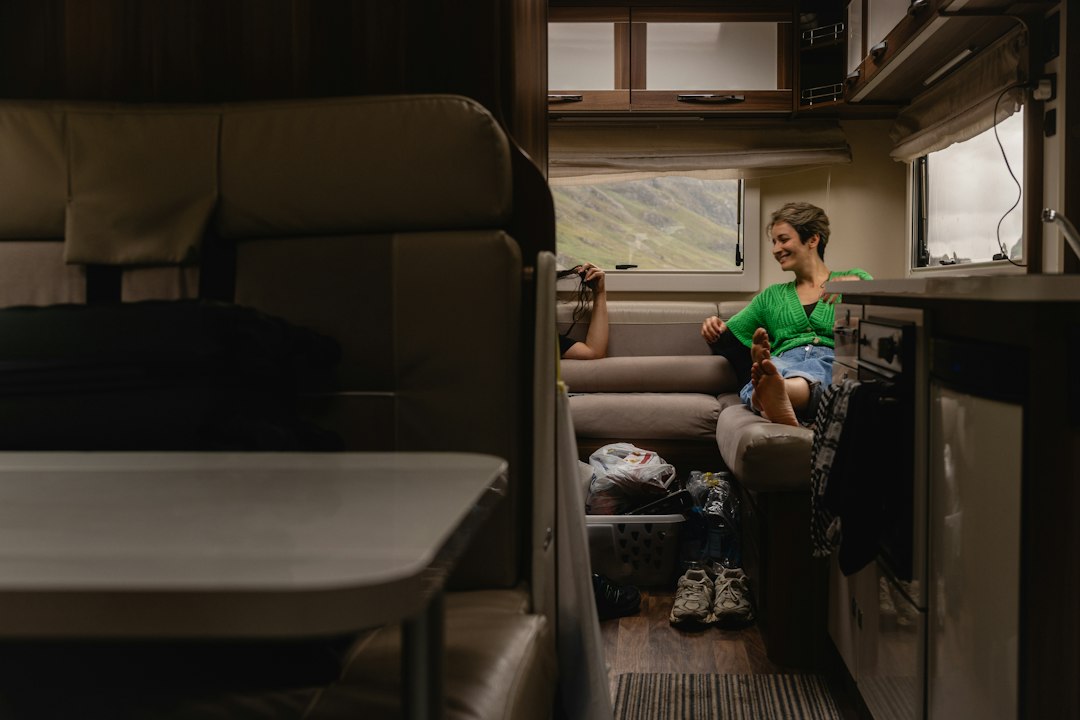
If you are early in your own conversion, decide your raised-floor heights before framing anything, because everything downstream keys off them — the dinette design, the table that will have to change jobs three times a day, the cushion thickness, even how the main floor gets leveled and insulated beneath it all. Get the platform right and the rest of the room assembles itself around it. The best seat in my van sits on empty space, and that empty space is the hardest-working square footage I own.