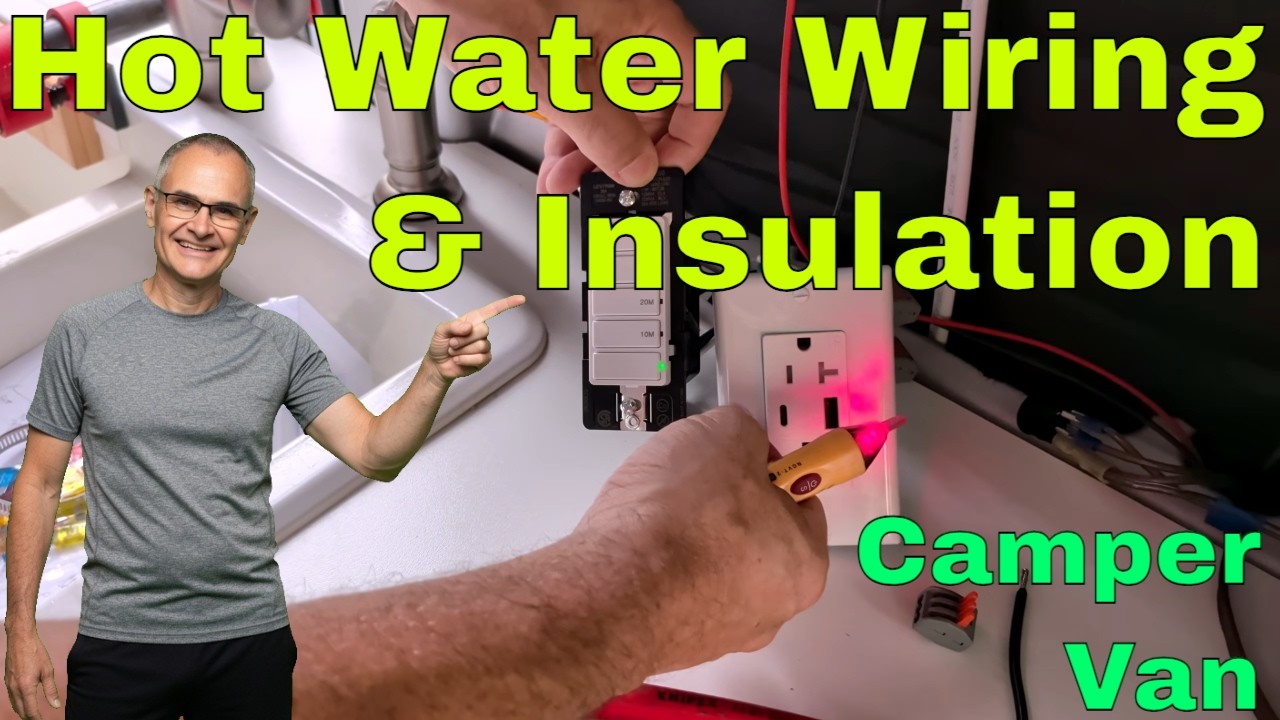
There is a particular campsite morning that every van traveler eventually earns. The windows are fogged from overnight breath, the coffee water is lukewarm at best, and the hike you have planned starts with a steep climb before the sun clears the ridge. What you want in that moment is simple: a short, truly hot shower, then out the door. What you do not want is a water heater that has been sipping shore power or inverter juice since midnight, turning a six-gallon tank into an expensive battery drain.
That is why I put our campervan water heater on a timed 110V circuit and wrapped the tank in foil-faced polyiso before we built cabinetry in front of it. The plumbing side of this system was already done. Engine coolant already warms the tank while we drive, which I covered in how my van’s engine heats six gallons of shower water by sundown. This piece is the other half: electric heat you can dial for ten, twenty, thirty, or sixty minutes, plus insulation that keeps what you paid for from bleeding into the cargo bay.

Hot Water Is a Trip Decision, Not a Luxury Toggle
On the road, hot water is less about pampering and more about range. A real shower means you can stay out another night instead of routing through a gym, a truck stop, or a campground bathhouse that may or may not be open. It also means you use less fresh water, because a quick hot rinse beats a long lukewarm one. The catch is that electric heating in a van is never free. Leave a tank heater on all afternoon and you are either tied to shore power or watching your battery bank do work that a timer could have prevented.
Our tank is a compact marine-style unit, specifically a Kuuma Hot Water Heater, sized for short showers rather than hotel spa sessions. That is the right scale for travel. Six gallons of hot water, used carefully, covers two navy showers and a sink rinse. What it does not cover is forgetting the switch and finding out at dinner that the heater has been on since breakfast.
So the design goal was blunt: when we want heat, we get it for a fixed window, then the circuit drops dead on its own. No “I’ll turn it off in a minute.” No overnight accidental run. Ten minutes is often enough for a top-up after a drive day. An hour covers a cold-start morning when the tank has cooled overnight.
Why the Electrical Side Comes Before the Pretty Cabinets
If you have ever built a van in stages, you know the trap. You finish the visible stuff first because it photographs well, then discover you need to rip half of it out to reach a heater, a pump, or a wire chase. We already knew cabinetry was going in front of this tank. That meant the 110V feed, the timer, and the insulation had to happen while we could still crawl around the unit with both hands free.
The same logic shows up in other build milestones. Hitting “sleep-ready” before the drawers exist forces honesty about what actually matters on the road, which I wrote about in the van build milestone that gets you on the road sooner. Hot water is the same category. Get the systems working while access is easy, then hide them behind wood.
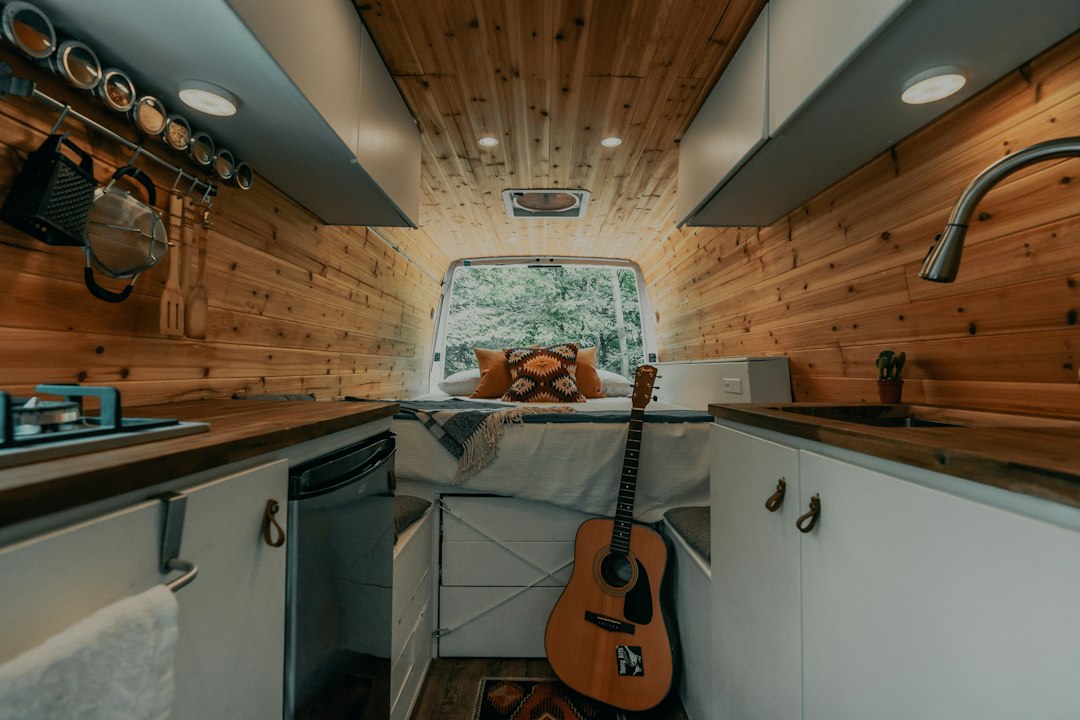
Twelve-Gauge Wire and a Heater That Does Not Forgive Shortcuts
For the heater circuit itself I ran 12-gauge electrical wire from the panel area up behind where the countertop will land. Twelve-gauge is the right call for a dedicated 110V water-heater branch in a van: enough ampacity for the element, stiff enough to stay put once you fish it through connectors, and familiar enough that future-you will not wonder what gauge someone chose in a hurry.
At the heater end, the order of operations mattered more than the parts list. Power off first. Always. Then the ground, which on this unit lands on a screw that hides back in a spot designed to punish large hands. That ground was the hardest single connection of the day. Hot and neutral were easier: lever-style Wago-style lever connectors (a generic kit, not the official Wago brand) joined the conductors cleanly, and the cover went back on with four screws. If you are used to twisting wire nuts in a basement junction box, lever connectors feel like cheating. In a vibrating van, I will take that kind of cheating every time.
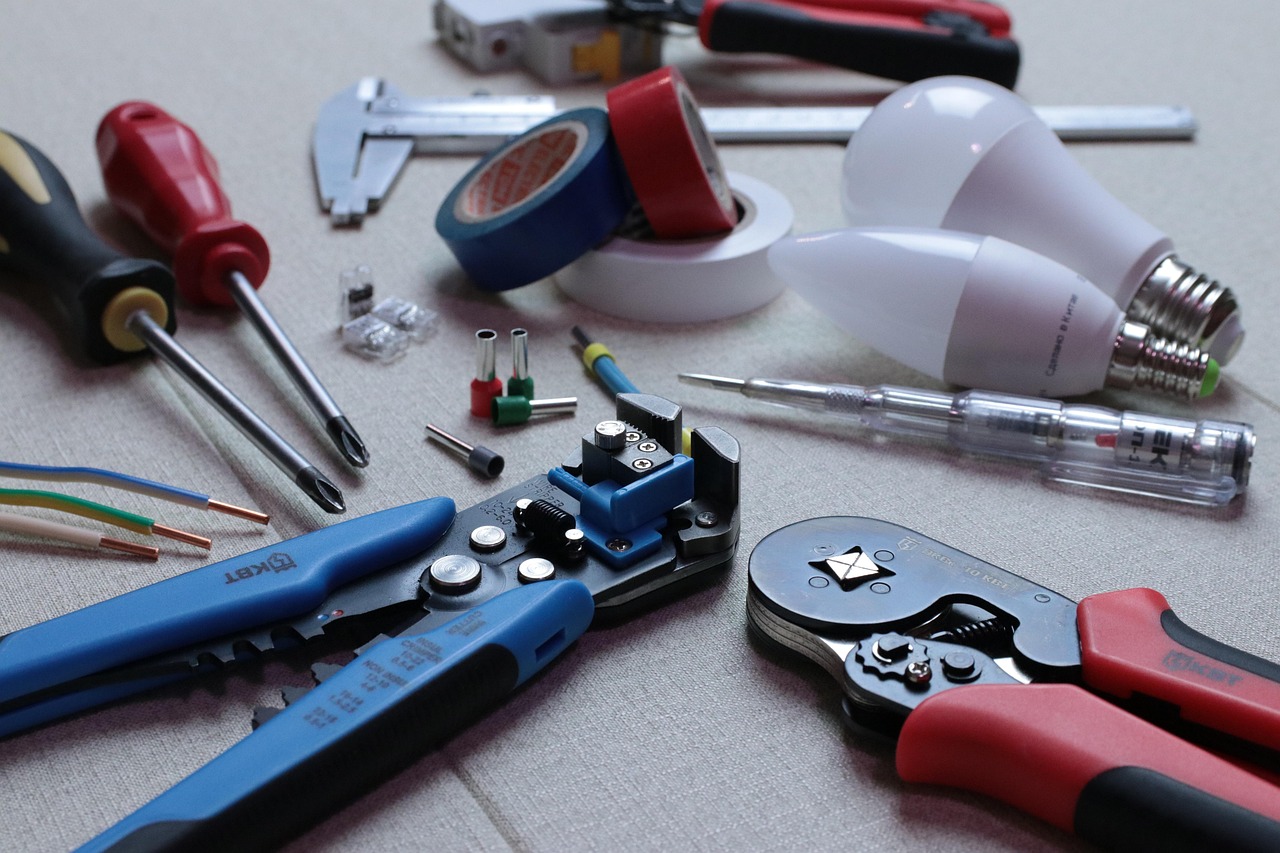
A self-adjusting self-adjusting wire stripper and a solid pair of electrical pliers earned their keep while I was fishing stiff 12-gauge through a connector that wanted to pop its retaining clip. Small tools, big time savings, especially when you are crouched in a cargo bay that still smells like fresh insulation.
One Branch, Two Jobs: Kitchen Outlet and Timed Heat
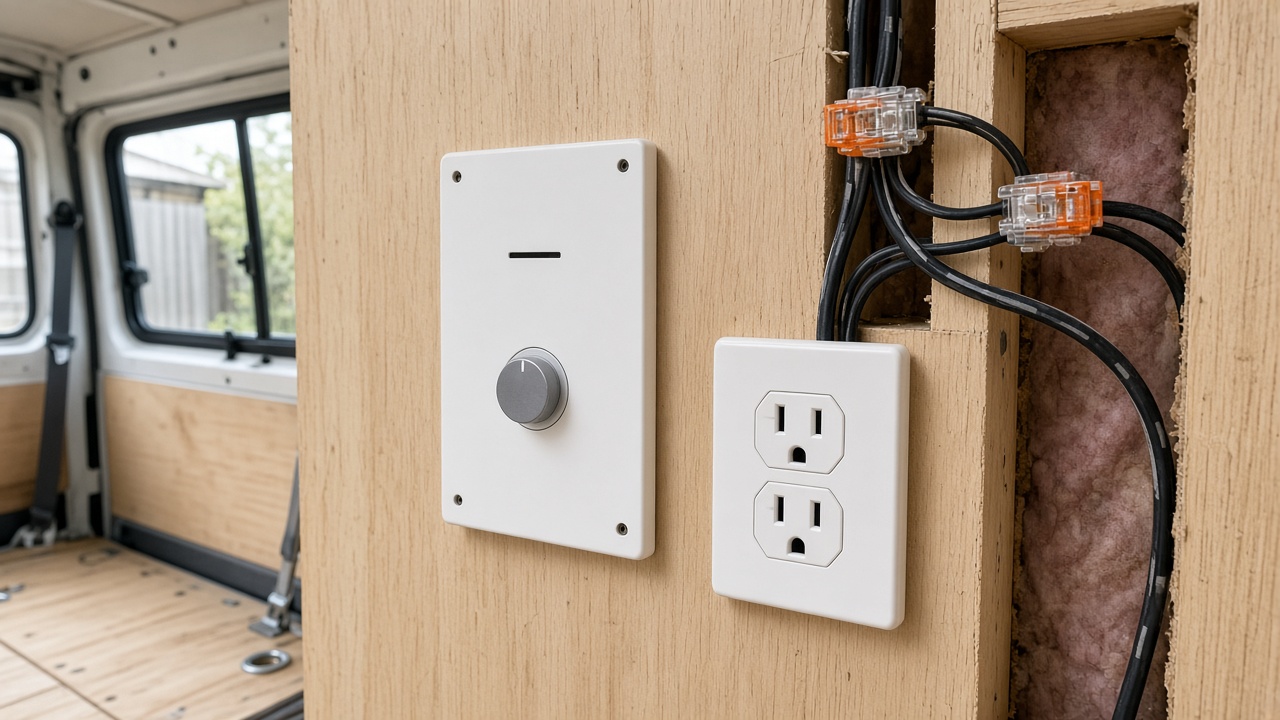
From the panel, one 110V line comes up and splits into two useful ends. One feeds a regular kitchen-area receptacle. The other goes through a timer before it reaches the heater. That adjacent outlet is not an afterthought. When you are cooking on a rainy day, charging a phone, or running a small appliance at the galley, you want power without borrowing the heater circuit. Ours is an outlet with USB ports, which means the countertop can charge devices without another dangling brick.
The star of the wall, though, is the electrical timer for the hot water heater. The presets are exactly what a van needs: 10, 20, 30, or 60 minutes. Pick a window, walk away, and the heater cannot run away from you. There is an extra conductor on the timer for a three-way switch setup. We do not have a three-way, so that wire stays unused. If you buy a similar timer, do not force that extra lead into a random connection just because it exists.
Wiring the receptacle itself was textbook once the pigtails were ready: black to brass, white as neutral, ground to the green screw. Gravity helps when you are tightening neutrals overhead. A few short pigtails became necessary once I realized three conductors needed to meet at each joint rather than two. Cutting them, stripping them, and parking them in three-slot connectors took longer to describe than to do.
The Mistake I Almost Powered Up
Here is the part I would rather skip and will not. After I buttoned up the outlet and slapped on a temporary cover plate, I went hunting for the right breaker with a non-contact electrical tester. The feed line was live. The timer side was dead. Breaker after breaker, still dead. That was the moment my brain finally caught up with what my hands had skipped: I had never connected the white and the ground to the timer.
You probably spotted that three paragraphs ago. I share the miss because van builds are full of these almosts, and the only way they stay almosts is if you test before you trust. I shut the circuit back down, swapped the three-slot connectors for fours so the missing conductors had a home, and cleaned up the positioning while I was in there. The little generic lever-connector kit has been more forgiving than wire nuts ever were for this kind of fix. If I had powered the heater first and wondered why nothing heated, I would have spent the afternoon chasing ghosts instead of a forgotten pair of wires.
Second test: breaker on, tester singing on the hot side, timer set to ten minutes. The switch face showed it was counting. I could not feel the tank change temperature in those first seconds, but the circuit was doing what it was supposed to do. That is enough proof for a first fire-up. Real shower validation waits until the drain and grey tank are in the loop, which they are, as of the floor-drain work in the floor drain that turned my van into a real off-grid shower.
One more honesty note: the cover plate on that wall is temporary. There is no finished wall yet, just a plate that makes live terminals a little harder to bump. It looks unfinished because it is unfinished. Safety first, aesthetics later.
Polyiso Around the Tank: Cheap Heat You Already Paid For
Electric heat is only half the story. Once the tank is hot, every degree that leaks into the cargo bay is a degree you will pay to replace. Before any cabinetry went in front of the heater, I wrapped what I could reach in three-quarter-inch foil-faced polyiso foam insulation. At that thickness you are looking at roughly R-5, with foil on both faces. I prefer the silver side toward the tank so radiant heat bounces back in. Both faces are foil-ish anyway, so when a piece refuses to sit the “right” way, I do not lose sleep over it.
The back piece was a fight. Clearance behind the heater is tight enough that the board had to flex a little to seat. Top and side pieces went faster. Spare scraps filled the awkward gaps along the edges. Absolute perfection was never the goal. The factory does not tell you to wrap these tanks at all, so anything that slows heat loss is a win before the next cold morning.
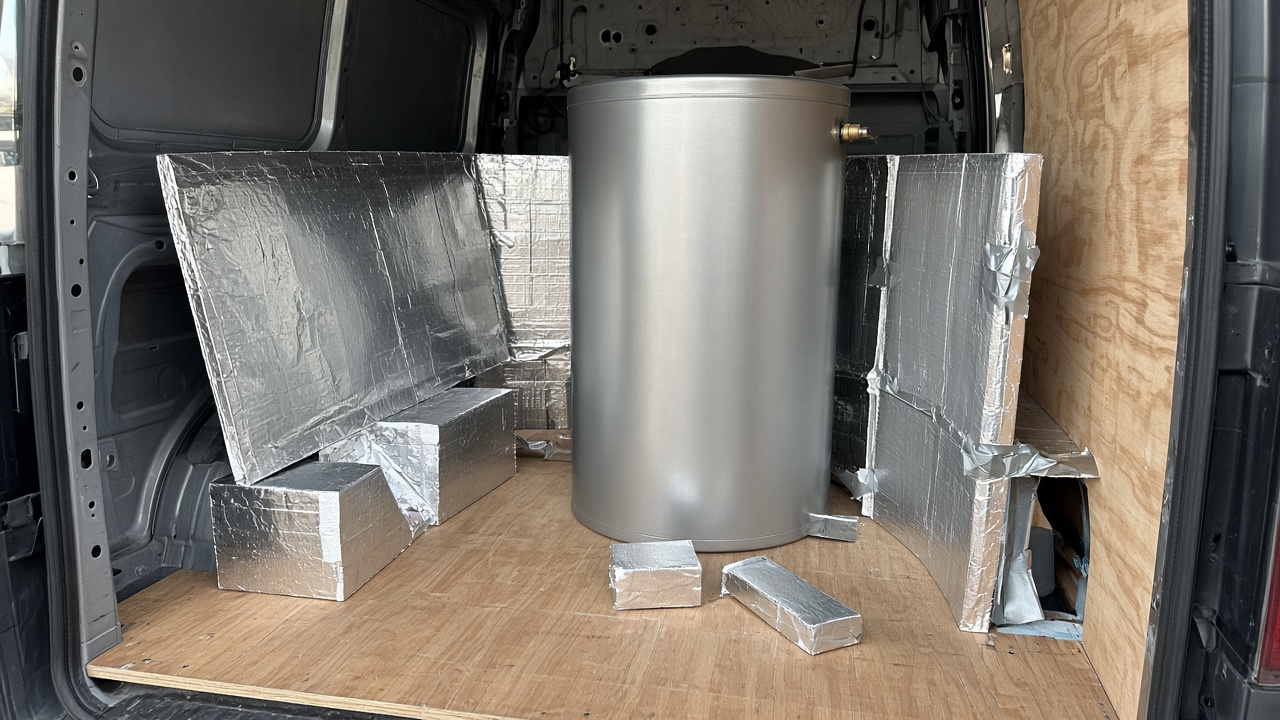
Cutting polyiso is almost pleasant if your blade is sharp. I use a sharpened painter’s-style insulation cutting tool, the same five-in-one approach that showed up when we cut flooring foam. Score the outer foil, make a couple more passes, and try not to slice the foil face of the piece underneath. The foam itself yields easily. The mess is the fine crumb that wants to stick to every horizontal surface in the van, so vacuum as you go.
Duck Tape, Messy Edges, and Knowing When Good Enough Wins
Holding the wrap in place is where theory meets a cargo bay full of wires. I ran Duck Tape from back to front and along the edges to lock the boards down. It is strong, it grips foil, and it looks exactly as elegant as duct tape always looks in a van build: which is to say, not elegant. On one pass I trapped a scrap between the tape and the board, which is a beginner mistake I will not pretend I avoided. Peel, restick, keep moving.
Getting tape around the back side near the electrical components was awkward enough that I stopped chasing perfection and settled for “secure and covered.” The edges still needed attention so the foam crumbs would stop migrating. A wipe-down and a final strip of tape finished the job. Will this wrap keep water hot for hours like a thermos? No. Will it keep a timed heat cycle useful longer than a bare metal tank in a cold van? Yes, and that is the only question that matters before a dawn departure.
How This Fits the Rest of the Water System
Timed electric heat sits on top of a water system that already had a plan. Fresh tank, pump, faucets, and the long-term plumbing layout live in designing a campervan water system that never leaves you thirsty. Engine-loop heating covers drive days. The timer covers mornings, rainy layover afternoons, and any night we are on shore power and want a guaranteed shutoff. The drain and grey tank keep that shower from becoming someone else’s problem on public land.
What I like about the timer habit for travel is how it changes behavior. You decide, in advance, how much heat the day needs. Ten minutes before a quick rinse. Thirty before two people shower. Sixty when the tank has gone fully cold and the forecast is unkind. Then you stop thinking about it. The switch does the discipline for you while you pack lunch, check tire pressures, or stare at a map.
A Morning Routine Worth Building Toward
When this van finally leaves the driveway for real, the hot-water ritual I want is boring in the best way. Flip the timer while the coffee starts. Pull shades. Do the five-minute night-to-day swap if the beds are still down. By the time the mugs are full, the tank has had its window. Shower, rinse the sink, kill any leftover habit of leaving heat on “just in case,” and roll.

None of this requires a finished interior. It requires access, a breaker you can find, a tester you trust, and the willingness to admit when two wires never made it into the connector. Do the electrical and the insulation while you can still reach behind the tank. Put the pretty cabinets on afterward. The road does not care how the tape looks. It cares whether the water is hot when you need it, and whether the heater had the manners to turn itself off when you got distracted by a sunrise.