There is a specific kind of tired that only shows up on day four of a boondocking stretch. Your hair has opinions. Your socks have filed a complaint. The trail dust from yesterday’s hike has worked its way into places dust has no business being, and the nearest truck-stop shower is ninety minutes back down a washboard road you swore you would never drive twice. That is the moment a campervan either feels like a home or feels like a very expensive tent.
For most of my years on the road, my “shower” was a solar bag hung off a rear door, a pair of flip-flops, and a quick prayer that nobody would drive by. It worked, mostly. But the van we have been building over the past couple of years was always meant for longer, colder, more remote trips, and that meant one non-negotiable upgrade: a real shower with a real drain, plumbed to a real grey tank. No puddles under the van, no soapy runoff on public land, no guessing.
This is the story of why that floor drain matters more than any gadget in the build, what it actually takes to cut a hole in a van floor without regretting it, and how a closed grey-water system quietly changes where you can camp and how long you can stay.
Why a Hot Shower Changes the Whole Trip
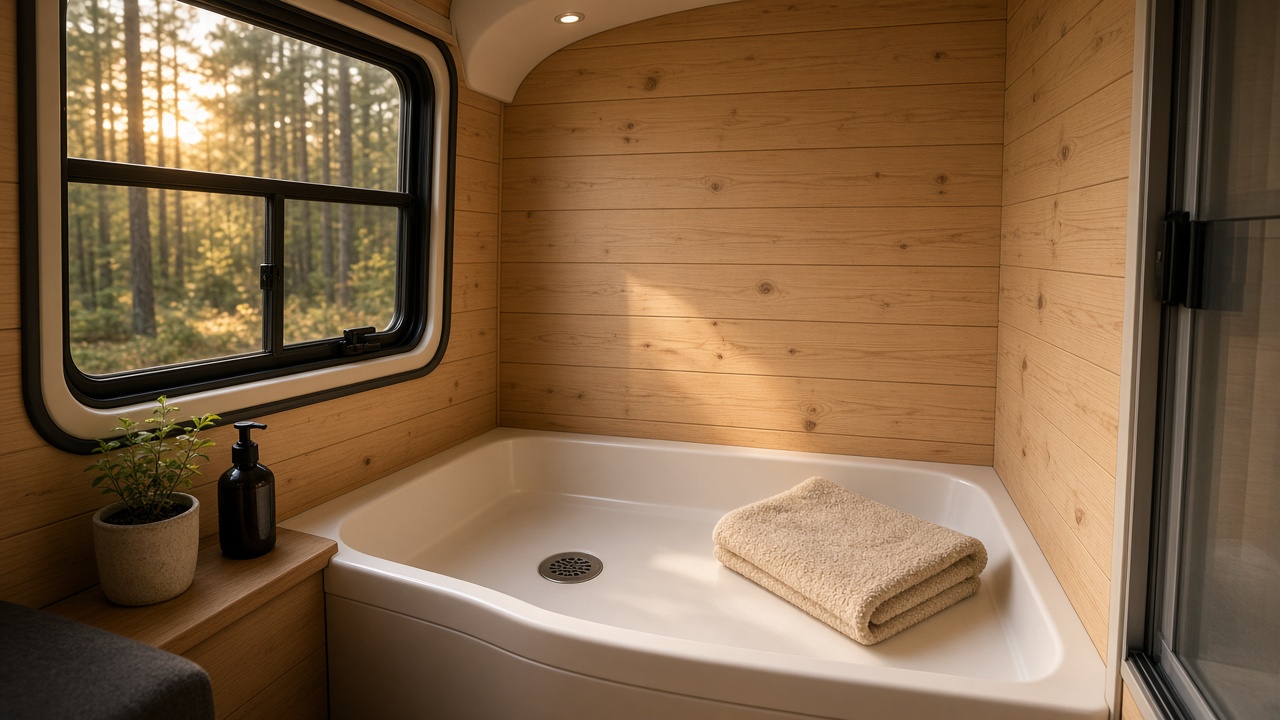
Ask anyone who has lived out of a vehicle for more than a week what they miss, and “a shower” usually lands in the top two, right after “a bathroom I don’t have to walk to.” It sounds like a comfort item. On the road it is closer to infrastructure. A real shower means you can hike hard, sweat through a desert afternoon, or crawl under the van to check a leak and still sleep clean. It means you are not planning your route around gyms, campground bathhouses, and the occasional sketchy truck stop.
We already solved the hot-water half of the equation by routing engine coolant through a marine heater, which I wrote about in how my van’s engine heats six gallons of shower water by sundown. Hot water, though, is only half a shower. The other half is the part nobody photographs: where all that water goes after it hits the floor.
And that is where a surprising number of van builds cut corners. A shower pan that drains straight through the floor onto the ground is simple and cheap. It is also, in a growing number of places, against the rules, and it is a fast way to make yourself unwelcome at the dispersed sites we all depend on.
The Grey Water Problem Nobody Brags About
Grey water is everything that goes down a sink or shower drain: soap, shampoo, food scraps, toothpaste, and the general grime of travel. It is not sewage, but it is not clean either. Dump a few gallons of it at a pull-off and you leave behind a soapy, smelly patch that attracts critters, kills the plants around it, and can run straight into a creek after the next rain.
Rules vary by agency and by state, and they change, so always check the specific forest, field office, or park before you go. As a practical matter, though, a lot of public land managers expect vehicle grey water to be held and disposed of at a dump station rather than released on site, and campgrounds almost universally do. If you have spent time at the free spots in my field guide to the best boondocking in America, you have probably seen the signs, and probably seen the closures that follow when visitors ignore them.
So our rule became simple: nothing from inside the van hits the dirt. Every drop that goes down the shower or sink lands in a tank under the floor, and that tank gets emptied where it is supposed to be emptied.
Choosing a Closed System Over the Bucket Under the Floor
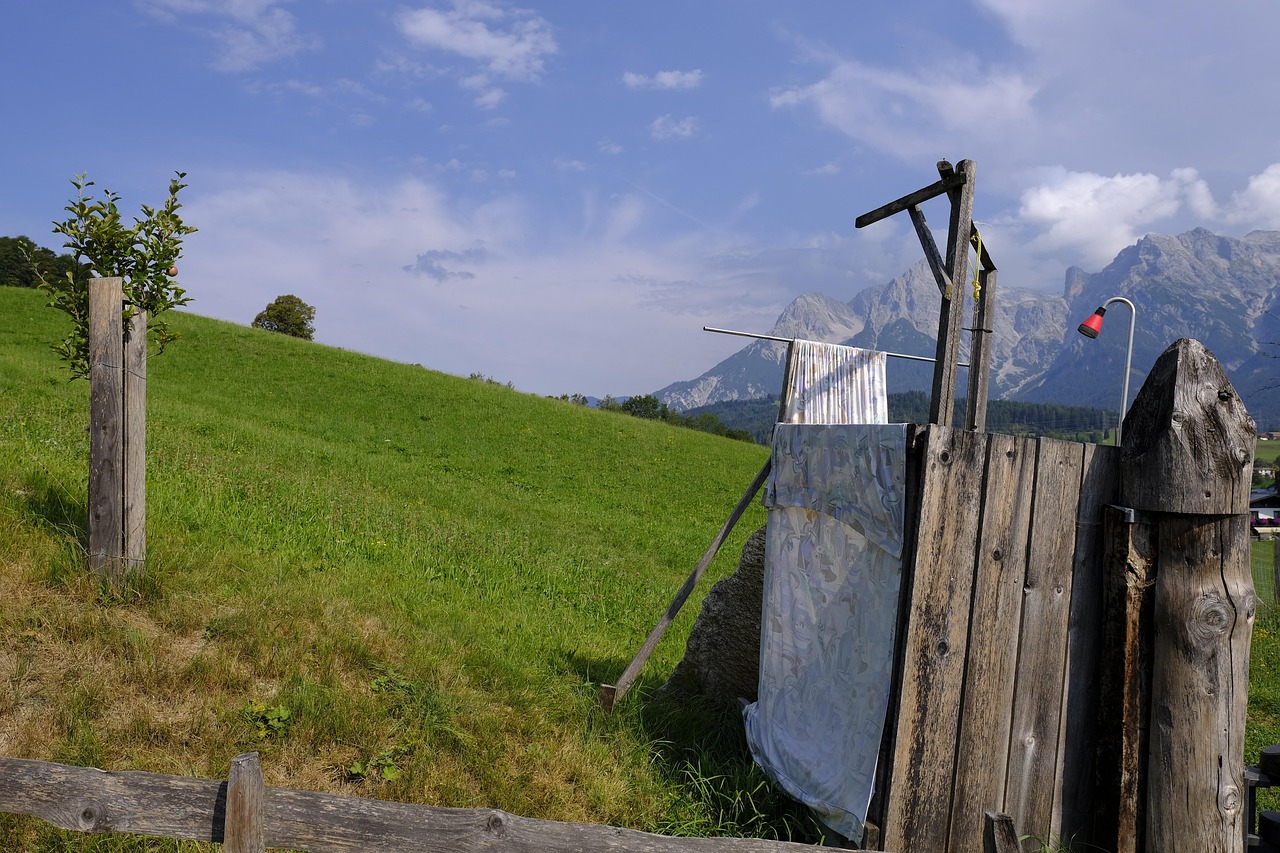
Before committing, we looked hard at the alternatives. A portable shower in a pop-up tent with a collection tub works, and some people swear by it. A drain-to-a-jug setup, where the shower pan empties into a removable container, is cheap and keeps the floor intact. Both have the same weakness: they require you to handle grey water by hand, usually at the worst possible moment, and the capacity is tiny.
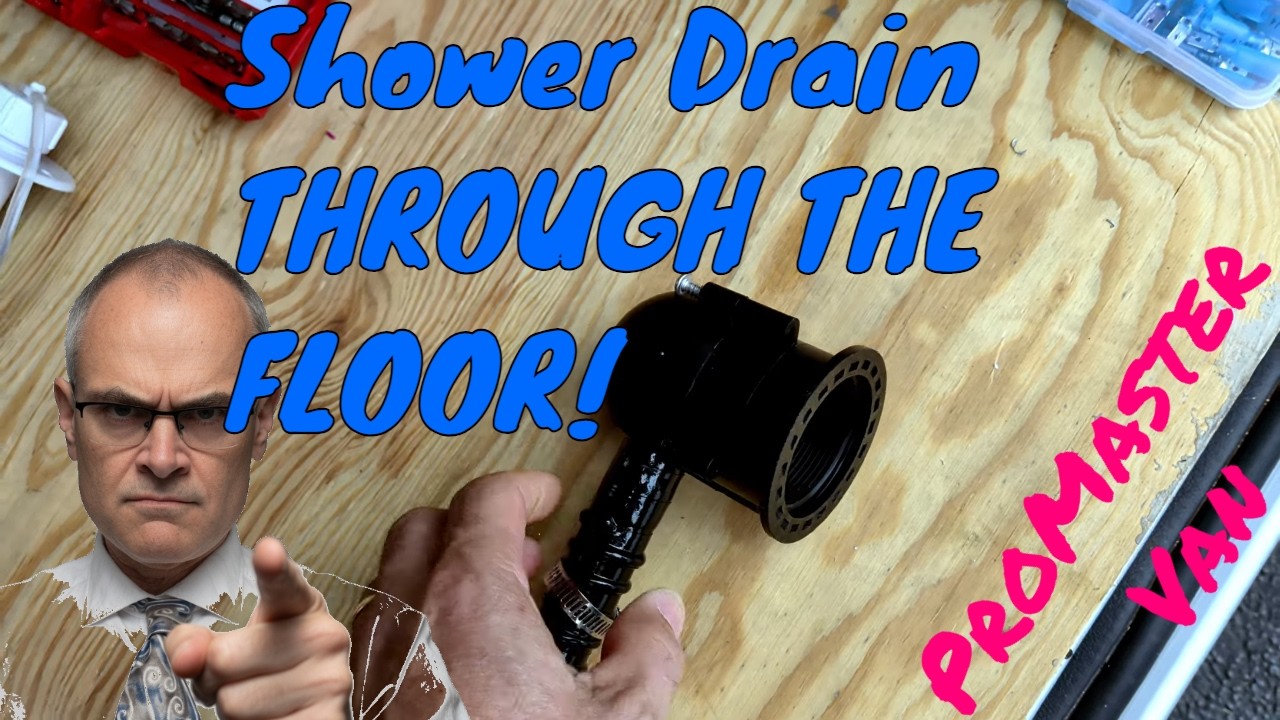
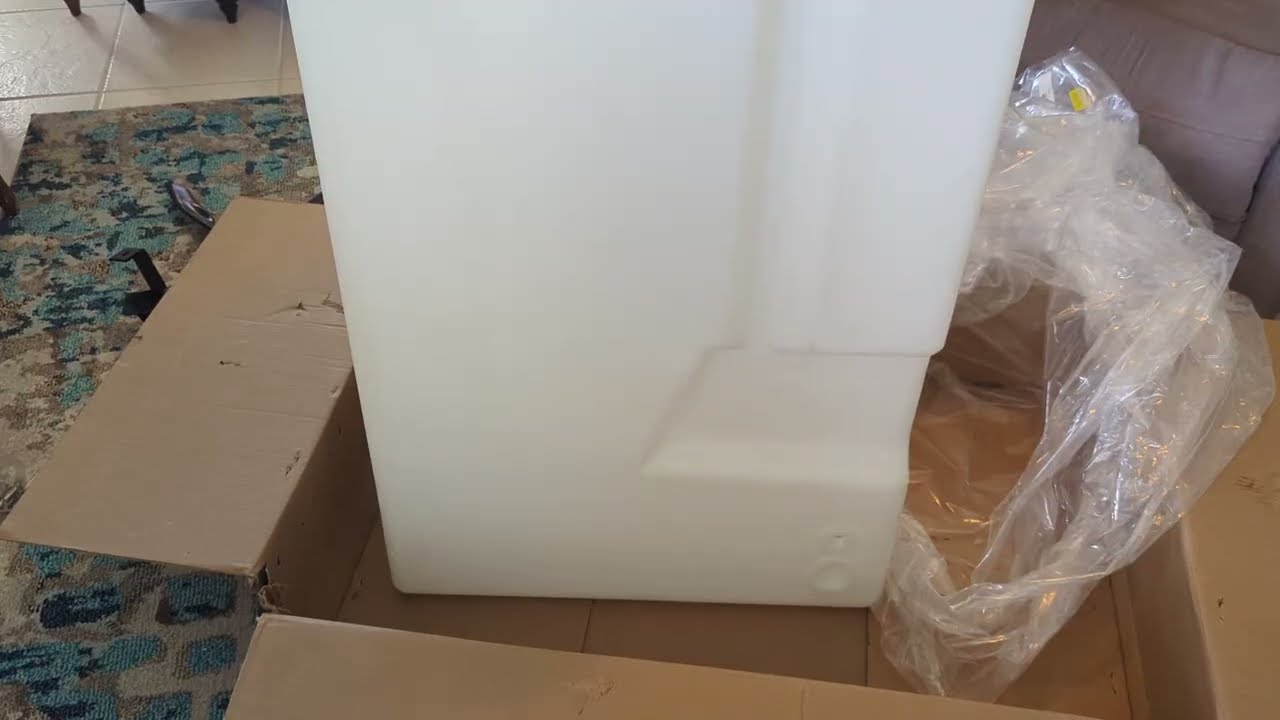
A plumbed grey tank flips that. We mounted a 36-gallon undermount grey tank beneath the van, and it holds enough for several days of showers, dishes, and handwashing for two careful people. You open a valve at a dump station, the tank drains, and you drive away. The tradeoff is that you have to plumb a path from the shower pan, through the floor, to that tank, and that path has to be watertight, odor-proof, and tough enough to survive washboard roads for years.
If you are still sketching the whole water picture, from fresh tank to pump to faucet, my piece on designing a campervan water system that never leaves you thirsty covers the supply side. Everything below is about the return trip.
Cutting Through the Floor: The Part That Makes Everyone Nervous
There is no way around it: a shower drain in a van means putting a hole in the floor. Our van is a Ram ProMaster, and its floor is a sandwich of plywood subfloor, insulation, and the ribbed steel body underneath. Every layer needs a clean cut, and the steel needs protecting once it is exposed, because a drain hole is the one place in the van that is guaranteed to see water.
The crew and I spent more time measuring than cutting. You want the drain where the shower pan’s outlet lands, obviously, but you also want to land between the steel floor ribs, clear of any frame member, fuel or brake lines, and wiring runs underneath. We crawled under with a flashlight, marked the spot from below, drilled a tiny pilot hole, and then checked it from both sides before committing to anything bigger. Measure twice, crawl under three times.
For the plywood and flooring layers, an oscillating multi-tool makes tidy, controlled cuts in tight spaces where a jigsaw would be clumsy. For the steel, a 2 1/4-inch hole saw on a solid drill gives you a clean round opening sized for 1.5-inch drain pipe with room for a gasket. We ran it on the Milwaukee M18 drill and impact driver combo that has done nearly every job in this build. Go slow, use cutting oil on the steel, and let the saw do the work.
Then comes the step people skip and regret: cleaning up the edge. A fresh cut in sheet steel leaves a razor-sharp lip and bare metal. We hit it with a swivel deburring tool until it was smooth, then primed and painted the exposed edge so it would not start rusting the first wet week. A Shop-Vac jobsite vacuum pulled every metal shaving out of the floor channel. Those tiny curls of steel will rust and stain if you leave them, and they have an uncanny talent for finding bare feet later.
The Little Fittings That Keep the Van From Smelling Like a Swamp
Once the hole is clean, the real plumbing is mostly a puzzle of 1.5-inch PVC parts. It looks intimidating laid out on a workbench, but each piece has one job.
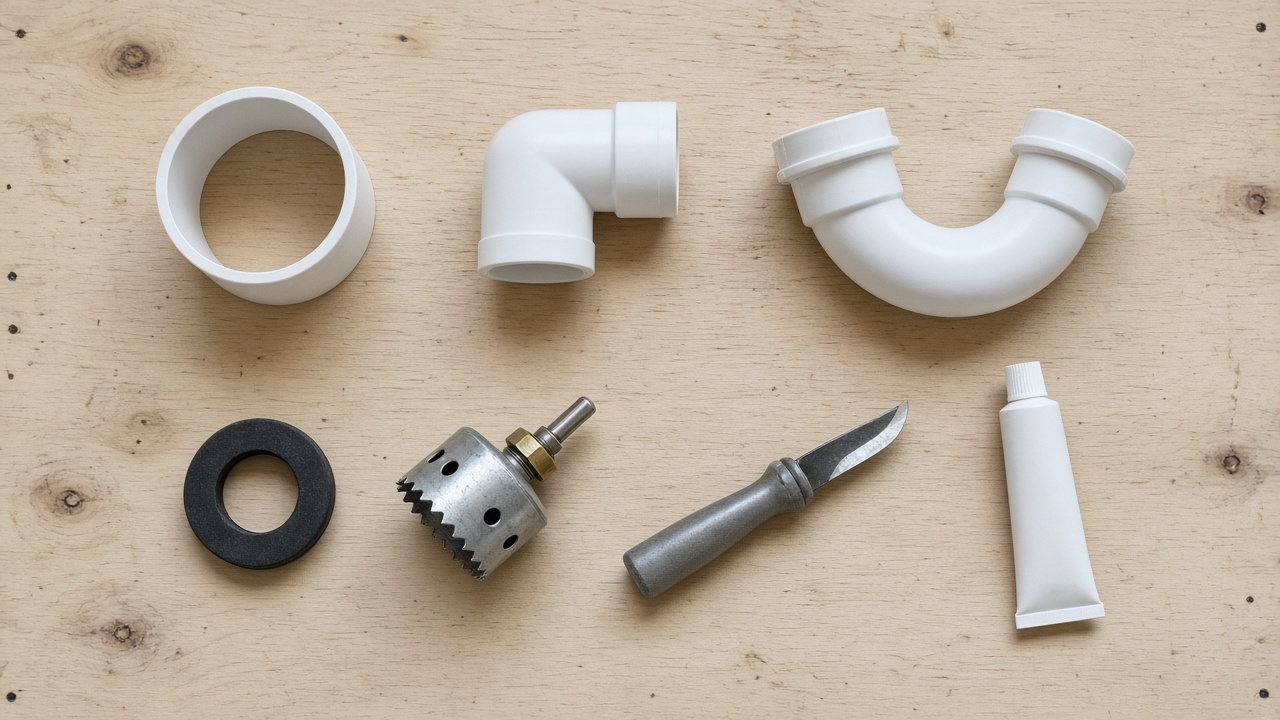
- The trap. A Camco flexible RV P-trap holds a small plug of water in its bend. That water seal is the only thing standing between your sleeping space and the smell of a grey tank that has been baking in the sun for three days. Skip it and you will know within a week.
- The adapters. A Spears 1.5-inch PVC spigot-to-MIP adapter and a Lasco 1.5-inch PVC slip-to-FIP adapter let you move between threaded fittings on the shower pan and trap and the glued pipe run to the tank.
- The tank seal. A 3/4-inch Uniseal pipe-to-tank gasket pops into a hole drilled in a poly tank wall and grips a 3/4-inch pipe with a rubber seal, no bulkhead fitting or welding required. It is one of those small parts that feels like cheating the first time you use it, and it makes adding a smaller port to a tank almost painless.
- The test plug. A 1.5-inch PVC test plug caps open lines while you work, keeps debris out of the tank, and lets you fill-test sections before the floor goes back down.
- The glue. Oatey PVC cement (plus primer on the joints) welds the slip joints for good. Dry-fit everything first, mark the alignment with a marker, then glue in one confident push and twist.
Two things matter more than any specific part. First, slope. Water does not care how pretty your plumbing looks; it only cares whether the run goes downhill. Keep the line falling steadily toward the tank with no sags where water can sit and freeze. Second, the trap’s position. Ours sits where it is protected from road spray and gets some warmth from the cabin, which matters a lot once you are camping below freezing.
Testing Before You Trust It
We do not trust any water connection in this van until it has survived a deliberate abuse test. With the tank valve closed, we ran the shower in long bursts, then dumped a few gallons straight into the pan at once to simulate the worst-case flood. A flashlight and a dry paper towel under every joint will tell you more than any amount of staring.
Then we drove it. A few miles of rough county road shakes loose anything that was going to leak. If your build has places a slow drip could hide for weeks, a couple of cheap water sensors are worth their weight in plywood. My colleague on our tech site makes a great case for that in hiding $200 of water sensors around the house, and the same logic applies to a van, just with more bouncing.
Living With a Grey Tank on the Road
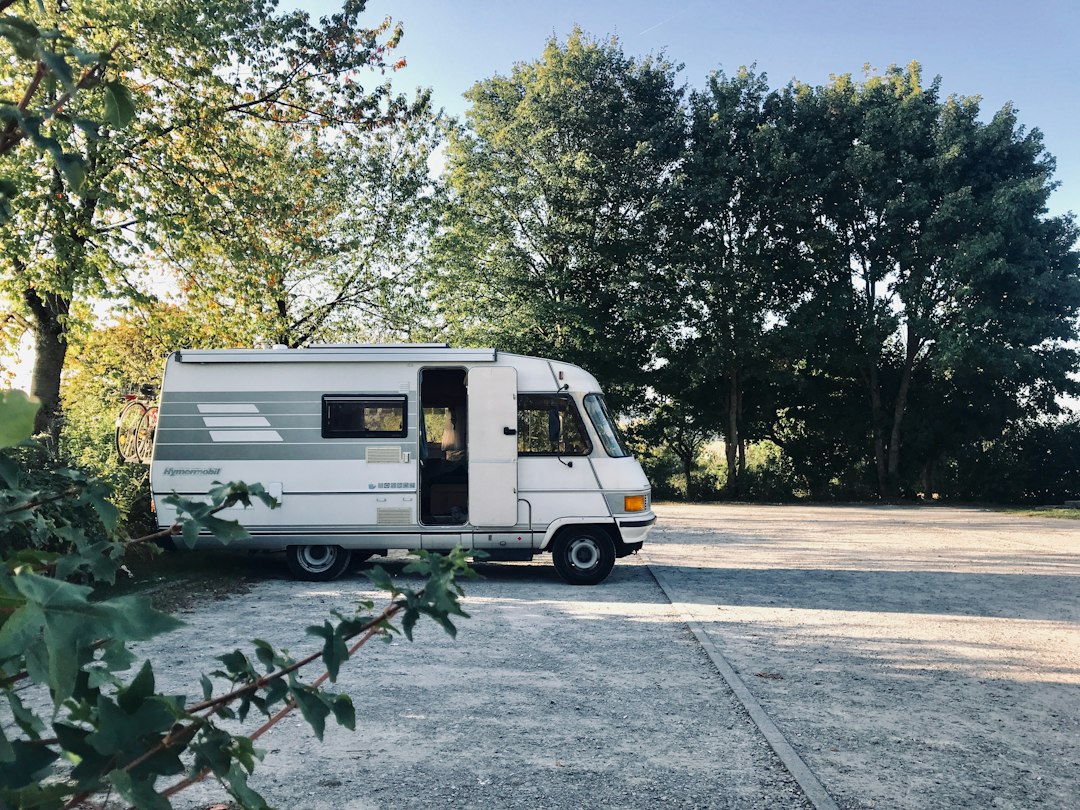
Having a tank changes your habits in small, good ways. You start noticing how much water you actually use. A navy shower, where you wet down, turn the water off, lather, then rinse, takes two or three gallons instead of ten. Wiping dishes with a paper towel before washing keeps food out of the tank and the smell down. A mesh drain strainer in the shower catches hair before it becomes a clog you have to fish out of a P-trap in a parking lot.
We have also gotten picky about soap. Biodegradable, unscented, and low-residue products make the tank easier to rinse and less likely to develop that sour grey-tank funk. Every few dumps, a tank rinse with plain water at a dump station that allows it keeps things fresh.
The biggest change, honestly, is psychological. When you know every drop is contained, you stop feeling like a guest who is about to get caught. You can take a full shower at a quiet trailhead lot, wash up after dinner, and go to bed without a puddle spreading under the van announcing exactly what you just did.
Dump Stations, Etiquette, and Planning Your Route Around a Tank
A 36-gallon grey tank buys us roughly four to six days for two people if we are careful, more if we lean on campground showers now and then. That number shapes the trip. Before heading into a long stretch of dispersed camping, we map dump stations along the route: travel centers, state park campgrounds that sell day-use dumps, some city wastewater facilities, and RV parks that let non-guests dump for a small fee. Apps and crowd-sourced lists help, but call ahead in the shoulder season, because plenty of park dumps shut down once the freeze comes.
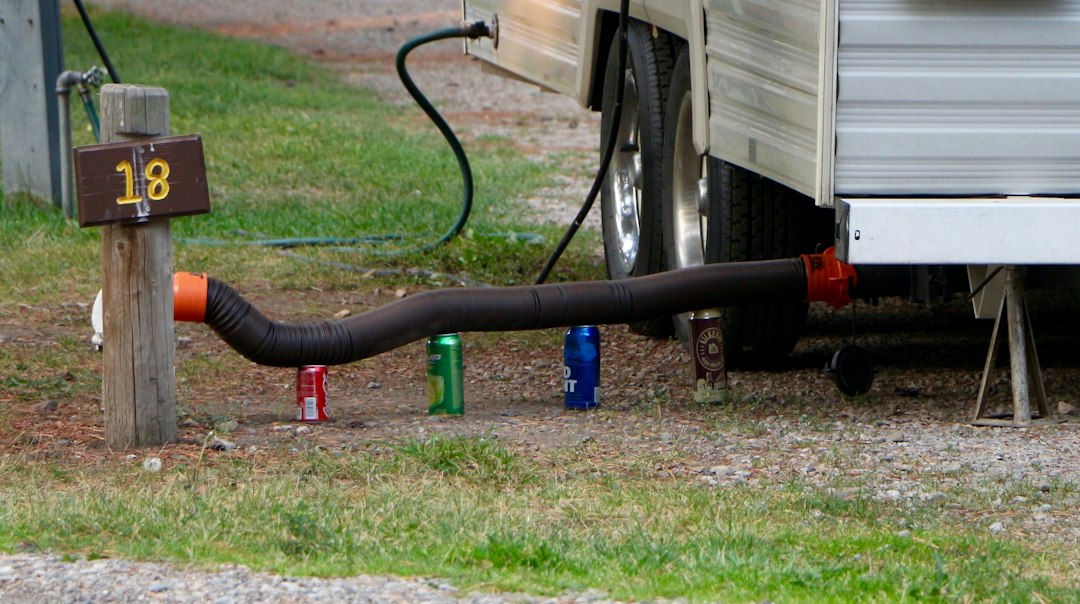
Dump-station etiquette is mostly common sense. Wear gloves. Have your hose ready before you pull in so you are not making the line wait. Rinse the pad when you are done. If you have a black tank too, dump it first and let the grey water flush the hose. And never, ever use the potable water spigot to rinse a sewer hose; that tap is for drinking water, and the people behind you are trusting you on that.
If your build includes a toilet, your grey tank strategy pairs with your black water strategy. We went waterless on the toilet side, which I explained in my guide to van life bathroom solutions, so the grey tank is the only tank we ever have to dump. That simplicity is a big reason we can stay out longer.
Cold-Weather Showers Without Frozen Pipes
Water in a tank under a van is water exposed to the weather, and grey water freezes like any other. The fixes are layered. We added a pad heater to the tank, kept the drain run short and sloped so nothing pools, and kept the trap inside the insulated envelope where cabin heat reaches it. On nights in the low twenties, we run the cabin heater a little warmer and avoid leaving the tank full, since a nearly empty tank has far less water to freeze solid.
Pouring a splash of RV antifreeze down the drain before a cold night protects the trap, and it is cheap insurance. When we park the van for the winter, the tank gets drained, the valve gets left open, and the trap gets a dose of antifreeze so it cannot crack.

What It Is Like Out There Now
The first real test came after a long, hot day of hiking in red rock country. We rolled into a dispersed site at dusk, cracked the back doors, and took two genuinely hot showers inside the van while the canyon walls went from orange to purple. Nothing dripped onto the ground. Nothing smelled. The next morning, we drove forty minutes to a travel center, dumped the tank in five minutes, and headed back out for three more days.
That is the whole point. A floor drain and a grey tank are not glamorous. Nobody tours a van build to admire the P-trap. But this little system is why we can choose camp spots for the view instead of the nearest shower, stay clean on public land without leaving a trace, and keep a long trip going when the old version of us would have called it quits on day four.
If you have been putting off the bathroom part of your build because cutting a hole in the floor sounds terrifying, I get it. Do your measuring, crawl underneath more times than feels necessary, protect the bare steel, and test it like you are trying to break it. Then go take that hot shower at the end of a dirt road. You earned it, and so did the land you are camping on.