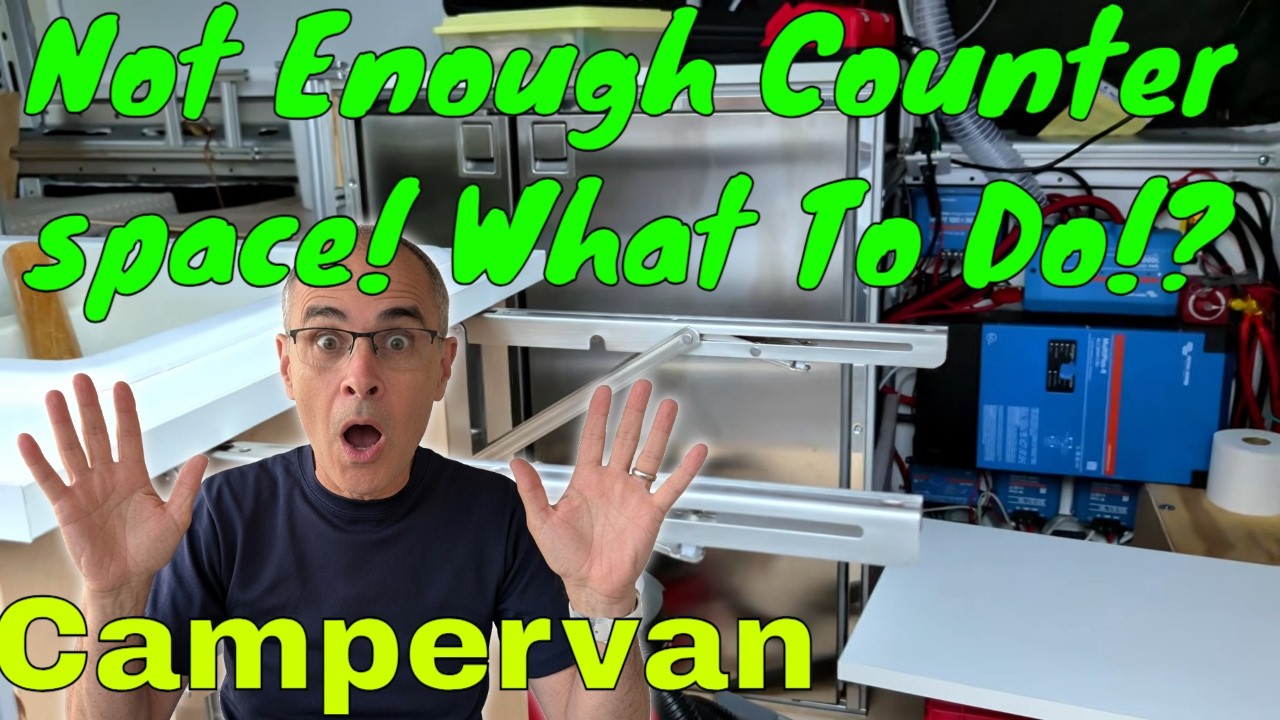
Every van kitchen I have cooked in runs out of room at the same moment. The onions are chopped, the pan is heating, and there is suddenly nowhere to put the cutting board, the plate, or the hot lid. You end up balancing a bowl on the sink cover or handing a plate to whoever is sitting closest. It is a small annoyance that shows up at every meal, and in our Ram ProMaster’s compact galley it was my biggest gripe.
The fix in our van turned out to be a countertop extension that flips up when I am cooking and folds flat against the cabinet when I am driving. Up, it gives the kitchen a real prep surface. Down, it practically disappears. After living with it, I can say it is one of the most useful things I have added to the build, and also one of the fussiest to install. Both halves of that sentence are worth knowing before you start drilling.
Why Counter Space Decides How You Eat on the Road
On a long trip, the size of your counter quietly decides your menu. With a strip of counter barely wider than a cutting board, cooking turns into a sequence of moves: chop, clear, cook, clear, plate. Anything with more than three ingredients becomes a puzzle. That is why so many van travelers drift toward one-pot meals, pre-cut vegetables, and the gas station hot case. It is geometry, not laziness.
A little more surface changes the rhythm. You can lay out everything before you light the stove, set the hot pan down without hunting for a trivet, and plate two meals at once. If you like the idea of setting up every ingredient before you start, the home kitchen version of that habit is laid out nicely in how a French ritual ended weeknight fire drills. It translates even better to a van, where there is no backup counter in the next room.

The catch is that a van cannot simply have a bigger counter. Every inch of fixed cabinetry pushes into the aisle, the doorway, or the bed. That is the case for something that moves: present when you need it, gone when you do not. I went through the same kind of thinking when we planned our dinette, and the post on the van life table that changes jobs three times a day covers that side of the layout.
What a Flip-Up Extension Actually Is
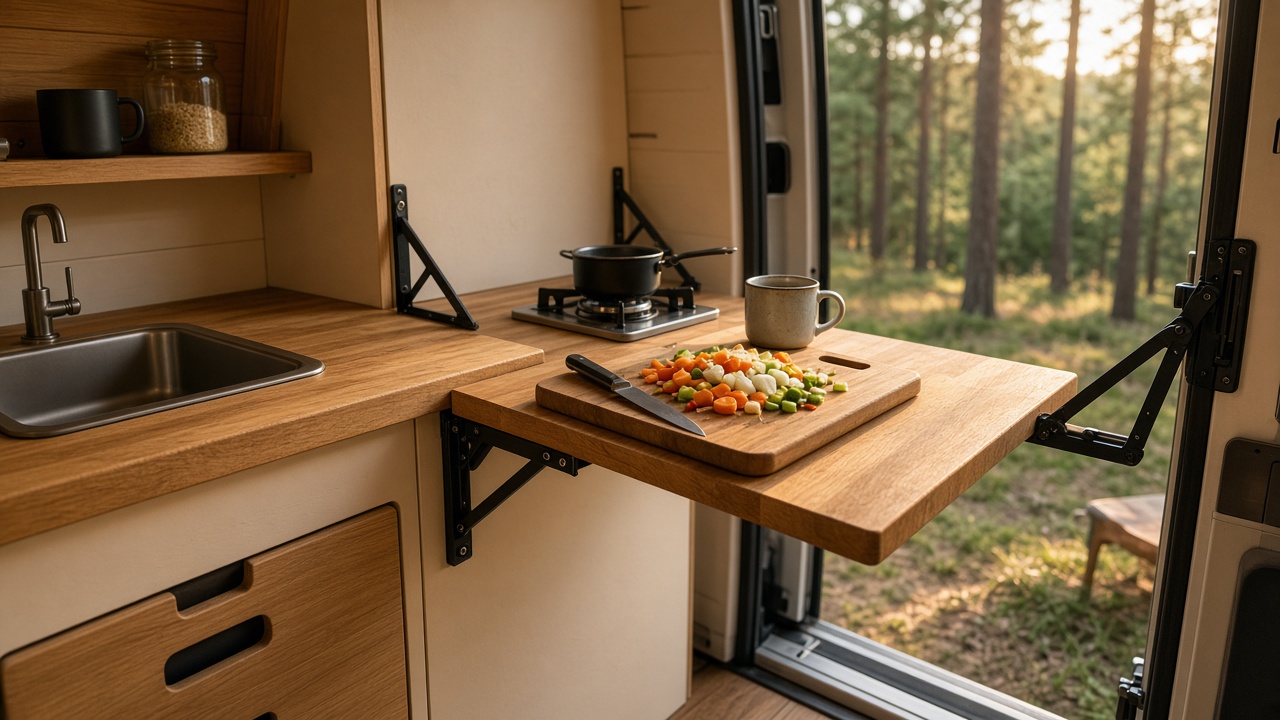
The concept is simple. A second piece of countertop is attached to the end of the existing counter with a pair of folding brackets. When the brackets are locked up, the extension sits level with the main counter and acts as one continuous surface. Pop the two releases and the whole piece folds down against the front of the cabinet. I used a countertop extension bracket set designed for exactly this job, paired with the countertop panel I used for the extension.
Brackets are only as good as what they are screwed into, though, and that is where most of the work hides. A folding bracket concentrates the whole load of the extension, plus whatever you set on it, into a few bolts. Screwing that into a thin cabinet wall would invite sagging and wobble. So before the extension could exist, the cabinet needed a structural member for the brackets to bite into.
Building the Backbone With Extruded Aluminum
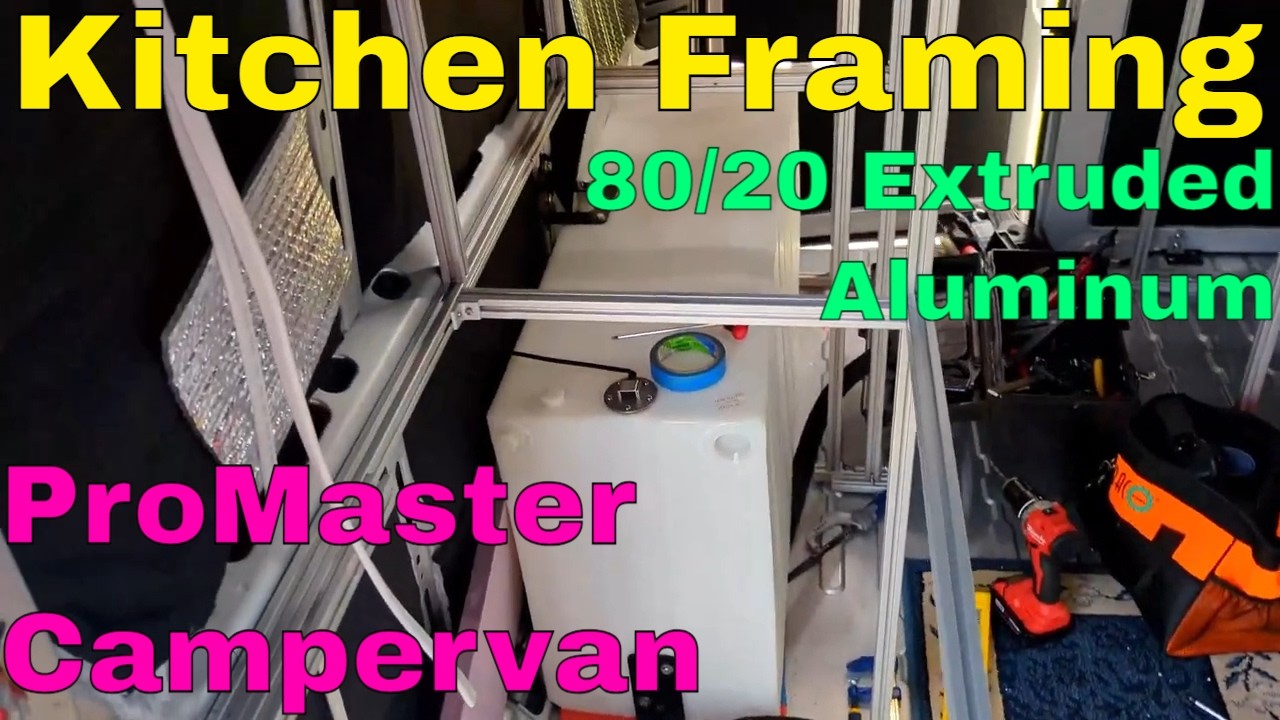
Our kitchen cabinet is framed in 80/20, the slotted aluminum extrusion that shows up in a lot of van builds. I added one more horizontal piece of Series 10 extruded aluminum tube where the brackets would land. It ties into the frame at both ends with the same connectors used along the bottom, and then the cabinet wall goes on over it. The brackets attach through the cabinet wall and into that aluminum, which is what makes the finished extension feel solid instead of springy.
If you have never worked with this extrusion, it is wonderfully easy to drill. A sharp bit goes through without drama, and most mistakes can be fixed with another hole. That forgiveness matters, because you will probably make one or two.
The T-Nut Problem Nobody Warns You About
Here is the trap I walked straight into. The T-nuts that slide into 80/20 slots are captive. Once the ends of a piece are connected, you cannot drop new nuts into the middle of the slot. They have to slide in from an open end. So if you finish a frame and later decide you want to bolt something to the middle of a rail, you have two choices: take the frame apart back to that open end, or find another way in.
The best answer is the boring one: know exactly what you will attach to the frame before you assemble it, and load every nut you will ever need at the start. That works great on paper. In a real build, plans change. Ideas like this counter extension arrive months after the cabinet is framed.
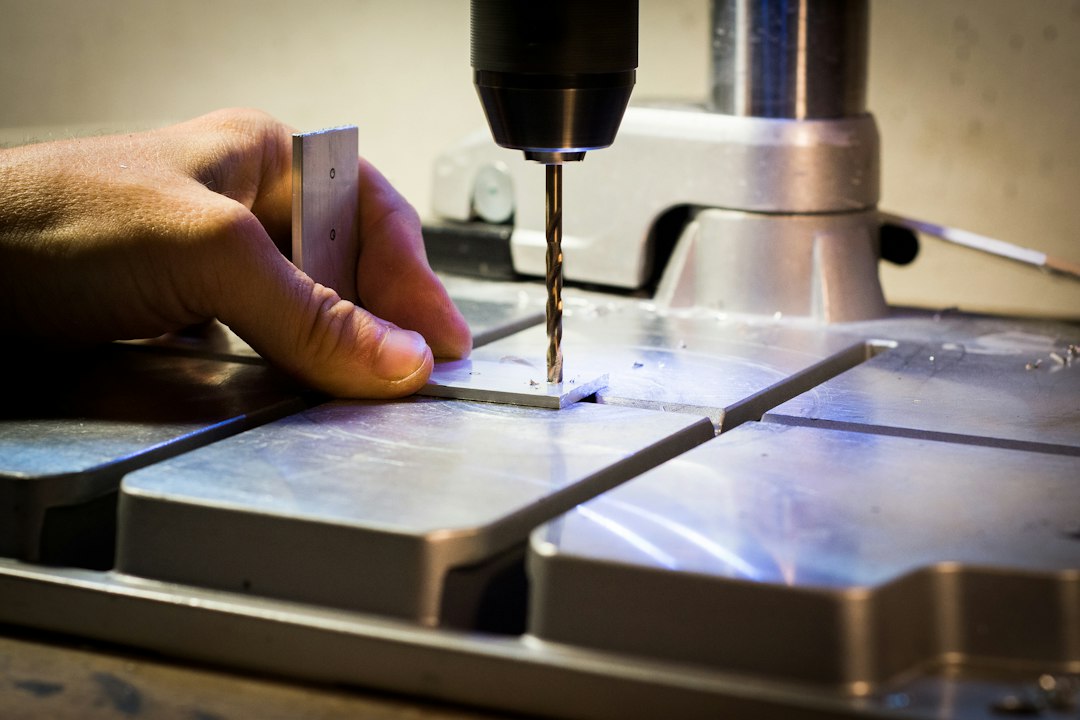
My workaround was to drill an access hole. On the end of the cabinet that would later be hidden behind a cabinet wall, I drilled through the extrusion with a 3/8-inch bit so the nuts could drop straight into the slot. It sits well below where anyone will ever see it. An 8020 10 Series access hole jig takes the guesswork out of placing these, and a decent drill bit set makes the cut quick. I ended up using the same trick in several more spots to tie the countertop down.
The rule I follow now: only drill access holes where they will be covered. A raw hole in visible aluminum looks like exactly what it is.
Strong Connectors Versus Easy Brackets
For the structural piece, I chose 80/20 elastic connectors instead of simple angle brackets. The difference is real. A bolt-on corner bracket for 8020 is easy: no coordination, no hidden screws, you just bolt it on wherever you want. Elastic connectors hide inside the joint and make a dramatically stronger connection, but they demand that you get everything in place in a specific order.
Since this one piece carries the entire weight of the table extension, I wanted the strong option, and I would choose it again. For the non-structural piece I may add later, a center divider that separates the left and right cabinet doors, I will happily use plain corner brackets. Matching the connector to the load saves a lot of fiddling.
Order of Operations Is the Whole Game
Installing a piece into a frame that is already built became a kind of three-dimensional Tetris. Screws on top, screws up into the bottom, screws into the ends, and only one opening to reach some of them. A few lessons from that afternoon, in the order I wish I had known them:
- Loosen everything a little first. Back the surrounding connections off just enough that the frame can flex. Leave them loose until every new connection is started, then tighten.
- Lift to start the hard screws. I had to raise the whole assembly about half an inch to get one screw started, then work my way back down.
- Use spacers to hold position. Temporary spacer pieces kept the new rail where it belonged until the connectors were snug.
- Write down what you promised yourself you would remember. I forgot to pre-load pieces the way I had planned, and it nearly cost me a full disassembly.
- Watch your fingers. Working blind inside a cabinet with a driver and sharp aluminum edges is an easy way to hit yourself hard.
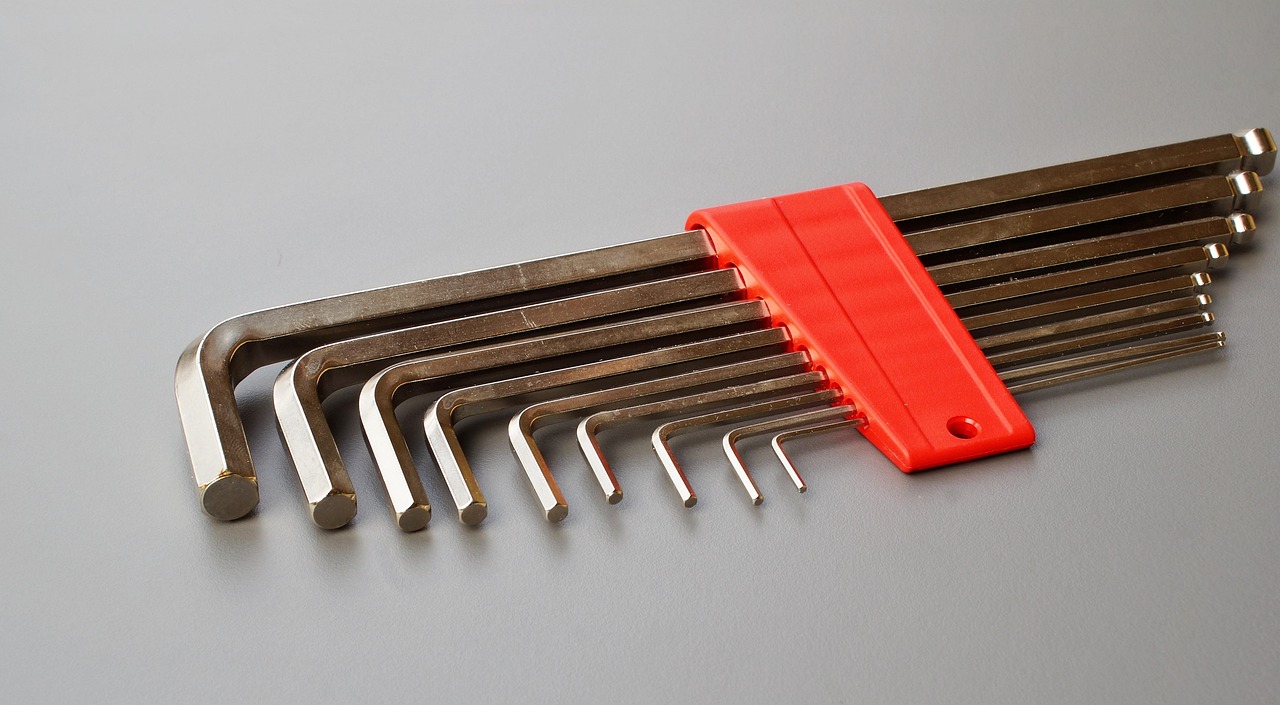
For the fasteners, plain 1/4-20 bolts, 3/4 inch long handled the frame work. Some connectors also needed an Allen wrench passed down from above, which only works before the countertop goes on. Afterward, there is no access at all, so that step has to happen early.
It is slow, fiddly work, and it is still much easier than undoing every part of a finished cabinet. Do everything in the right order and you end up with something crazy strong. Here is the whole process, mistakes included:
When the Holes Go the Wrong Way
Halfway through, I discovered that a set of holes I had drilled went through the extrusion in the wrong direction. They were useless where they were. I could have pulled the piece out and rotated it 90 degrees, or simply drilled new holes. I drilled new holes. Two extra holes in hidden aluminum hurt nothing, and taking the assembly apart again would have cost far more time than it saved. Later, one hole came out slightly too high and the piece sat a hair off center, which meant loosening, nudging, and re-tightening until it lined up.
The quiet tool of the day was a vacuum for cleaning up metal chips. Aluminum shavings get everywhere in a van, including into carpet, seams, and socks. Clean them up as you go, not at the end.
When the last connector was tight, I gave the rail a hard shake. Stable, stable, stable. That is the feeling you want before you trust it with a hot pot.
Hanging the Extension and Shimming With Washers
With the backbone in place, the brackets went on. They are measured a set distance from the edge of the main counter, and I gave the back an extra quarter inch of overhang compared to the front. On the first test fit, the extension sat about one washer’s width too low. The fix was exactly that: a washer between each bracket and the board, acting as a shim. A small bag of flat washers earns its keep in a project like this.
Washers solved a second problem too. Setting three of them directly over the bracket holes as spacers left a tiny, constant gap between the main counter and the extension, just enough room for the piece to fold down without binding. To mark the screw holes, I set the extension on the brackets, marked from underneath, then pre-drilled the underside of the countertop.
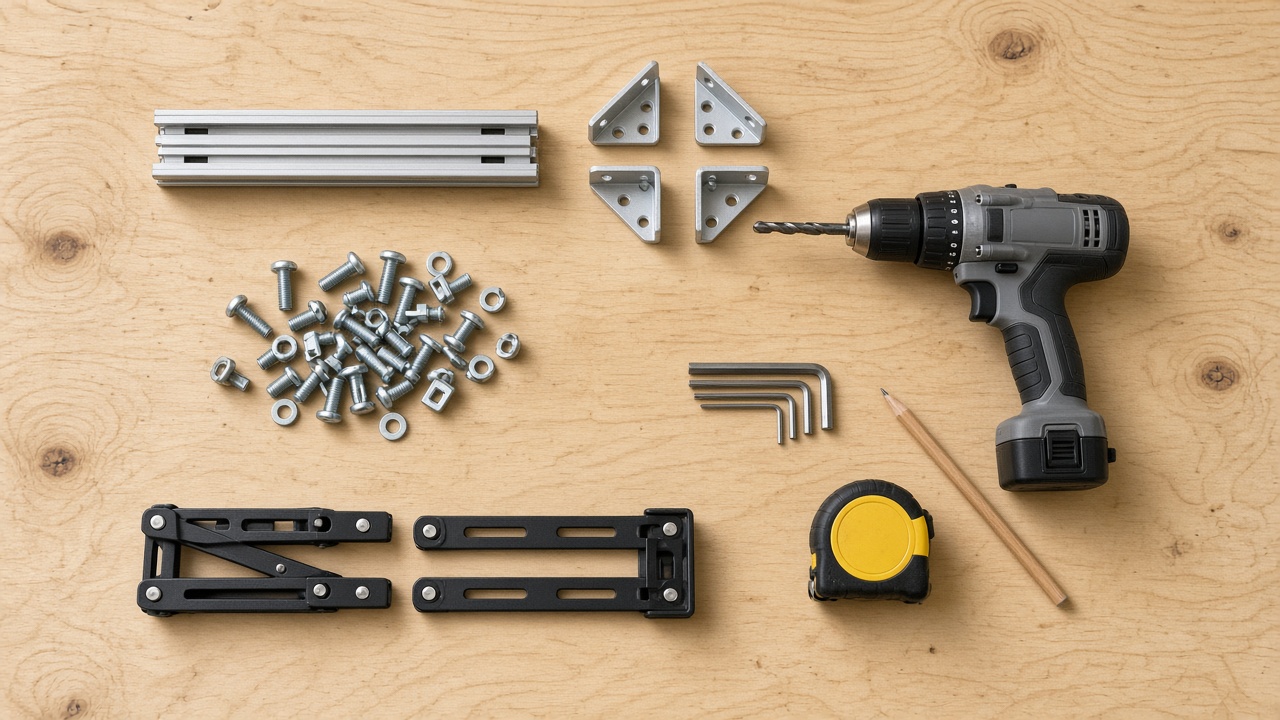
Screw length mattered more than I expected. I used 3/4-inch particle board screws into a 7/8-inch-thick countertop. After passing through the bracket metal and a washer, they bite deep without any risk of poking through the top. Measure your own panel before you buy screws, and remember to subtract everything the screw has to pass through first. A good Milwaukee drill/driver combo made the pre-drilling and driving quick work, one tool for holes and one for screws.
One honest limitation: I could bolt the brackets through the bottom two holes, but I could not reach the top hole, which is where most of the pressure lands. The extension is solid for prep and plates. It is not a place for anyone to lean their full weight. As I put it at the time, we will just be careful not to do pull-ups on it.
Living With It: Two Hands, a Pop, and a Fold
Using the extension takes a few seconds. Grab both sides, lift slightly, pop the two releases, and it folds down against the cabinet. Raising it is the reverse. It works best two-handed, which is fine, since nobody needs to do it in a hurry.
On the first fold, it did not push in very easily. Something caught, maybe one bracket sitting a touch askew. That slight drag actually holds the folded extension in place nicely, so I am leaving it. The gap stays constant, and the height lines up with the main counter.

The real test is cooking, and that is where it pays off. Prep happens on the extension, cooking happens on the main counter, and plates land wherever there is room. It has been incredibly helpful, and it gets used a lot. If you are still sorting out the rest of your galley, my earlier write-up on building a campervan kitchen from scratch covers the bigger decisions, and the story of giving a secondhand van sink a second life shows how the sink side came together.
Rattles, Wiggle, and the Cabinet Wall Trade-Off
Two concerns remain, and I would rather name them than pretend they do not exist. First, wiggle. A folded extension hanging on brackets can move while you are driving, and anything that moves in a van eventually makes noise. Second, rattle. Once the cabinet wall went on, the build looked far more finished, but we will only know whether it rattles after more miles down the road.
The cabinet wall is a blessing and a curse in another way. It covers the access holes and the structural rail, which is exactly what I wanted. But I can no longer reach in through that side to grab things stored inside. That is the kind of trade-off that only shows up after the build is done, so think about it before you close up a frame.

Where the Table Fits Into the Plan
The extension is not the only moving surface in our layout. Once the benches are in, a separate tabletop will sit between them, with U-channel attached underneath that slides into receivers. For bed mode, the table lifts out, gets pushed back about another inch, and the bed rests on it overnight. I like the grain on that tabletop, and it should work well for meals. Together, the extension and the convertible table give us dining and prep space without extra fixed furniture.
If you are deciding how finished your van needs to be before your first trip, I would argue a counter extension is a great example of an upgrade that can wait until after you have actually cooked in the van. The case for getting on the road first is in why sleep-ready beats finished. Cook a few weekends of meals, notice where you keep running out of room, and then build the fix where it is needed.
What I Would Tell Anyone Planning One
If I were starting over, I would do four things differently. I would load every T-nut the cabinet might ever need before assembling the frame, including a few spares in rails I was not sure about. I would plan the bracket rail at the same time as the cabinet, not as an afterthought. I would mark the hole direction on the extrusion before drilling, so I never drilled through the wrong face again. And I would figure out access to every bracket bolt, especially the top one, before the countertop went anywhere near the cabinet.
Even with the extra effort, this upgrade was a big win. More counter means calmer cooking, and calmer cooking means more meals made in the van instead of bought on the road. For a small kitchen on wheels, that is about the best return you can get from a weekend of drilling and swearing at T-nuts.