The best things in my van have had a life before me. Some of the ceiling planks were leftover stock a lumberyard was happy to see go. A fair bit of the hardware came out of a box marked “misc” at a garage sale. And the sink I rinse my coffee mug in every morning used to live in somebody else’s kitchen.
When we bought that secondhand sink, it came with souvenirs: scuff marks from its former installation, the gray smudges and scrapes a fixture picks up when it’s pried out of one counter and hauled to another. It worked fine. It just looked tired. And because the sink is the one spot in a campervan you look at more than the windshield, “tired” was going to bug me on every road from here to the Gulf.
So it got a refresh, right where it sat, already installed in the galley of our ProMaster. This isn’t a step-by-step manual. It’s what I’ve picked up over a lot of years and a lot of rigs about buying used, fixing things in a driveway, and getting a worn piece of a home on wheels ready for the next stretch of highway.
Why I Shop Secondhand for a Home That Moves
During my years on the road, I’ve watched van builds go two ways. Some people buy everything new, in matching finishes, from a single online cart. Others build slowly from salvage, surplus and the back corners of hardware stores. The second group almost always ends up with a rig that tells a story, and usually with more left over for gas and campsites.
A used sink is a perfect example. Sinks are heavy, bulky and expensive to ship, and the ones that come out of kitchen remodels, RV teardowns and boat refits are often mechanically sound. What they rarely have is a perfect surface. The scuffs are the price of admission, and the trade is usually worth it.
There’s a quieter reason too. Every part you rescue is one less thing in a landfill, and if you spend time in the places a van like this is built to reach (national forest roads, desert washes, barrier islands) you start to care about that math. My crew jokes that I’d reupholster a rock if it fit the build. They’re not entirely wrong.
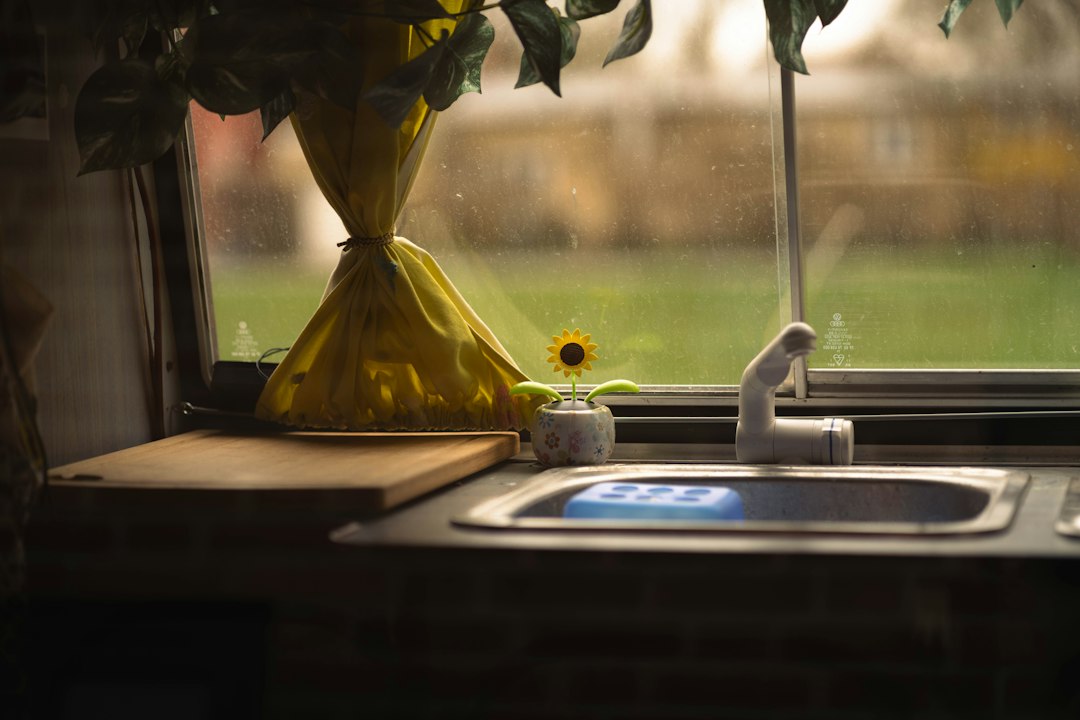
If you’d rather start fresh, that’s a perfectly good choice. A sink like the RecPro Undermount Stonecase RV Sink is sized for exactly the kind of compact counter a van galley has. New or used, the planning questions don’t change: how deep is the basin, where does the drain land relative to your grey tank, and will the faucet clear the cabinet above it?
The Hardest-Working Square Foot in the Van
People ask me which part of a campervan matters most, expecting me to say the bed or the solar. I usually say the sink. It’s where the day starts (coffee, teeth, a splash of cold water on the face) and where it ends (dishes, and a rinse of muddy hands after the last hike). On a long trip it gets used dozens of times a day, by people who are tired, wet, sandy or all three.
That constant use is why a sink says so much about how a build was planned. If you’ve read how I approached my campervan kitchen build from scratch, you know I think in square inches. The sink claims a big share of them, and it’s tied into everything around it: the pump, the faucet, the drain line and eventually the grey tank.
Plumbing a sink in a van is its own project. I’ve written separately about designing a campervan water system that never leaves you thirsty and about routing a floor drain into the grey tank so nothing hits the dirt at camp. The short version: once a sink is plumbed in, you really don’t want to pull it back out. That’s what makes refinishing it in place so appealing, and so fiddly.
Refinishing in Place: Masking Is Most of the Job
Painting a loose sink on sawhorses is easy. Painting one that’s set into a countertop, with a faucet behind it and cabinetry below, means every surface you don’t want painted has to be covered first. Spray paint drifts. Overspray will find the faucet, the wall, the counter edge and the inside of that cabinet door you forgot was open.
The prep for a job like this is short and cheap: sandpaper to scuff the old surface so new paint has something to grip, kraft paper to cover big areas like the counter and floor, and painter’s tape for crisp edges where the basin meets everything else. The faucet gets wrapped or masked completely. If yours is past saving anyway, the style at our sink is in the family of the Moen Chateau Single-Handle Faucet, a simple, durable design that suits a small galley.
Here’s the routine I follow before any paint comes out, wherever I happen to be parked:
- Clean first, then sand. Sinks collect soap film and cooking oil, and paint won’t bond to either. Degrease, let it dry completely, then give it a light scuff sanding.
- Get every speck of dust. Sanding dust under fresh paint is like sand in a sleeping bag: small, and impossible to ignore once it’s there.
- Mask wider than you think. Counter, cabinet faces, the floor below. Then a little more.
- Open everything. Side door, back doors, roof fan on exhaust. A van is a small metal box, and aerosol fumes build up fast.
- Protect your lungs. A cloth mask won’t cut it in a confined space. Something like the 3M Paint Project Respirator is what I’d wear.
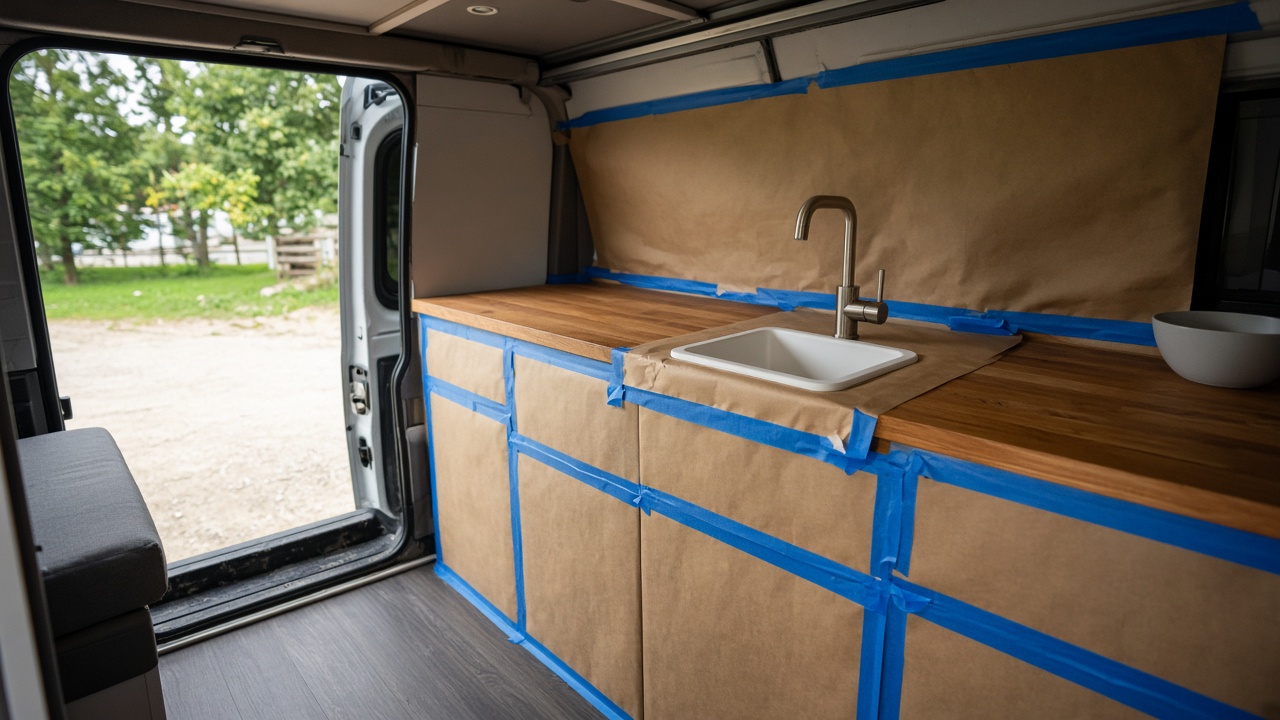
The Prep Kit, at a Glance
Everything here fits in a single milk crate under the bed, which is how I like my project kits:
- Assorted Wet/Dry Sandpaper Sheets, for scuffing the old finish so new paint can bite
- Large Brown Kraft Paper Roll, for covering counters, cabinets and floor
- Painter’s Tape, for sharp edges around the basin and faucet
- Tack Cloths, for lifting sanding dust right before the first coat
- Disposable Nitrile Gloves, because paint on your hands means paint on the steering wheel
Lacquer, Enamel and a Clear Coat
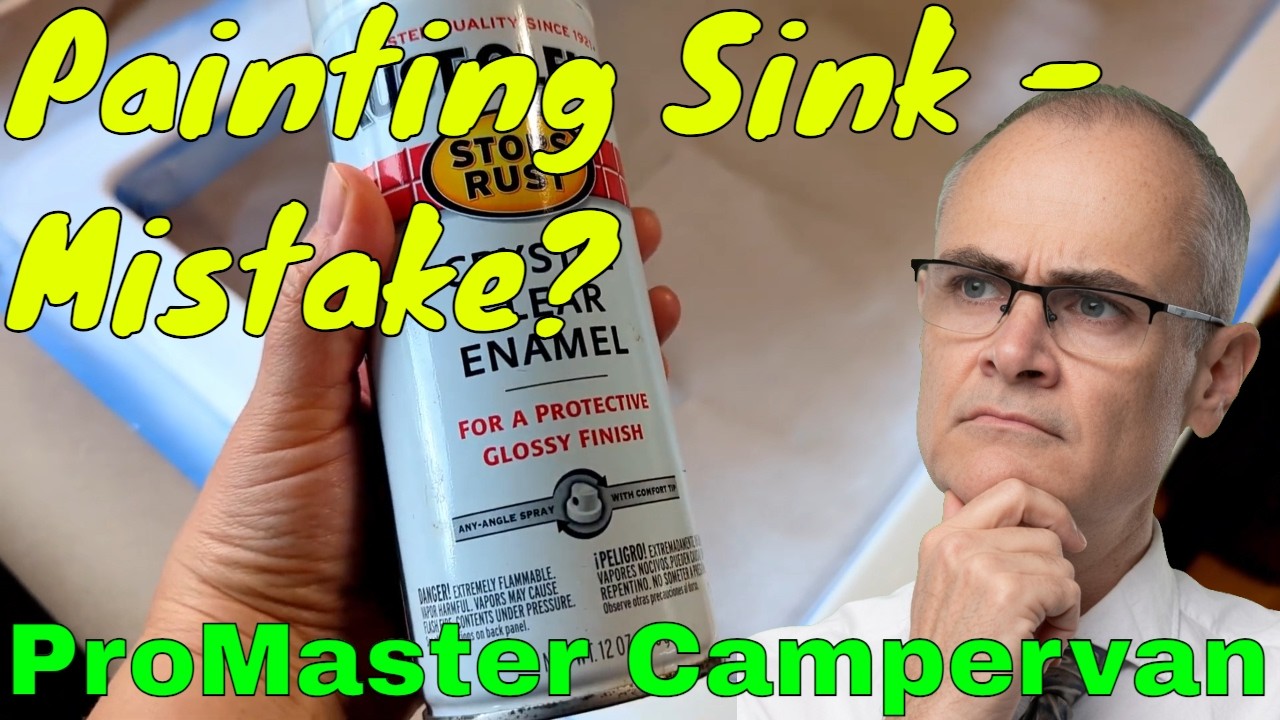
Our materials list for this refresh included a white lacquer, the Krylon Gloss White Lacquer, along with a white enamel, Rust-Oleum Professional High Performance Enamel in Semi-Gloss White, and a protective topcoat, Rust-Oleum Stops Rust Crystal Clear Enamel. They’re all aerosols you can find in most hardware aisles, which matters when you’re working out of a van instead of a shop.
A word of experience, earned well before this van: lacquers and enamels are different chemistries, and they don’t always get along when one goes over the other. Strong solvents in one product can wrinkle or lift a coat of the other that hasn’t fully cured. Before committing a whole basin, I spray a test patch somewhere hidden (the underside of the lip, or a scrap of the same material) and read the recoat window printed on every can. That label is the most useful travel document you’ll own on a project like this.
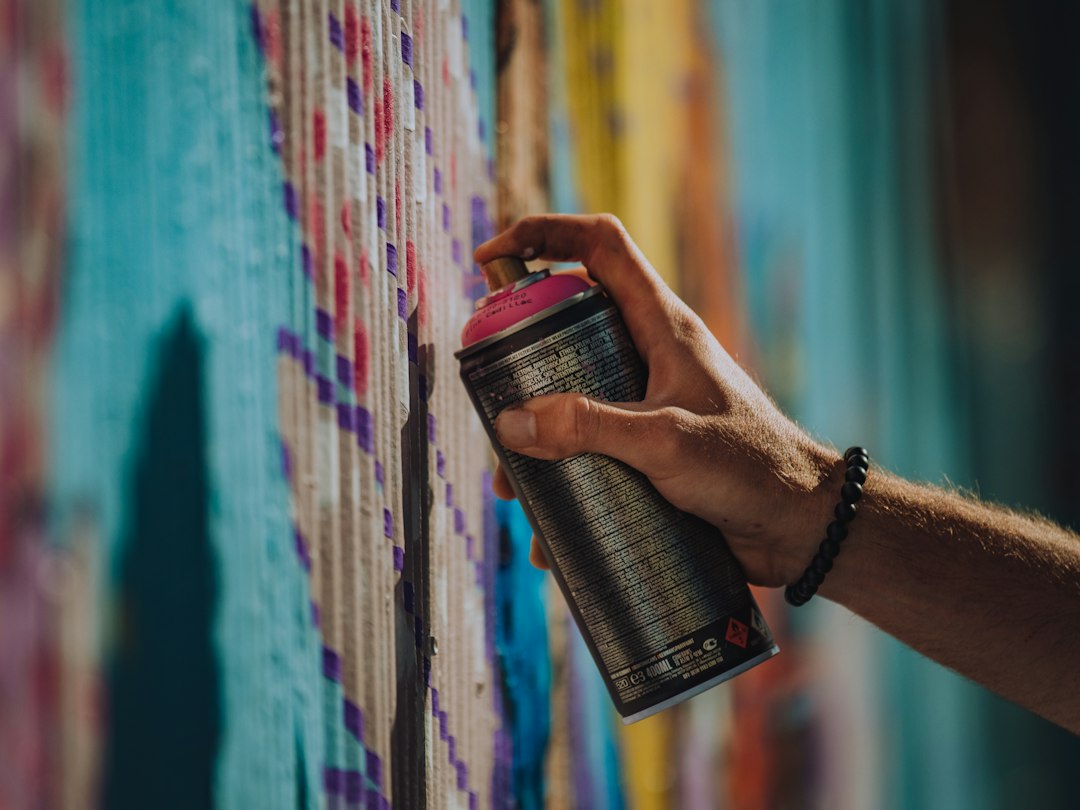
Technique is the same as with any rattle can, only tighter. Shake longer than seems necessary. Keep the can moving, a consistent distance from the surface. Lay down several light coats instead of one heavy one, because a sink’s curves will pull a thick coat into drips at the bottom of the bowl. And be honest about what you’re making: spray paint on a sink is a cosmetic refresh, not a factory finish. Hot pans and abrasive scrubbers will test it, so treat the new surface gently.
Here’s the sink project itself, from the Make Someday Today build:
Late Fall Is the Last Good Spray Window
If you’re reading this in late October, take the hint from the thermometer. Most aerosol paint labels ask for air and surface temperatures roughly between 50 and 90 degrees Fahrenheit, with low humidity. Across much of the northern half of the country, that window is closing for the year. A cold metal van holds a chill long after the afternoon warms up, and paint sprayed onto a cold sink can stay tacky and cloudy.
My rule of thumb is to work midday, with the van parked in the sun, doors open, and to watch the dew point. If fog is rolling in off the river, it’s a coffee day, not a paint day. Southern travelers have it easier; a sunny week in Arizona, Texas or Florida in November can be ideal for exactly this kind of job. That’s one of the quiet perks of chasing warmer weather.
Where you do the work matters as much as when. Many campgrounds don’t allow painting or major repairs on a site, and spraying near another camper’s rig is a fast way to lose a neighbor. Over the years I’ve done projects like this in a friend’s driveway, at a storage lot with permission, and on long stays where the host said yes before I asked twice. Always ask. Lay a drop cloth under the van so nothing marks the ground, and pack every scrap of tape and paper out with you.
If your van is heading into storage for the winter, fold a project like this into your end-of-season routine. My two-weekend overhaul that gets my campervan winter-ready is built around exactly that kind of batching, since the water system is usually drained down anyway.
Living With a Refreshed Sink on the Road
Once the masking comes off, patience is the whole game. Most aerosol finishes feel dry within hours but take much longer to fully harden, so follow the can’s full-cure guidance before you run hot water or set anything heavy in the basin. I give it extra time, especially in cooler weather, and let the roof fan keep the air moving.
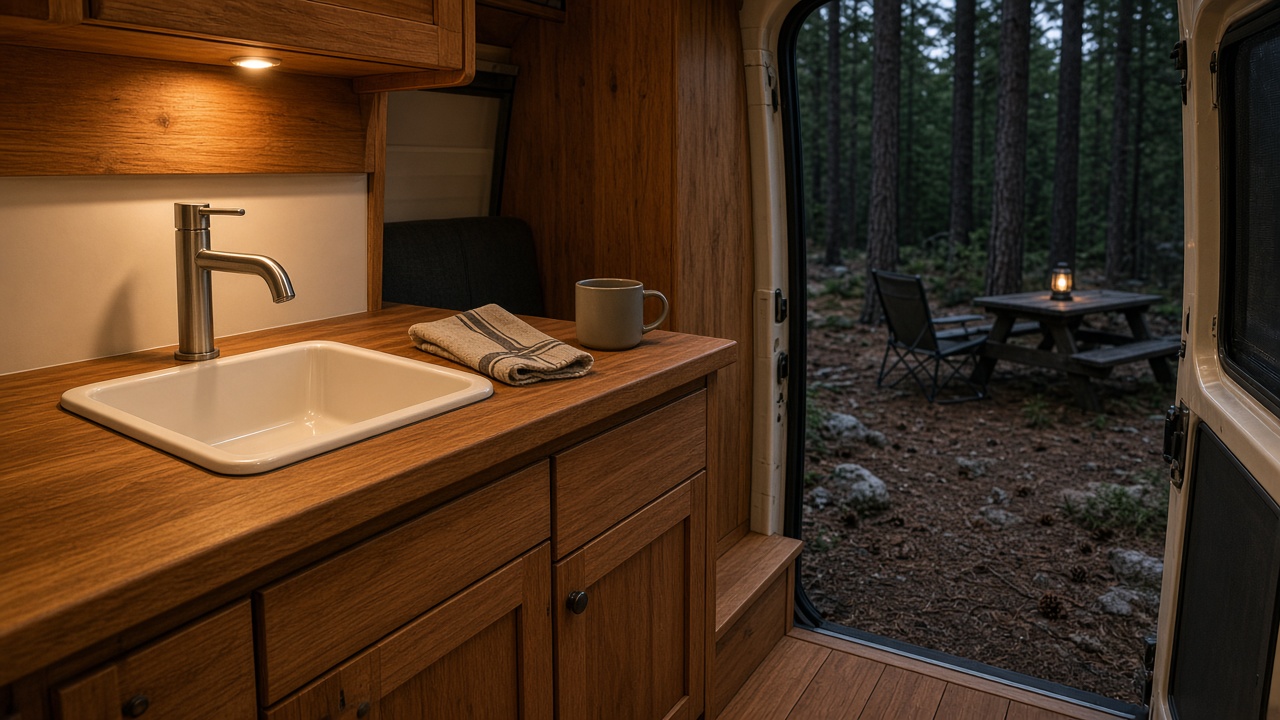
After that, the habits that protect any sink in a moving home matter even more. I use a soft sponge, skip the scouring powder, and keep a small dish tub in the basin for cast iron and camp pots so they never scrape the surface directly. Drying dishes is a whole topic of its own; our friends at home.omnux.com have a good piece on finding a dish rack that survives heavy cooking, and plenty of those ideas shrink down nicely for a van galley.
Road vibration is the other enemy. Anything that rattles in the basin while you drive, like a loose mug or a fork, slowly chews at a painted finish. Everything gets stowed before the engine starts. That’s a good van-life habit anyway, and it’s one more reason I’ve come to love a quiet kitchen at seventy miles an hour.
What a Tired Sink Taught Me About the Road
There’s something satisfying about taking a fixture with scuffs from another family’s kitchen and giving it a new life heading toward places it never would have seen. That sink had a past. Now it has a route: mountain mornings, desert evenings, a rinse of sandy feet on the Gulf Coast.

The bigger lesson isn’t about paint. It’s about not waiting for the perfect version of the thing before you go. A secondhand sink with a weekend’s worth of care beats the brand-new one you’re still saving for. Scuffs and all, the rig is ready when you are. Don’t wait to do the things you’ve talked about doing. Make someday today.