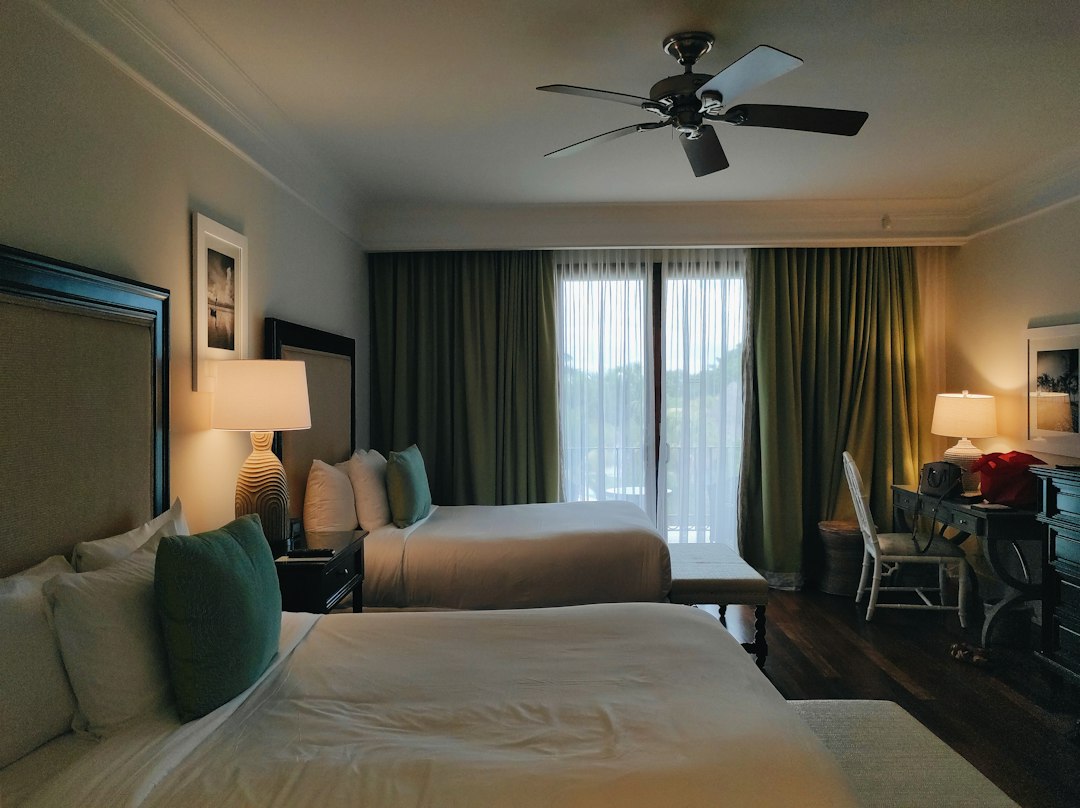
The holiday stretch is when I sleep in more strange beds than any other time of year. There’s the airport hotel before an early flight, the hotel near family when every guest room is already spoken for, and the roadside stop halfway through a long drive when the second wind never shows up. Most of those rooms are fine. A few aren’t, and you can usually tell in the first quarter of an hour, before anything gets unpacked.
So I stopped walking in, dropping the bag on the bed and flopping down next to it. Now I run the same short routine in every room, whether it’s a chain hotel off an interstate exit or a boutique place downtown. It takes about fifteen minutes. It’s the least glamorous part of any trip, and it’s the part that heads off the most hassle.
Here’s the whole check, in the order I do it, plus the small kit that lives in an outside pocket of my carry-on so I never have to dig for it.
Why the First Fifteen Minutes Matter Most
The first few minutes in a room are the only time you have real leverage. You haven’t unpacked, so moving is easy. The front desk hasn’t filled the hotel yet, so a different room is often still available. Nothing of yours has touched the bed or the carpet, so if there’s a problem, it stays the hotel’s problem and doesn’t come home with you.
Wait until 11 p.m. to find out the door doesn’t latch, the heater rattles like a coffee can of bolts, or there are dark specks along the mattress seam, and your choices shrink to “deal with it” or “repack everything while exhausted.” Do the check right away and a room swap is a two-minute conversation at the desk.
Step One: The Bags Go in the Bathroom
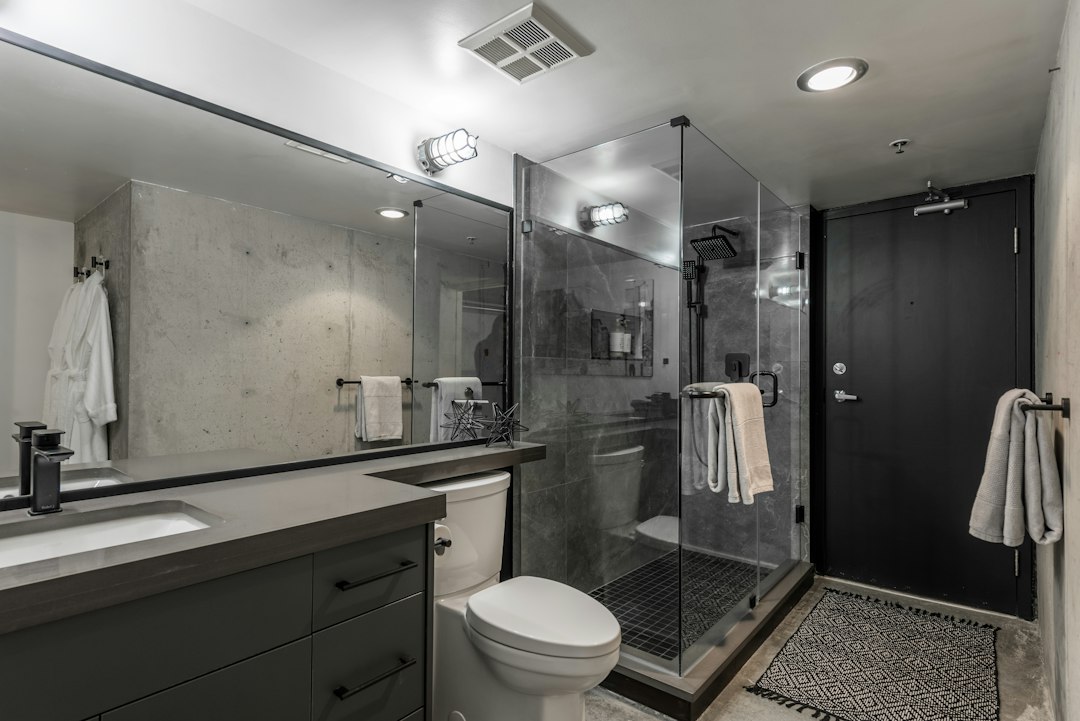
The first thing I do after the door closes is walk straight into the bathroom and set my suitcase and backpack down on the tile, or in the empty tub if there is one. That’s not me being fussy. The U.S. Environmental Protection Agency’s travel guidance says to keep luggage off the bed and floor until you’ve looked the room over, and California’s pesticide regulators suggest the bathtub as a holding spot until the inspection is done. Hard, bare surfaces give hitchhiking bugs nowhere to hide.
While the bags sit there, I take out the only thing I need for the next ten minutes: a small flashlight. A phone light works in a pinch, but holding a phone sideways along a mattress seam gets awkward fast, and I’d rather keep the battery for the evening. I carry a Small Rechargeable LED Flashlight with a tight, bright beam. It weighs almost nothing, and it does double duty later in the routine.
One more thing goes on the bathroom counter: a few Large Clear Zipper Storage Bags. If the room passes, they just hold dirty laundry. If it doesn’t, they keep clothes sealed until I can get them into a hot dryer. California regulators recommend exactly this kind of clear plastic barrier for anyone worried about bed bugs while traveling.
Step Two: Read the Bed Like a Book
Bed bugs are the reason most people do any kind of hotel check, and the good news is that the inspection is quick once you know where to look. Pull the top sheet and blanket back to the foot of the bed. Then work the flashlight slowly along the seams and piping of the mattress, especially the corners at the head end, and around any tags.
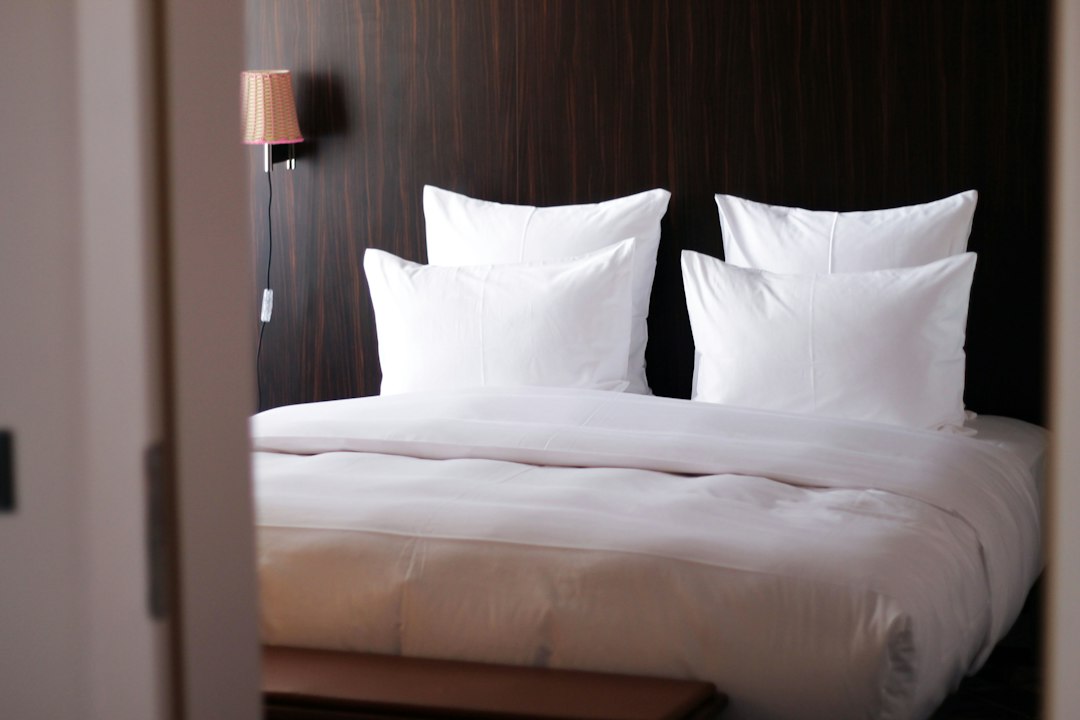
What you’re looking for is less dramatic than you’d expect. Live bugs are possible, but the more common signs are tiny dark spots that look like someone touched the fabric with a felt-tip pen, rust-colored smears, or pale, papery shed skins. Adult bed bugs are only about the size of an apple seed, and California’s pesticide regulators note they can squeeze into gaps about as thin as a credit card.
That credit-card detail gives you a trick. Slide a card into the gap where the headboard meets the wall and see what it pulls out, then shine the light behind the headboard, around the box spring, and inside the nightstand drawers.
If you find anything suspicious, don’t argue, and don’t try to treat it yourself. Close the bags, go to the desk and ask for a room in a different part of the building, not the one next door. Then run the same check again in the new room. Most of the time, the bed looks clean, the sheets are crisp, and you’ve spent four minutes buying real peace of mind.
Step Three: Check the Luggage Rack Before You Trust It
Once the bed passes, the luggage rack becomes my suitcase’s home for the stay. But the rack gets a quick look first. Bed-bug guidance from the EPA and California regulators treats the rack as part of the inspection, so I run the flashlight under the fabric straps and along the joints of the frame. Then I pull the rack a few inches away from the wall and the bed so it isn’t touching either one.
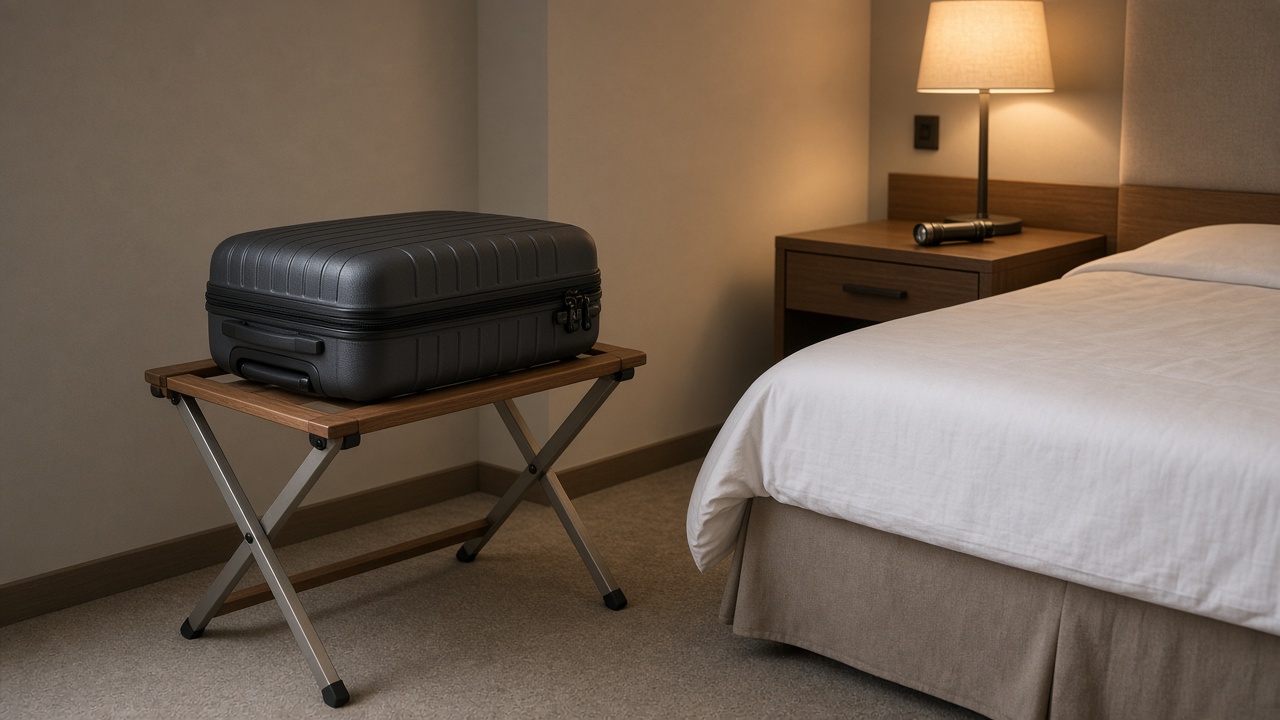
From here on, the bag lives on the rack, zipped when I’m not in it. Clothes stay in the suitcase or on hangers, not in the dresser drawers and not draped over the armchair. It feels a little like living out of a bag, which, on a three-night holiday stay, I’m doing anyway.
For dirty clothes I use a lightweight Packable Travel Laundry Bag that hangs off the rack or the closet hook. It keeps worn clothes separate from clean ones, and when I get home it goes straight to the laundry room instead of into the bedroom closet.
Step Four: Count the Doors to Two Exits
This is the step most people skip, and it’s the one I’d least want to skip. Before I settle in, I walk out into the hallway and find the two closest exits or stairwells, one in each direction if possible. On the way, I count the doors between my room and each exit, and I note which side of the hallway they’re on.
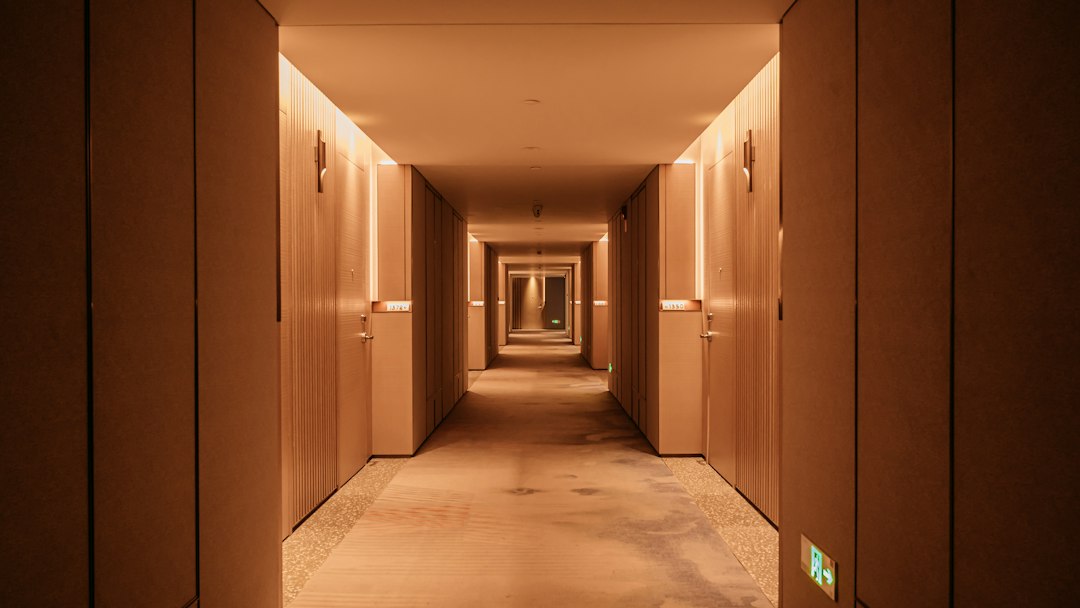
The reason is simple. The U.S. Fire Administration and the Texas Department of Insurance both recommend counting the doors between your room and the exits, because in smoke or a power cut you may have to feel your way along the wall. A number like “six doors on the left” is something you can find with your hand in the dark. “Somewhere past the ice machine” isn’t.
While I’m out there, I push the stairwell door to make sure it actually opens. The State Department’s Overseas Security Advisory Council recommends confirming that exit doors actually open, and if one doesn’t, the front desk needs to hear about it. Back in the room, I read the evacuation map on the back of the door and check for a smoke detector on the ceiling.
The rest of the fire plan is a short list I’ve memorized. Keep the room key and the flashlight on the nightstand. If the alarm sounds, take the key, because most hotel doors lock behind you. Before opening a door, feel it with the back of your hand. Stay low under smoke, close doors behind you, and use the stairs, never the elevator. If the hallway is impassable, stay in the room, seal the gaps around the door with wet towels, call 911 to say where you are, and signal from the window.
Fire-safety guidance for travelers goes one step further and suggests packing a Compact Battery-Operated Smoke Detector for travelers staying in places where hotel fire protection is uncertain, which is more common abroad. For U.S. trips I lean on the U.S. Fire Administration’s Hotel-Motel National Master List, which lists properties meeting federal fire-safety guidelines, including a hard-wired smoke alarm in each room and, for buildings four or more stories tall, sprinklers. For international trips, the little detector rides along in my bag with its battery removed, and it goes up near the door on the first night.
Step Five: Make the Door Your Friend
Next I look at the door itself. Does it close fully on its own and latch with a solid click? Does the deadbolt or privacy latch actually engage? Is the peephole clear? If the door drifts open or the latch is loose, that’s a room-swap problem, not something to tough out.
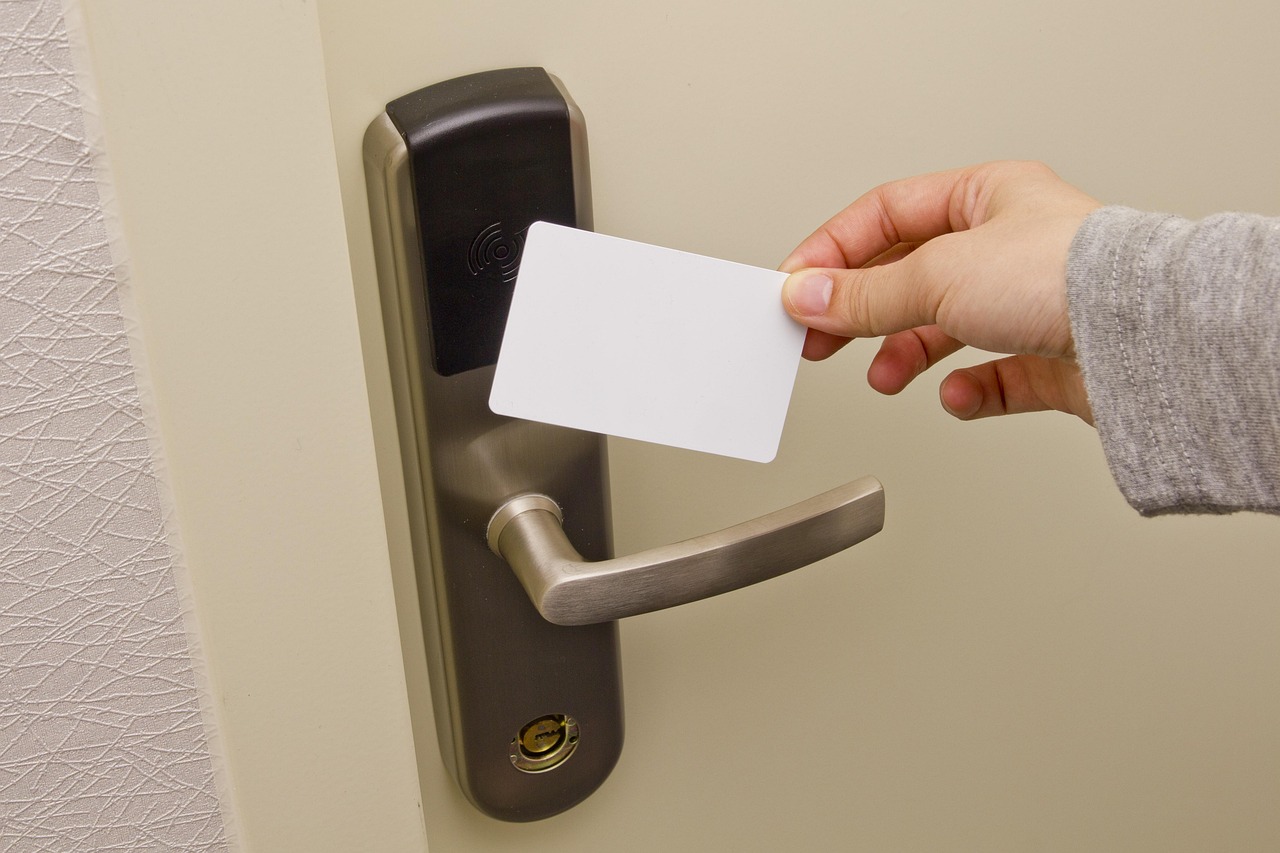
On top of the hotel’s own locks, I carry two small add-ons for nights when I feel less settled, like a ground-floor room with an exterior door or a quiet motel off the highway. The first is a Portable Travel Door Lock, a little metal plate and bracket that slips into the strike plate and stops the door from opening inward. The second is a Door Stop Alarm Wedge that sits on the floor and shrieks if the door pushes against it.
Both come with one rule I take seriously: they have to come off in a second. A portable lock you can’t remove fast in the dark is a liability in a fire, so I practice taking it off before bed and keep the flashlight next to the door. Room safety and fire safety have to work together.
If you get to choose your floor, some corporate travel-safety guides, including the University of Edinburgh’s, suggest somewhere between the second and seventh floors. The usual reasoning is that it’s high enough to be harder to break into and low enough to be easier to evacuate.
Step Six: Set the Room Up for Sleep
With safety covered, the last part of the routine is about getting a real night’s sleep, which is the whole point of paying for a room. I set the thermostat a few degrees cooler than feels comfortable at first, because rooms that start warm usually get stuffy by 2 a.m. Then I check the gap where the blackout curtains meet in the middle, because there’s always a gap.
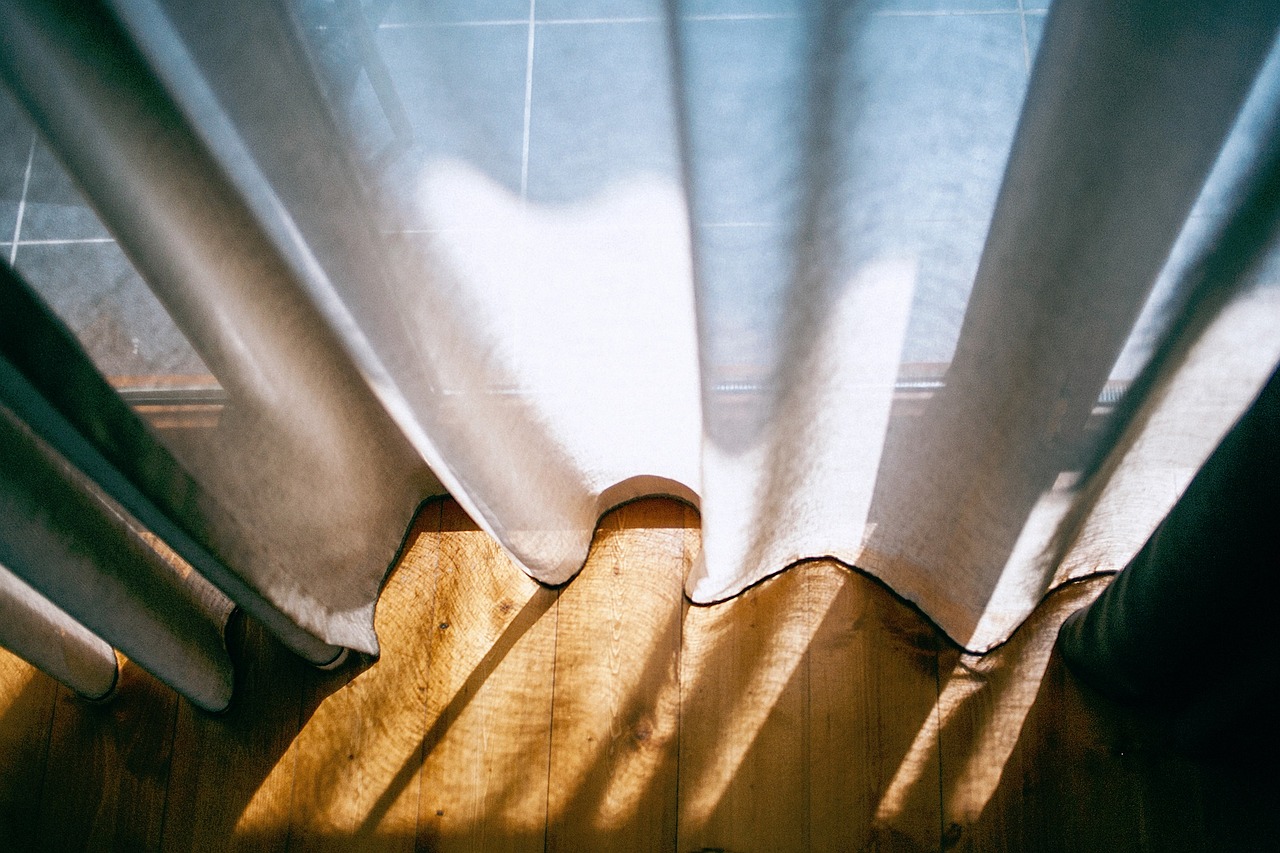
For that gap, I carry a pair of Magnetic Curtain Clips. They snap the two panels together and stop the parking-lot floodlight from drawing a bright line across the pillow. A plain binder clip from the desk drawer works too, if the room has one.
Noise is the next thing to fix. Ice machines, elevator chimes and the family in the next room getting an early start are all part of hotel life, especially on holiday weekends. A small Portable White Noise Machine on the nightstand covers most of it. I like one that charges over USB so it doesn’t need an outlet near the bed, which a lot of older rooms don’t have.
Speaking of outlets: if the nightstand has none, a compact Travel Power Strip With USB-C turns the one behind the desk into a proper charging station. I went deep on that problem in the charging cube that turned every hotel room into a charging station, and the same logic applies here: one plug, everything charged, nothing on the floor.
Last, a Plug-In LED Night Light goes into the bathroom outlet, so a 3 a.m. trip in an unfamiliar room doesn’t mean flipping on the overhead light or tripping over the luggage rack.
If hotel pillows leave you with a stiff neck every morning, that’s a whole topic of its own. My colleagues at our sister health site have a useful explainer on fitting a side-sleeper pillow to a sore neck, and it’s a good read before you decide whether to pack your own.
The Two-Minute Wipe-Down
I don’t scrub hotel rooms. Housekeeping does a real job, and I’m not trying to second-guess it. But a few surfaces get handled by every guest and probably don’t get the same attention as the sink: the TV remote, the light switches by the bed, the thermostat buttons, the phone, and the door handles.
A couple of Travel-Pack Disinfecting Wipes take care of all of them in under two minutes. During cold and flu season, when every airport and family gathering feels like a germ exchange, it’s cheap insurance. The used wipes go in the bathroom trash, and I wash my hands afterward.
When to Ask for a Different Room
The routine only works if you’re willing to act on what you find. My personal list of “go back to the desk” problems is short and doesn’t change:
- Any sign of bed bugs in or around the bed: spots, smears, skins, or live insects.
- A door that doesn’t close and latch on its own, or a broken deadbolt or privacy latch.
- No working smoke detector, or a stairwell door that won’t open.
- A heater or air conditioner that can’t hold a reasonable temperature or sounds like it’s about to fail.
- A strong smell of smoke, mildew or chemicals that doesn’t clear after a few minutes with the fan on.
I keep the request calm and specific: “The latch on this door doesn’t catch, could I get another room?” A clear, polite problem usually gets fixed faster than a vague complaint. If the hotel is full, ask for maintenance while you’re there, and don’t unpack until it’s sorted.
Vacation rentals need a different routine, and I’ve written up my ten-minute video sweep for vacation rentals, which is about documenting damage before checkout, not bed bugs and fire exits. If your holiday plans mix a hotel night with a rental, run both.
Bringing It All Home Clean
The routine has a short epilogue when I get home. The suitcase doesn’t go into the bedroom. It gets unpacked in the laundry room or garage, and the clothes go straight into the dryer on high heat before anything else. The EPA notes that time in a hot dryer kills bed bugs while washing alone generally won’t, so the dryer comes first and the washer second if needed.
Then the empty suitcase gets a quick pass with the same flashlight along its seams and zipper tracks. After that, it gets stored in a hallway closet, not under the bed.
One more detail from the California Department of Public Health is worth knowing: bite reactions can take up to two weeks to show up. So if you notice itchy welts a few days after a trip, don’t assume they came from the last place you slept. Call your doctor if you’re worried, and tell the hotel too, so they can check the room you stayed in.
The Arrival Kit, All in One Pocket
Everything above fits in a single zippered pocket on the outside of my carry-on, so it’s the first thing I can reach when the room door closes. Here’s the whole kit:
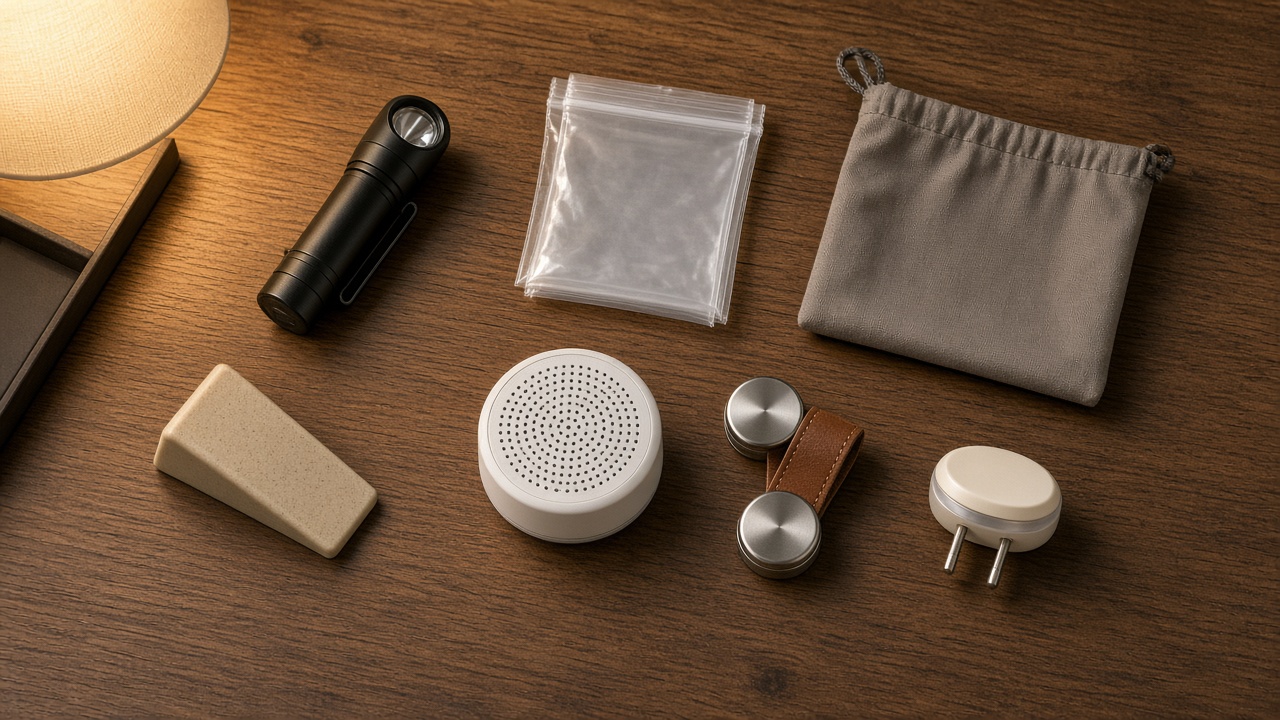
- For the bed and rack check: Small Rechargeable LED Flashlight, which also stays on the nightstand for the fire plan.
- For quarantine and laundry: Large Clear Zipper Storage Bags and a Packable Travel Laundry Bag.
- For the door: a Portable Travel Door Lock and a Door Stop Alarm Wedge, both easy to remove in a hurry.
- For trips abroad: a Compact Battery-Operated Smoke Detector, battery out until it’s on the wall.
- For sleep: Magnetic Curtain Clips, a Portable White Noise Machine and a Plug-In LED Night Light.
- For power: a Travel Power Strip With USB-C for rooms with one lonely outlet.
- For the wipe-down: Travel-Pack Disinfecting Wipes for remotes, switches and handles.
None of it is expensive, and most of it weighs less than a paperback. If I could only pack two pieces, I’d keep the flashlight and the clips.
Fifteen Minutes, Then Done
Written out, the routine sounds like a lot. In practice it’s bags in the bathroom, a flashlight along the mattress, a walk to two exits, a look at the door lock, and a quick setup for sleep. After a few trips you stop thinking about it, the same way you stop thinking about buckling a seat belt. Then you get to do the part you actually came for: kick off your shoes, put the kettle on, and relax.
If this season’s plans include a long drive to a hotel, my hour-by-hour plan for driving to Thanksgiving 2026 covers the road part. And if a storm ever pins you in a hotel room for a day, my folding travel kettle write-up covers the one gadget I’d add to this kit.