I’ve been carrying tripods on planes, trains, and rental cars for over a decade. And for most of that time, I hated every single one of them. Too heavy. Too flimsy. Too complicated. Or worst of all — the kind that looks like a real tripod but collapses the moment a coastal breeze picks up. After spending the better part of a year running six different travel tripods through deserts, rainforests, city breaks, and more than a few embarrassing selfie attempts, I’ve got opinions. Strong ones.
Here’s the thing nobody tells you about travel tripods: there’s no single “best” option. The right pick depends entirely on what you’re shooting, how much you’re willing to carry, and whether you’re working with a mirrorless camera or just trying to get a decent group photo with your phone. So instead of handing you a generic top-ten list, I’m going to walk you through what I actually use, what I’ve retired from my kit, and what’s worth your money depending on your travel style.
Why a Travel Tripod Matters More Than You Think
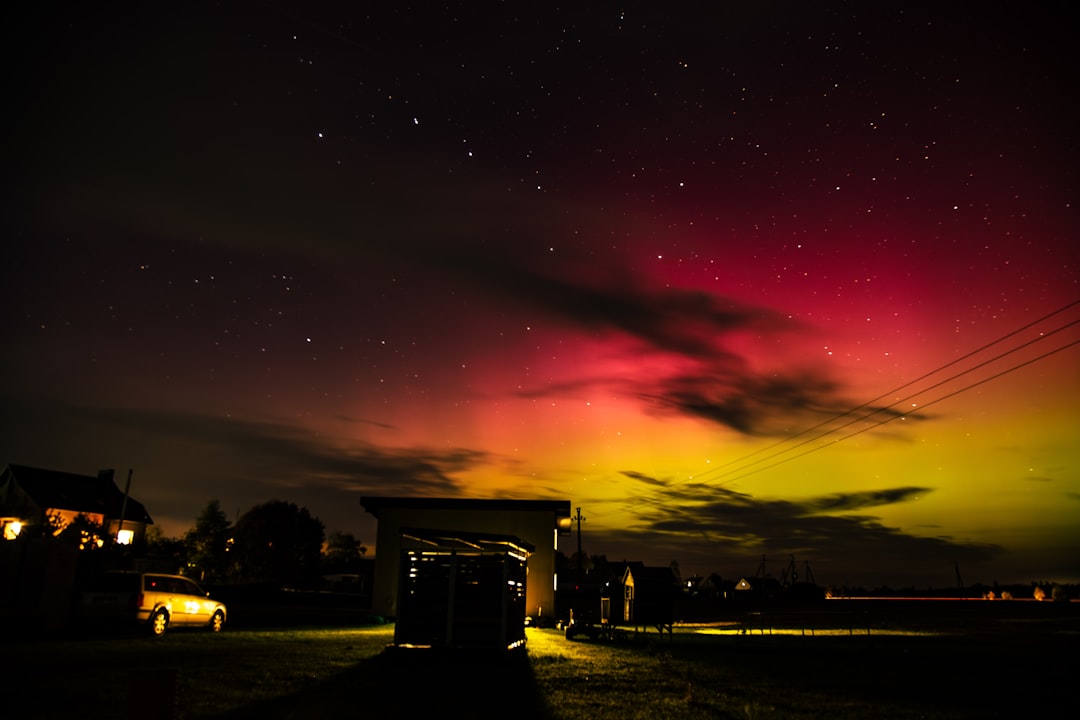
I used to think tripods were for professional landscape photographers and people who enjoy carrying unnecessary weight through airports. Then I ruined a sunset shot in Sedona because I couldn’t hold my phone steady enough for a long exposure. The red rocks blurred. The sky smeared. What should have been a frame-worthy photo looked like a watercolor painted by someone in a moving vehicle.
A good travel tripod solves problems you didn’t know you had. Long exposures at twilight. Time-lapses of tides coming in. Self-portraits that don’t involve propping your phone against a water bottle and hoping the wind doesn’t cooperate. Video that doesn’t look like you’re filming during an earthquake. And group shots where everyone — including the photographer — is actually in the frame.
But a bad travel tripod creates new problems. It’s dead weight in your pack. It slows you down when you’re trying to catch the last light. It breaks at the worst possible moment. I’ve had legs collapse mid-shot, ball heads that wouldn’t tighten, and quick-release plates that got stuck on my camera for days. The difference between a tripod that helps and one that hurts comes down to four things: weight, stability, packed size, and how quickly you can deploy it.
The Carbon Fiber Workhorse: K&F Concept 60-Inch
Let’s start with the one that surprised me most. The K&F Concept Carbon Fiber Travel Tripod showed up in a box I expected to be disappointed by. At this price point, carbon fiber usually means compromises — wobbly legs, plastic joints, ball heads that drift under any real weight. But this thing has been my go-to for serious landscape work for the past four months.
It folds down to about 16 inches, which means it fits inside a standard carry-on backpack without poking out the top. Fully extended, it reaches 60 inches — tall enough that I’m not stooping awkwardly to check my composition. The carbon fiber legs bring the total weight to right around 2.6 pounds, and the ball head handles my Sony a6400 with a 10-18mm lens without any noticeable sag. I’ve shot 30-second exposures on this tripod with no movement.
The center column is reversible, which I’ve used for low-angle wildflower shots more times than I can count. And the legs lock with twist locks rather than flip locks — a matter of personal preference, but I find them faster to deploy and less prone to catching on backpack mesh. If you’re shooting with anything heavier than a point-and-shoot and want one tripod that can handle everything from long exposures to light video work, this is where I’d put my money.
One note: if you want something even lighter and don’t need the full 60 inches, the K&F Concept Ultra-Lightweight Carbon Fiber model shaves the weight down to just 2 pounds while still supporting 13 pounds of gear. It’s what I pack when I’m already carrying a heavy lens kit and every ounce counts.
The Premium Contender: Sirui Traveler 5C
If budget isn’t a constraint and you want the best balance of weight, stability, and build quality I’ve tested, the Sirui Compact Traveler 5C is the tripod that earned its reputation. At roughly 2 pounds with the ball head included, it’s lighter than most travel tripods while extending to a full 54 inches. The carbon fiber legs flip 180 degrees for compact storage, and the whole package disappears into a carry-on without complaint.
What sets the Sirui apart is the leg angle locks. Each leg has three independent angle positions that click into place with a satisfying precision that cheaper tripods simply don’t have. In practice, that means you can set up on uneven terrain — a hillside, a rocky stream bed, the steps of a Tuscan cathedral — without improvising. The maximum load rating of 8.8 pounds is honest; I’ve had my a6400 with a heavy zoom mounted with zero drift.
The trade-off is price. This is the most expensive tripod in my kit, and for casual travel photographers, the K&F Concept gives you 85% of the performance for half the cost. But if photography is the reason you travel — not just something you do while traveling — the Sirui is an investment that will outlast several camera bodies.
The Budget Full-Size Option: Amazon Basics 50-Inch
Here’s where I’m going to save you some money. If you’re traveling with a phone or a small mirrorless camera and you want a full-height tripod without spending triple digits, the Amazon Basics 50-Inch Lightweight Tripod is absurdly good value. It’s aluminum, so it’s heavier than the carbon options — about 2.2 pounds — and the build quality won’t fool anyone who’s held a premium tripod. But it works. It sets up in under 30 seconds. It holds a phone or small camera steady for long exposures. And it costs less than a decent airport meal.
I keep one of these in my car for road trips — the same road trips where I stress-tested a $5 backpack across four national parks. It’s the tripod I lend to friends who are traveling with me. It’s the one I don’t worry about getting sandy at the beach or knocked over by a curious toddler at a viewpoint. When you’re shooting in conditions where your gear might take some abuse, having a tripod you don’t emotionally care about is genuinely liberating.
The limitations are real, though. The ball head is basic — fine for stills, frustrating for video panning. The maximum height of 50 inches means taller photographers will be bending down. And the aluminum legs transmit more vibration than carbon fiber, which matters for exposures longer than a few seconds in windy conditions. But for the price, it’s a tool that does the job without complaint.
The Mid-Range Sweet Spot: NEEWER Basics 66.5-Inch
If the Amazon Basics tripod feels too bare-bones but the Sirui makes your wallet nervous, the NEEWER Basics 66.5-Inch Travel Tripod hits a genuinely useful middle ground. At 66.5 inches fully extended, it’s the tallest tripod in this lineup — which matters more than you’d think if you’re over 5’9″ and tired of crouching to see your viewfinder. It includes an Arca-type quick-release plate and ball head, supports up to 11 pounds, and comes with a phone holder that actually grips modern smartphones without them wobbling.
I used this as my primary travel tripod for six weeks in Portugal and Spain, and it handled cobblestone streets, coastal cliffs, and dimly lit cathedral interiors without any issues. The aluminum construction means it’s heavier than carbon fiber — about 3 pounds — but the trade-off is a rigidity that I didn’t expect at this price. Wind that would send lighter tripods into vibration barely registered on the Neewer.
The included phone holder is a nice touch. It’s not just an afterthought — it has a spring-loaded grip that holds an iPhone Pro Max securely, even with a case. If you’re splitting your travel photography between a real camera and a phone, this tripod handles both without needing adapters.
The Flexible Mini: UBeesize Phone Tripod Pro
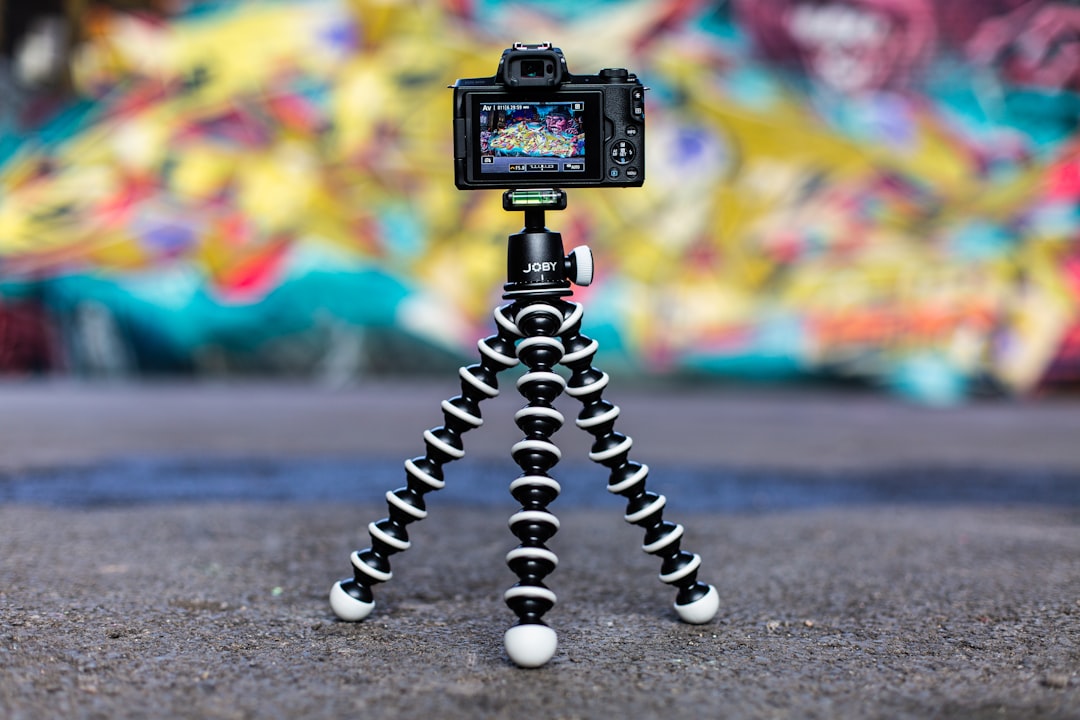
Okay, let’s talk about the tripod that lives in my personal item bag on every single flight. The UBeesize Phone Tripod Pro is a flexible-leg mini tripod that weighs almost nothing, costs less than a movie ticket, and solves more travel photography problems than any other piece of gear I own.
The legs bend and wrap around things. Railings, tree branches, chair backs, fence posts — anything stable enough to support a phone becomes a mounting point. I’ve gotten shots from angles that would be impossible with a traditional tripod: hanging over a balcony, wrapped around a lamppost, clinging to the side of a bridge railing. The wireless remote means I can trigger the shutter from up to 30 feet away, which has resulted in some of my favorite travel self-portraits.
No, it won’t hold a real camera. No, it’s not stable in wind. No, it’s not going to replace a full tripod for serious work. But for the traveler who shoots 90% of their photos on a phone and wants better-than-handheld results without adding bulk, this is the accessory that earns its space in your bag every single trip.
The Vlogging Hybrid: Vimose Phone Tripod & Selfie Stick
There’s a category of travel creator that didn’t exist ten years ago: the phone-first vlogger. If that’s you — or if you want it to be — the Vimose Phone Tripod & Selfie Stick is a clever two-in-one that converts between a 62-inch tripod and a selfie stick. It extends, locks, and collapses in seconds, and the integrated phone mount handles devices up to 7 inches wide.
I used this exclusively on a weekend trip to Charleston, and it changed how I shot. Walking tours? Selfie stick mode for narrated clips. Static shots in front of historic buildings? Tripod mode with the wireless remote. Time-lapse of the sunset over the harbor? Tripod mode, fully extended, phone locked in. The conversion between modes is quick enough that I actually used both instead of defaulting to one and ignoring the other.
The build quality is what you’d expect at this price — functional but not luxurious. The tripod base is stable enough for phones but would make me nervous with anything heavier. And the extension mechanism has a slight wobble at full height that requires a steady surface. But for phone-first creators who want one tool instead of two, it’s hard to beat the versatility.
The Pro Vlogger’s Choice: ULANZI MT-08
If you’ve moved beyond phone tripods into the world of compact vlogging rigs, the ULANZI MT-08 Extension Pole Tripod is the tool I see more travel creators using than anything else. It’s tiny — small enough to fit in a jacket pocket — and it serves triple duty as a mini tripod, a grip handle, and an extension pole. The 1/4-inch screw mount means it works with everything from phones (with an adapter) to DJI Pocket cameras to small mirrorless bodies.
I don’t use this for traditional photography, but for video, it’s become indispensable. The grip position is comfortable for extended shooting, the tripod legs deploy instantly when you need a static shot, and the build quality feels like it will survive years of travel abuse. If you’re building a lightweight video kit, this pairs perfectly with a compact camera like the DJI Pocket series.
What Else Goes in My Tripod Kit
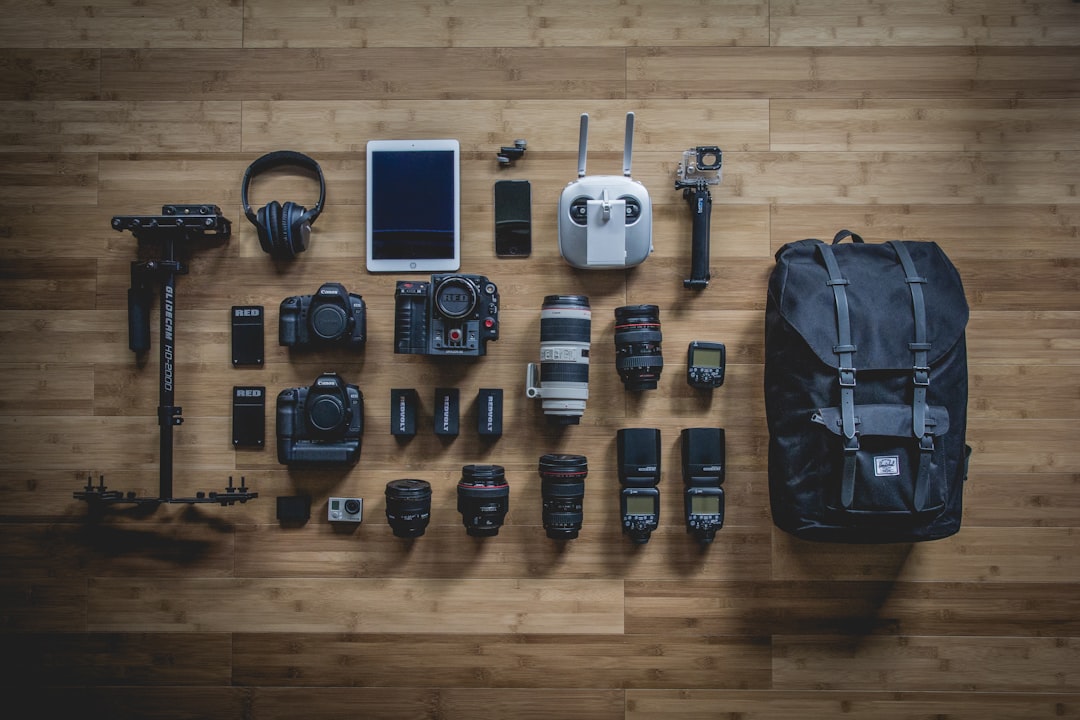
A tripod is the centerpiece, but a few supporting items make travel photography significantly easier. Here’s what else lives in my kit:
A clip-on lens kit. The Xenvo Pro Lens Kit pairs a wide-angle and macro lens with an LED light, and it clips onto any phone. I use the wide-angle for architecture shots where I can’t back up far enough, and the macro for detail shots of flowers, textures, and food. The travel case is compact enough that I forget I’m carrying it until I need it. This is one of those accessories that turns your phone into a genuinely capable travel camera.
A cleaning kit. Tripods get dirty. Cameras get dirty. Phone lenses get smudged by fingerprints constantly. The K&F Concept 4-in-1 Cleaning Kit includes a lens pen, air blower, microfiber cloth, and cleaning solution in a compact case. It costs almost nothing and has saved more shots than I can count. Desert dust, salt spray, fingerprint smudges — this kit handles all of it.
A portable power bank. Long days of shooting drain your phone faster than you think, especially if you’re shooting in RAW or recording video. I never travel without one — I wrote about the power banks I trust after testing them in the wild, and the advice still holds. There’s nothing worse than setting up the perfect shot and watching your phone die. And if you’re upgrading the rest of your kit, here’s the travel gear I actually recommend — tripods included.
How I Choose Which Tripod to Pack
After testing all of these, I’ve developed a simple decision tree. If I’m flying carry-on only and photography is secondary to the trip, I pack the UBeesize mini and call it done. If I’m doing serious landscape work, the K&F Concept carbon fiber comes along. For road trips where weight doesn’t matter, the NEEWER gives me maximum height and stability. And if I’m shooting video, the ULANZI is always in my pocket.
The tripod that gets left behind most often is the Amazon Basics — not because it’s bad, but because if I’m going to carry a full-size tripod, I usually want carbon fiber. However, it’s the one I recommend to friends who are just starting out and don’t want to invest heavily before knowing if travel photography is something they’ll stick with. One of the travel rules I’ve learned is that the best gear is the gear you actually use — and a $25 tripod you bring everywhere beats a $400 tripod you leave at home because it’s too precious.
Tips I’ve Learned the Hard Way
Test your tripod before you travel. Set it up at home, mount your camera or phone, and practice extending, adjusting, and packing it. The first time you use a tripod shouldn’t be when the light is fading and you’re fumbling with an unfamiliar quick-release plate on a cliff edge.
Use the hook. Most travel tripods have a hook on the center column. Hang your camera bag or a stuff sack filled with rocks from it. The added weight dramatically improves stability, especially in wind. This trick has saved more long exposures than any other technique I know.
Disable image stabilization when shooting on a tripod. This sounds counterintuitive, but optical image stabilization systems can actually introduce blur when the camera is perfectly still — the internal elements hunt for movement that doesn’t exist. Turn it off for tripod shots and you’ll get sharper results.
Don’t extend the center column unless you have to. The center column is the least stable part of any tripod. Extending it raises your camera’s center of gravity and acts like a lever, amplifying vibration. If you need more height, extend the legs fully first. Only use the center column for fine-tuning.
Protect your quick-release plate. The small plate that attaches your camera to the tripod head is the most easily lost piece of gear in your kit. I keep a spare in my bag because I’ve lost two of them over the years — one in a river in Iceland, one in sand in Death Valley. They cost a few dollars to replace but will ruin a photography trip if you can’t mount your camera.
The Bottom Line
Travel tripods aren’t exciting the way a new camera or lens is. They’re not the gear you brag about on Instagram. But they’re the difference between a snapshot and a photograph — between “I think I got a decent shot” and “I know I nailed it.” The right tripod removes the technical barriers between what you see and what you can capture, and that’s worth more than any filter or editing preset.
If you take one thing away from this, let it be this: start cheap, figure out what you actually need, and upgrade with intention. The Amazon Basics tripod will teach you whether you even like using a tripod. The K&F Concept carbon fiber will grow with you when you’re ready. And the UBeesize mini will be in your bag regardless, because sometimes the best tripod is the one that fits in your pocket and wraps around a railing.
Now go take some photos worth keeping.