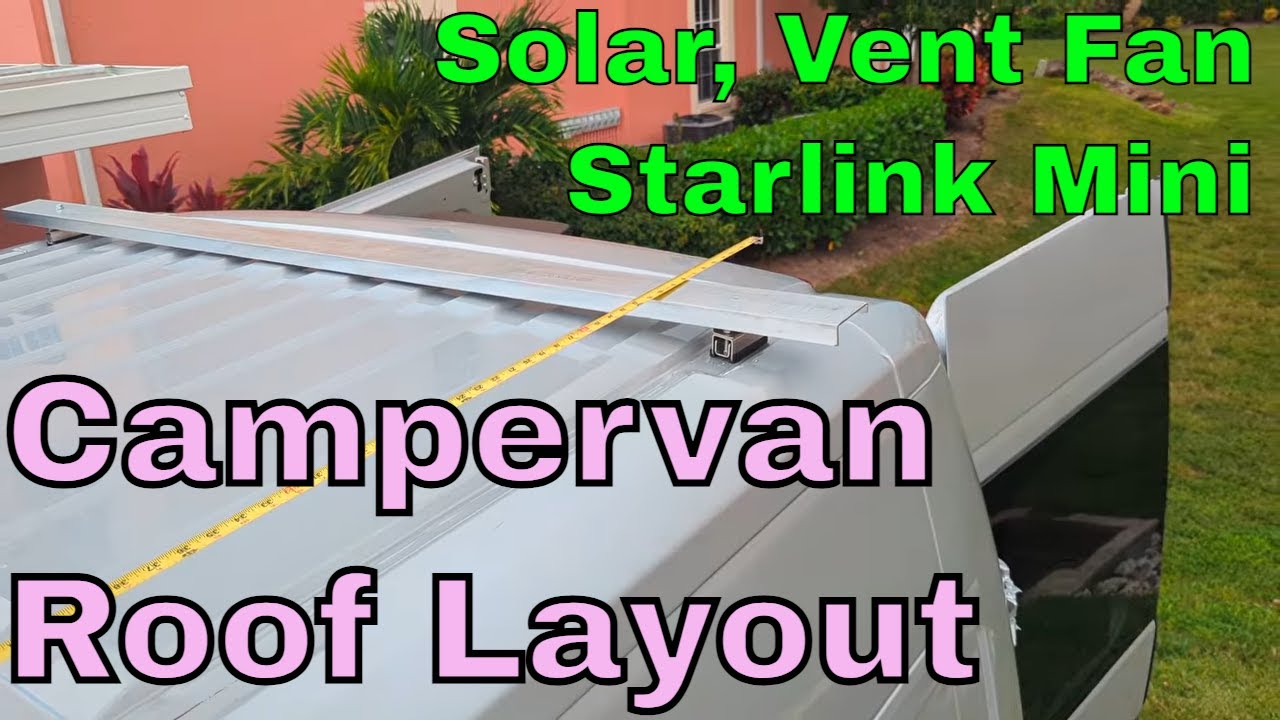
The roof of a campervan is the most contested real estate on the entire vehicle. Every square inch has to earn its keep. Solar panels need sun. Vent fans need clearance. Starlink dishes need an unobstructed view of the sky. And somehow, all of it has to coexist on a metal surface that might be six feet wide and twelve feet long, with structural ribs and curves thrown in just to make things interesting.
If you’re planning a van build — or rethinking the one you already started — the roof layout is where theory meets reality. You can sketch the perfect setup on paper and still find yourself standing on a ladder, cardboard templates in hand, realizing that the vent fan you ordered will sit directly above a structural beam you didn’t know existed. The planning phase isn’t glamorous, but it’s the difference between a roof that works and one that fights you every step of the way.
Understanding Your Roof Real Estate
Before ordering a single component, take stock of what you’re working with. A Ram ProMaster 2500 with a 159-inch wheelbase (non-extended) gives you roughly a twelve-by-six-foot box to work with on the roof. That sounds generous until you start placing things on it. Four solar panels alone can consume most of that footprint, especially if you’re running high-capacity modules like the Renogy 320-watt panels that measure about 65.5 inches each.
Different vans present different challenges. The ProMaster has built-in roof bracket attachment points on each side — four per side on the 159-inch wheelbase — which makes mounting significantly easier than fabricating your own brackets. If you’re working with a Sprinter or Transit, you’ll need a different mounting strategy, but the planning principles stay the same. The goal is to map every component before cutting a single hole or drilling a single pilot bit.
The other consideration is what you’re choosing to leave off the roof. Many van builds reserve a chunk of roof space for a rooftop air conditioner. If you go with an undermount AC unit instead, you free up the entire roof for solar — which is exactly the trade-off that makes high-wattage solar arrays possible on a standard van. That single decision shaped the entire roof layout.
Solar Panel Placement: Maximizing Every Watt
Solar panels are usually the largest items on the roof, and their placement drives every other decision. The key factors are panel dimensions, wiring configuration, and how the array interacts with the van’s structural ribs underneath. Four 320-watt panels in a 2S2P configuration — two in series, two in parallel — can generate over 1,280 watts, which fundamentally changes what’s possible off-grid. We’ve written about how 1,280 watts of solar transforms the off-grid experience, but getting there requires careful planning.
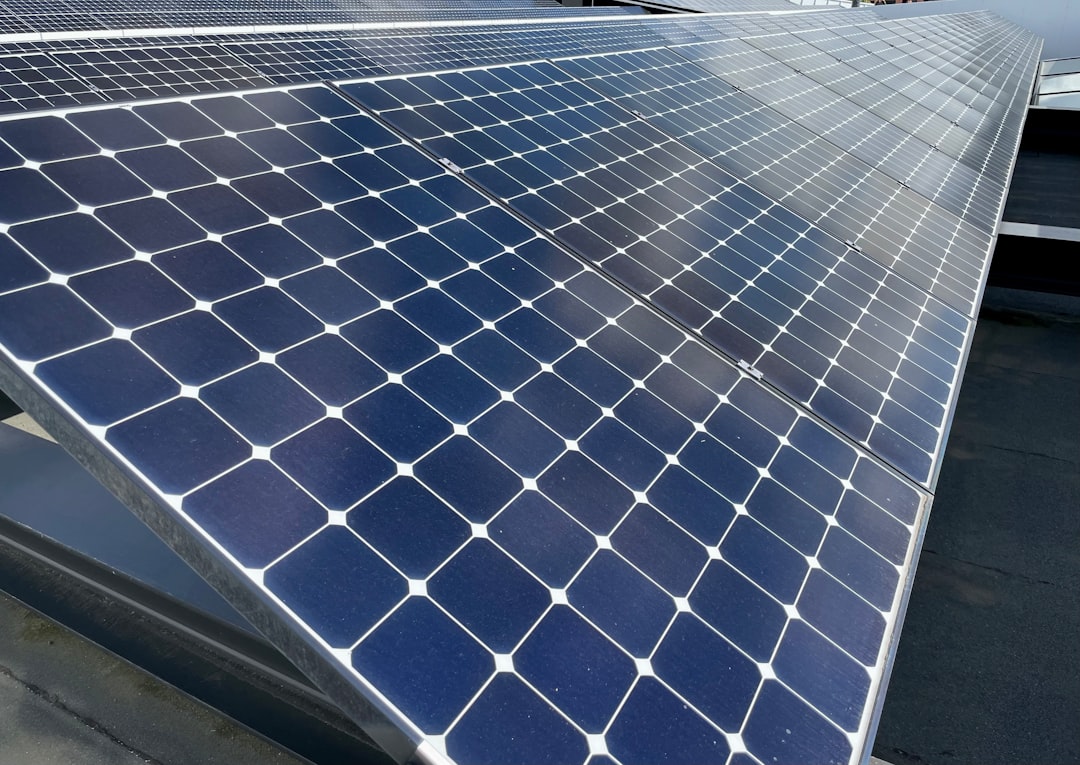
The panels need to sit flat against the roof without overhanging the rear edge — even a small overhang catches wind at highway speeds and creates lift that can stress mounting hardware. On a ProMaster, the roof has a slight crown and longitudinal grooves that channel water. Mounting rails, typically built from aluminum tubing, bridge those grooves and create a flat plane for the panels to rest on. The tubing also provides clearance for wiring runs underneath the array, keeping cables protected from UV exposure and road debris.
Panel placement also affects your wiring path. In a 2S2P setup, you’ll need MC4 Y-branch connectors to parallel the two series strings, and those connections need to be accessible for maintenance. Running the cables through butyl-tape-sealed wire glands keeps the roof watertight, but the gland placement has to be coordinated with both the panel layout and the interior electrical system location. Every decision cascades.
Ventilation: Finding the Right Spot for Your Fan
A roof vent fan is non-negotiable for van life. Cooking, showering, sleeping, and just existing in a small metal box generates moisture that has to go somewhere. The fan placement seems simple — cut a hole, install the fan — but the “where” matters more than you might think.
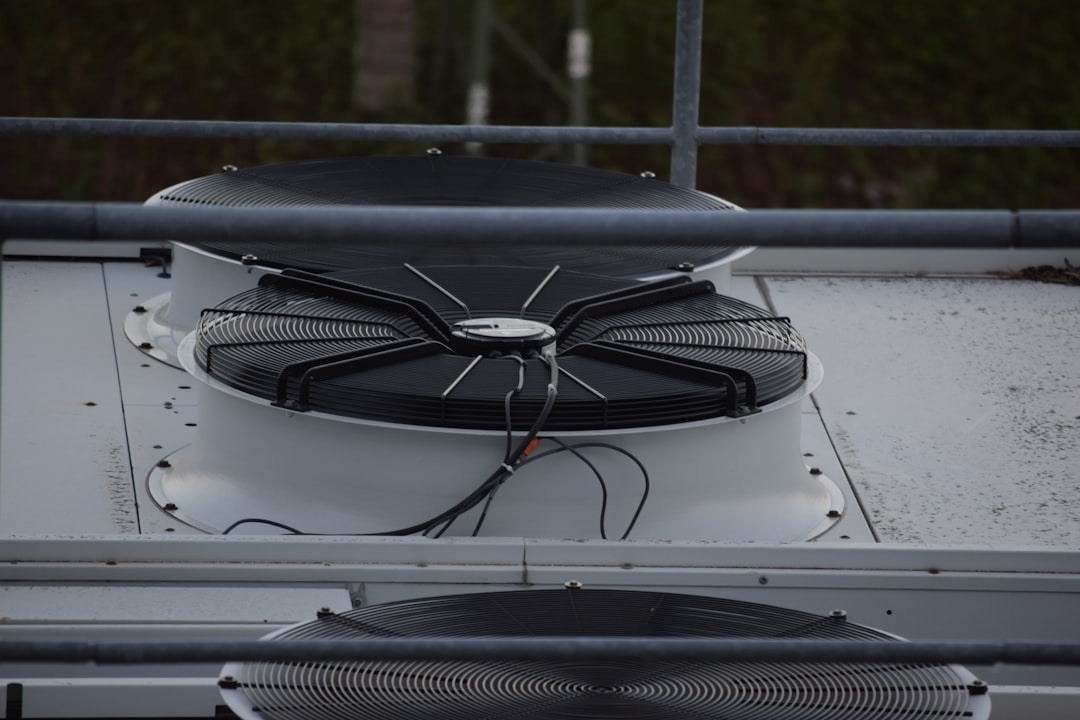
The ideal fan location is centered over the area where moisture accumulates most, which is typically near the shower or kitchen. But you also need to consider what’s happening inside the van. A fan positioned directly above a ceiling light or a future window location creates headaches during installation. And the fan has to clear the internal structural support beams — the same beams that run along the roofline and dictate where you can and can’t cut.
If a standard 14-inch fan won’t fit — and on many vans with tight roof geometry, it won’t — an 11-inch fan like the 11-inch Starvent reversible RV roof fan is a solid alternative. We’ve covered the full vent fan installation process separately, but during the planning phase, the critical step is marking the fan’s footprint on the roof with painter’s tape and checking clearance from every angle before committing to a cut.
Starlink and Connectivity: Where Does It Fit?
The Starlink Mini has become a game-changer for mobile connectivity, but it adds another item competing for roof space. The dish needs a relatively flat mounting surface with an unobstructed view of the northern sky, and it needs to sit low enough to avoid excessive wind resistance.
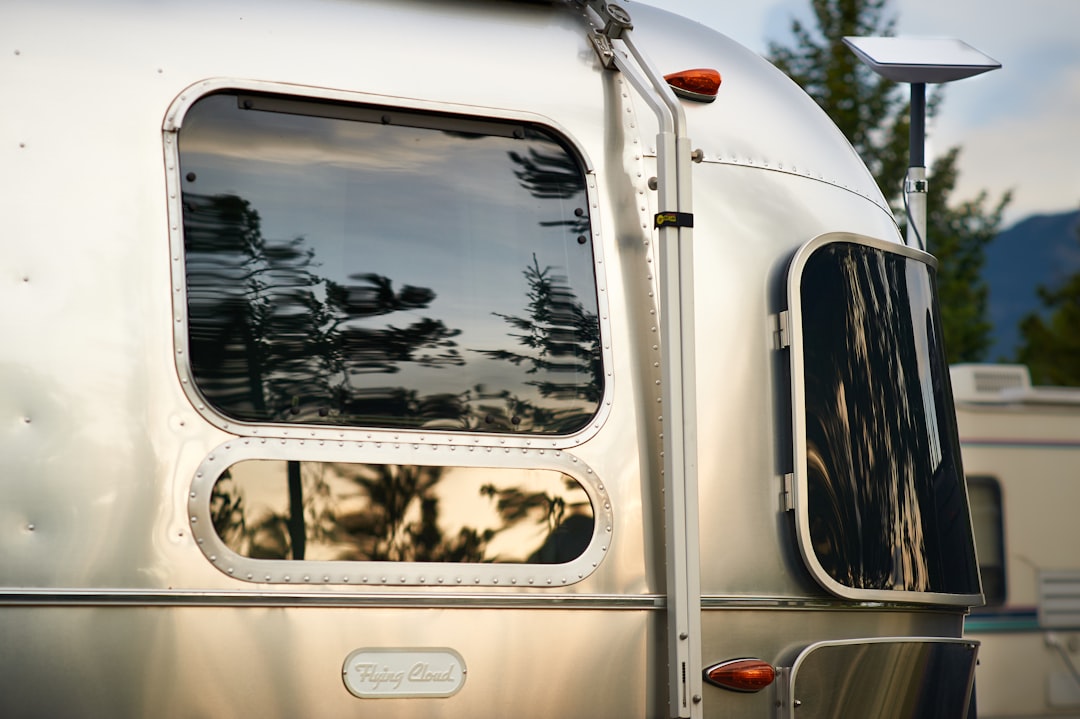
A Starlink Mini measures roughly 12 by 10 inches — small enough to tuck into a gap between solar panels or near the front of the roof. The challenge is finding a spot where it won’t cast shade on the solar array and where its power and Ethernet cables can reach a wire gland without crossing too many other components. Some builders use a telescoping ladder to access the roof during the planning phase, physically placing each component to see how they interact before finalizing the layout.
The cable routing for Starlink deserves special attention. The Ethernet cable is thicker and less flexible than solar wire, which makes threading it through a standard wire gland a genuine pain. Using a dedicated gland for the Starlink cable, or a combined 2-in-1 cable if you can find one, saves frustration during both installation and any future cable replacements.
The Hidden Challenge: Internal Structure
Here’s where most roof layouts go sideways. You can have a perfect exterior plan — panels, fan, and dish all fitting like puzzle pieces — and then discover that the internal structure of the van makes it impossible to execute. Roof ribs, cross members, and support beams dictate where you can drill, cut, and mount hardware. They don’t move.
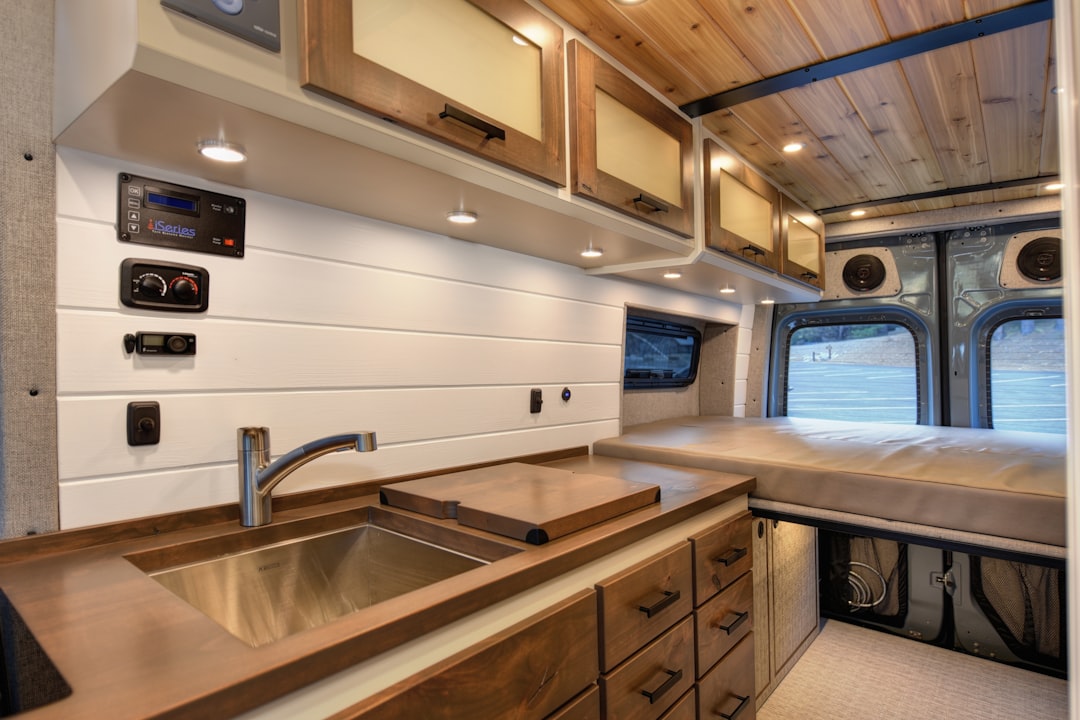
On the ProMaster, the roof has support beams running front-to-back that create natural mounting points but also create obstacles. A vent fan that looks perfectly positioned from the outside might sit directly above a beam that’s 1.5 inches too close. The solution is to drill a small pilot hole from the inside out, then measure the exact position relative to the internal structure before cutting anything substantial. It’s a low-tech approach, but it works.
This is also where your electrical system design comes into play. If your battery bank and distribution panel are mounted behind the driver’s seat, the cable runs from the roof need to reach that location. Longer runs mean larger wire gauges, which means bigger gland holes and more careful sealing. Planning the cable path during the roof layout phase — not after — prevents costly do-overs.
Tools and Materials for the Job
The right tools make roof layout planning dramatically easier. You don’t need specialized equipment, but you do need precision. A few essentials:

- Cardboard and a marker — for creating full-size templates of every roof component. Craft paper or cardboard sheets let you physically place each item on the roof and see how they fit together before you commit.
- Painter’s tape — blue painter’s tape protects the van’s paint during marking and cuts, and it holds templates in place without leaving residue.
- A step bit — for drilling pilot holes and creating starter holes for jigsaw cuts. A quality step bit handles both aluminum and steel roof material.
- A jigsaw with metal blades — for cutting vent fan openings. A jigsaw with fine metal-cutting blades gives you control and precision on curved cuts.
- Self-leveling sealant — for waterproofing every penetration. Lap sealant flows into gaps and creates a flexible, weather-tight seal that holds up to thermal cycling and road vibration.
The Mock-Up Method: Cardboard Is Your Best Friend
The single most valuable step in roof layout planning is the cardboard mock-up. Trace each component — solar panels, vent fan, Starlink dish, wire glands — onto cardboard and cut out full-size templates. Then take them up on the roof and arrange them. This sounds rudimentary, but it reveals conflicts that no drawing or CAD model will catch.
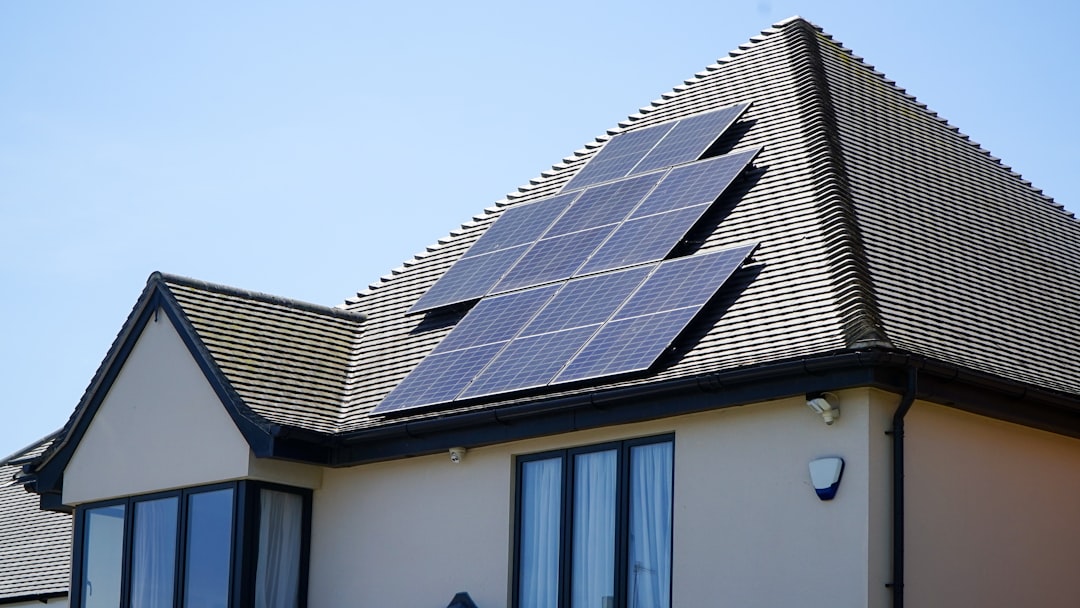
During the mock-up phase, pay attention to three things: panel overhang (even half an inch is too much), cable routing paths (can wires reach the glands without crossing other components?), and maintenance access (can you reach every gland and connector if something needs servicing?). The mock-up also helps you visualize the relationship between roof components and the van’s interior layout. A vent fan that looks well-placed from above might end up directly over a bed or cabinet that makes interior trim installation a nightmare.
The mock-up also gives you a chance to think about the sequence of installation. Solar panels should go on after the vent fan and wire glands, because the panels will cover the gland locations and make them inaccessible. If you install panels first and then realize you need to adjust a gland or run an additional cable, you’re removing panels — which means removing hardware, disconnecting wiring, and hoping you don’t damage anything in the process. Sequence matters.
Putting It All Together
Once the layout is finalized, the installation follows a logical order. Start with the roof rack mount kit — those factory attachment points on the ProMaster make this step straightforward. Next comes the aluminum tubing that creates the rail system for solar panels. Then the vent fan: cut the hole, treat the exposed metal edges with rust preventative, install the fan with butyl tape and self-leveling sealant. After that, wire glands for solar and Starlink cables. Finally, mount the solar panels and Starlink dish.
Throughout the process, keep waterproofing front of mind. Every penetration in the roof is a potential leak. Butyl tape layered to account for roof contours, self-leveling sealant applied generously over screw heads and tape edges, and proper torque on all fasteners — these details separate a roof that lasts from one that develops problems after the first rainstorm.
Lessons From the Build
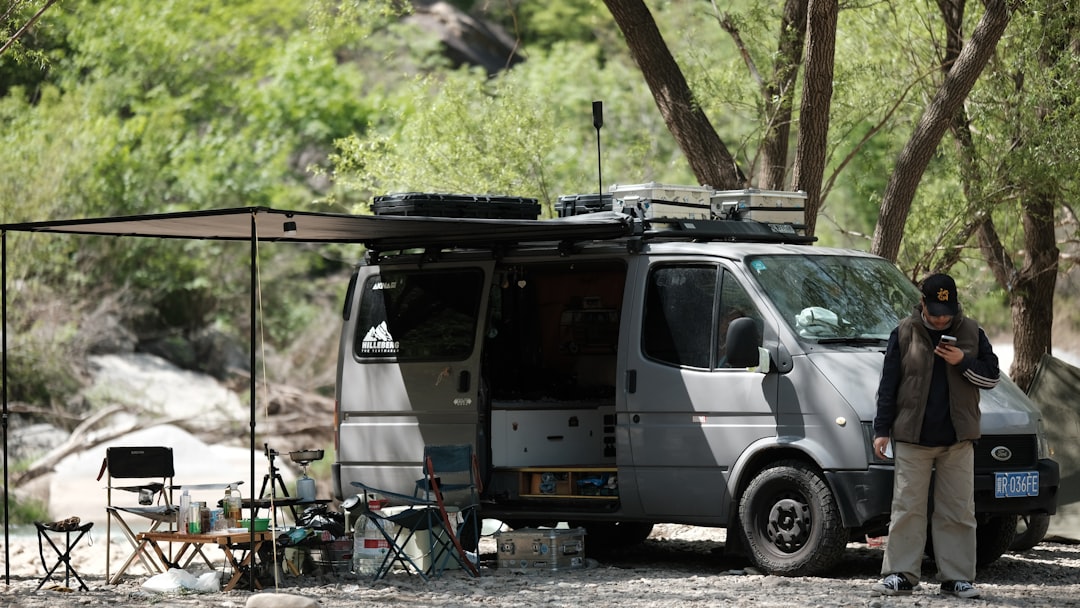
The biggest takeaway from planning a campervan roof layout is that the planning phase itself is where most of the work happens. The actual installation — cutting holes, running cables, mounting hardware — goes quickly when the layout is dialed in. It’s the hours spent with cardboard templates, measuring tape, and pilot holes that make the difference.
Start with a clear list of what needs to go on the roof. Mock up every component at full scale. Check internal structure before cutting. Plan cable routes before drilling gland holes. Think about installation sequence — what goes on first, what goes on last, and what needs to be accessible for maintenance. And accept that the layout will probably change at least once during the process. A component that looked like it fit perfectly on paper might not work when you see it in three dimensions on the actual roof.
The roof is the foundation of your off-grid capability. Solar panels generate the power. Vent fans manage moisture and temperature. Starlink keeps you connected. Get the layout right, and everything else falls into place. Get it wrong, and you’ll spend the life of your van build working around mistakes that could have been caught with a piece of cardboard and an afternoon of planning.