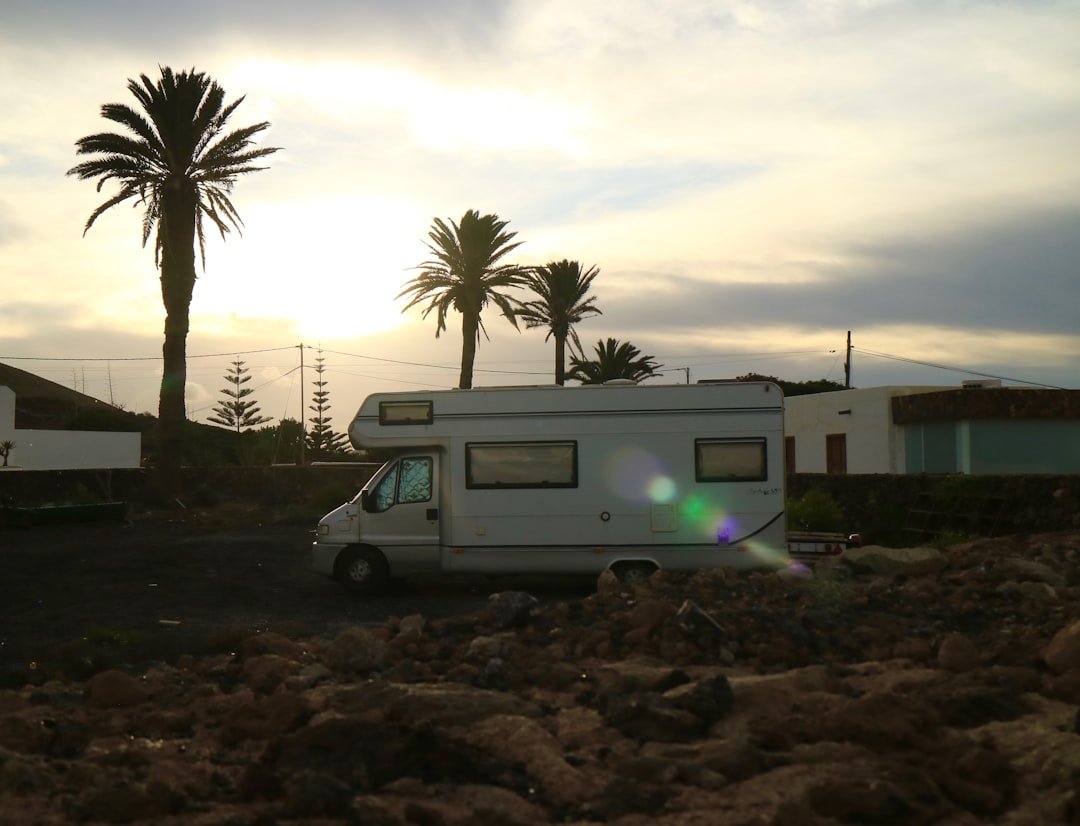
There’s a specific kind of freedom that comes with pulling into a remote spot miles from the nearest electrical hookup, knowing you have enough solar capacity to run everything you need for as long as you want. Most van builders settle for 200 to 400 watts of solar on the roof — enough to keep a fridge cold and charge a phone. But when you start dreaming about running an air conditioner off-grid, or powering your way through a week of cloudy weather without starting the engine, the math changes fast. That’s when people start asking whether you can really fit over 1,200 watts of solar on a standard-length van roof.
Why Solar Capacity Matters More Than You Think
The relationship between solar wattage and van life comfort isn’t linear — it’s exponential. A 200-watt system might cover basic needs on a sunny day: phone charging, LED lights, maybe a small fridge. Add 400 watts and suddenly you can think about a laptop, a ventilation fan running all day, and charging a drone battery. But jump past 1,000 watts and you enter a different category entirely. You’re no longer rationing power. You’re living with it.
The difference shows up most during winter months and cloudy stretches. A system that generates 5 kilowatt-hours on a perfect June day might only produce 1.5 kWh under heavy overcast. Having triple the panel capacity means that even on marginal days, you’re still harvesting enough energy to stay comfortable without idling the engine or seeking shore power.
Fitting Maximum Solar on a Standard Van Roof
The Ram ProMaster 159-inch wheelbase (non-extended) gives you roughly 12 feet of usable cargo length and about 6 feet of width. That sounds spacious until you start factoring in the ridges, curves, and structural supports built into the roof. Every component on top — solar panels, vent fans, antenna mounts — competes for the same prime real estate.
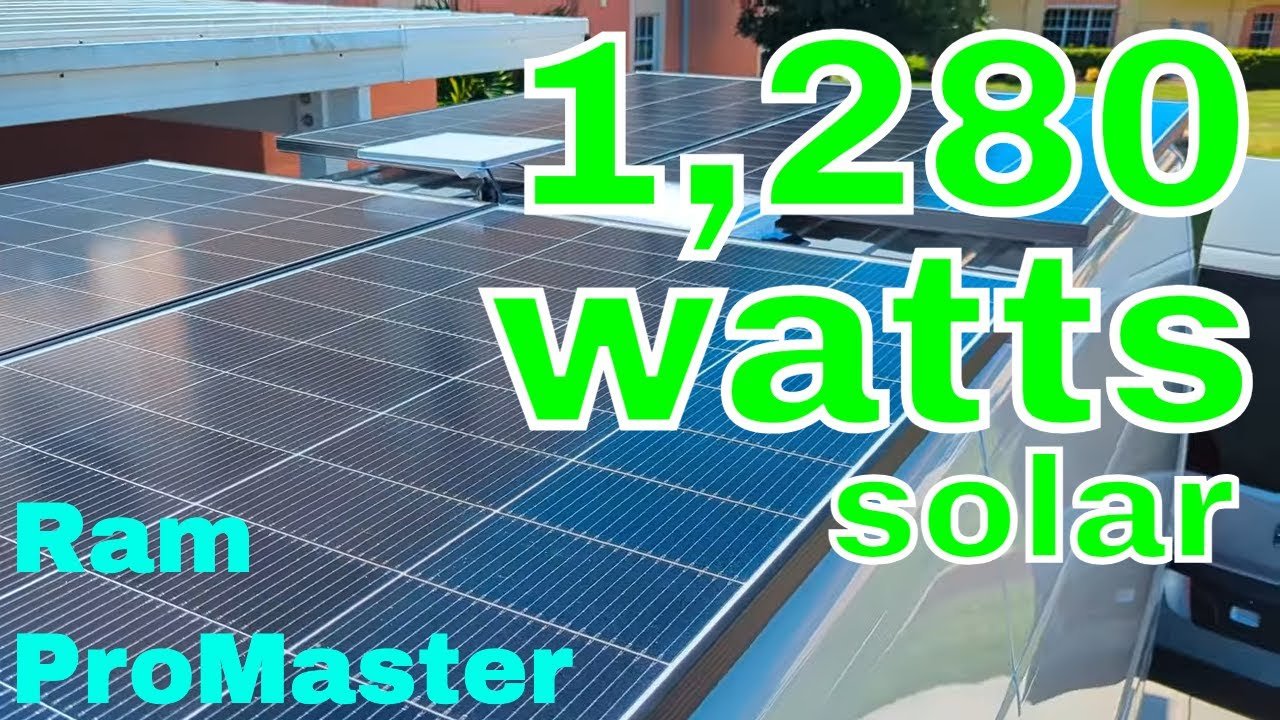
Most van conversions dedicate roof space to a rooftop air conditioning unit, which immediately claims a 30-by-30-inch footprint in the center of the roof. Choosing an undermount split AC system instead — where the compressor lives beneath the van — frees up that entire area for panels. This single design decision is what makes ultra-high solar capacity possible on a standard van.
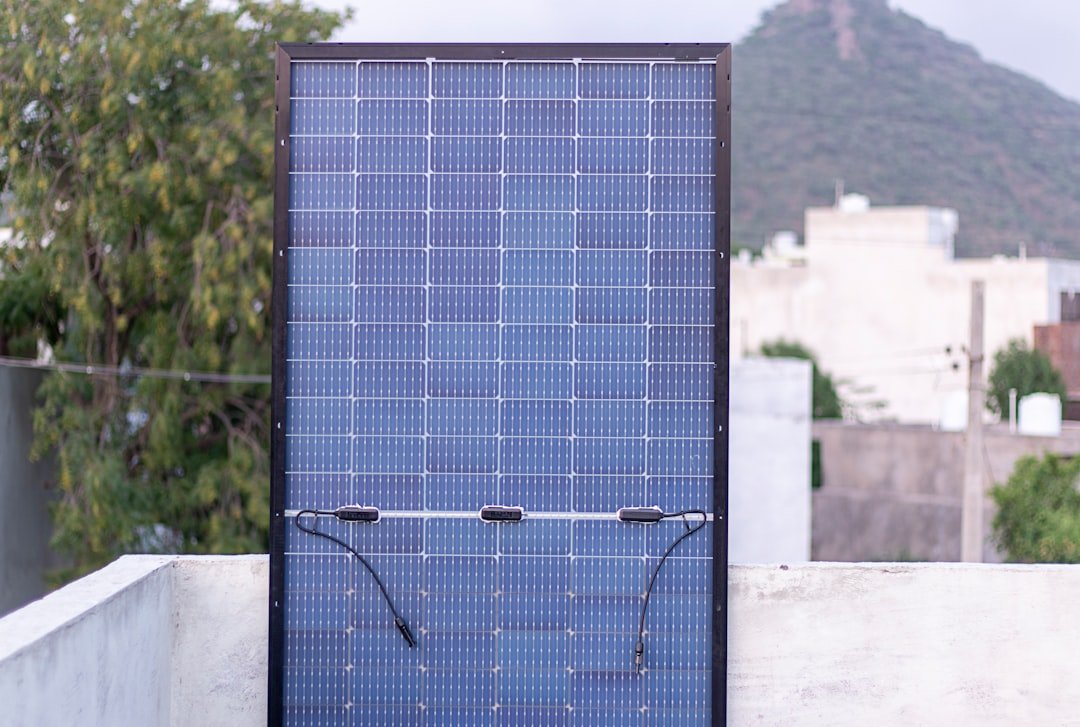
Using four 320-watt monocrystalline solar panels, each measuring approximately 65 by 35 inches, a 2S2P (two series, two parallel) configuration delivers 1,280 watts total. The panels mount to a custom aluminum frame attached to factory roof brackets, keeping everything secure at highway speeds while maintaining a relatively low profile.
Building the Right Mounting System
Solar panels don’t just sit on a van roof. They need a rigid, level surface that won’t flex or vibrate, and the mounting system has to transfer wind loads into the vehicle’s structural ribs rather than the sheet metal. The ProMaster has factory attachment points — four per side on the 159-inch model — that accept dedicated bracket kits. These brackets provide a solid foundation for cross-members, which in turn support the aluminum tubing that holds the panels.

Three-inch by one-and-a-half-inch rectangular aluminum tubing creates a lightweight but sturdy rack structure. The key measurement challenge is aligning the rack with the van’s roof grooves — the panels need to sit flush enough to minimize wind resistance while leaving clearance for wiring and drainage. Precision matters here: an inch of overhang at the rear creates a wind scoop that howls at 70 mph and stresses the mounting hardware.
Series vs. Parallel Wiring for Van Solar
With four panels on the roof, the wiring configuration determines how the system performs in real-world conditions. A 2S2P arrangement pairs two panels in series (doubling the voltage) and then connects those pairs in parallel (doubling the current). This approach offers a practical compromise between the two extremes.
Pure series wiring produces very high voltages — great for minimizing wire losses over long cable runs, but vulnerable to shading. When one panel in a series string gets covered by a tree branch or roof vent shadow, the entire string’s output collapses. Parallel wiring keeps each panel independent, but requires thicker cables to handle the combined current. The 2S2P split means that shading on one panel only takes down half the array instead of all four.
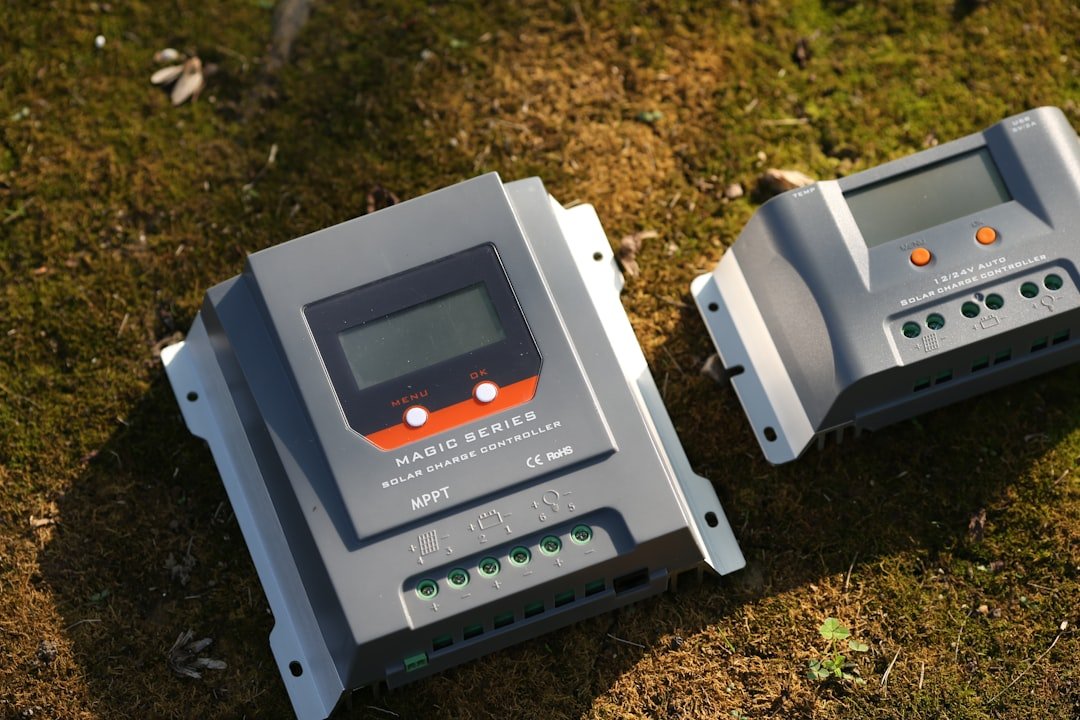
Proper MC4 Y-branch connectors make the parallel connections weatherproof and serviceable. Each junction point gets heat-shrink tubing and routing through waterproof cable entry glands that seal against the roof. The cables then run down to a Victron MPPT charge controller, which tracks the maximum power point of the array and converts the varying solar voltage to the exact voltage the battery bank needs.
Waterproofing: Where Most Solar Installs Fail
Getting wires from the roof into the living space is the moment that separates a professional installation from a future leak. Every penetration through the roof metal is a potential water intrusion point, and campervans experience far more vibration and thermal cycling than a stationary building. What seals perfectly in the driveway can develop gaps after a few thousand miles of bumpy roads.
The standard approach uses solar cable entry glands — raised plastic housings that route wires through a protected channel while shedding water. Installation starts with drilling the correct size hole using a step bit, painting the exposed metal edges to prevent rust, then layering butyl tape beneath the gland flange. Self-leveling lap sealant applied over the screw heads and tape edges creates the final waterproof barrier. The key detail is orienting the gland so the opening faces away from oncoming air, preventing ram-air pressure from forcing water inside.
Integrating Solar With Your Roof Layout
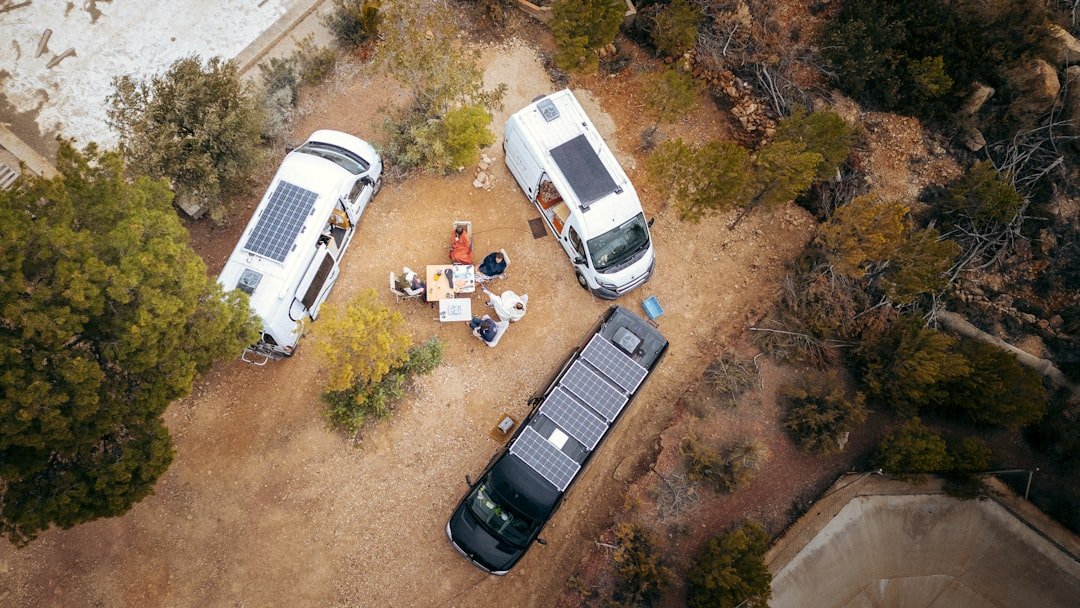
A high-capacity solar array doesn’t exist in isolation on the roof. The vent fan, Starlink dish, and any future additions all need to coexist without casting shadows on the panels. Even partial shading on a monocrystalline panel can reduce its output by 50 to 80 percent, so placement decisions have compounding effects on total energy harvest.

Mocking up the layout with cardboard templates before drilling any holes is essential. The vent fan needs clearance for its lid to open fully, the Starlink Mini requires an unobstructed view of the sky, and the solar panels need spacing between them for wire routing and thermal expansion. On the ProMaster specifically, the internal roof support beams dictate where brackets can attach, which in turn constrains where the aluminum cross-members sit. Everything connects.
Centering heavier components closer to the vehicle’s midpoint also helps with weight distribution. Four solar panels, an aluminum rack, a vent fan, and a Starlink dish add up to real weight — roughly 150 to 200 pounds sitting five feet off the ground. Keeping that mass balanced prevents handling surprises in crosswinds and reduces stress on the factory attachment points.
What 1,280 Watts Actually Produces
Panel wattage ratings come from laboratory conditions (Standard Test Conditions) that rarely match real-world output. On a clear summer day at midday, expect about 75 to 85 percent of rated capacity — so roughly 960 to 1,088 watts peak from a 1,280-watt array. Over a full day, that translates to approximately 5 to 6 kilowatt-hours of harvested energy, depending on latitude, season, and panel tilt.
Five kWh daily is enough to run a 12-volt compressor refrigerator around the clock, power a vent fan continuously, charge all your devices with a portable power station, run a laptop for several hours, and still have surplus energy to feed into a large battery bank. With a 37 kWh battery system storing several days’ worth of power, even three consecutive cloudy days won’t force you to change your lifestyle or seek a hookup.
The N-type monocrystalline technology in modern panels offers better performance in low-light conditions compared to older P-type cells, meaning you start generating useful power earlier in the morning and continue later into the evening. The 18-busbar design reduces internal resistance and improves long-term reliability — panels lose less capacity over their 25-year lifespan compared to earlier generations.
Maintenance and Longevity
Once installed, a solar array requires remarkably little attention. The panels have no moving parts, and quality monocrystalline cells degrade at roughly 0.3 to 0.5 percent per year. After a decade, you’ll still be producing over 90 percent of the original output. The main maintenance task is occasional cleaning — dust, pollen, and bird droppings can reduce output by 10 to 20 percent if left unchecked.
The mounting hardware deserves a yearly inspection. Vibration loosens bolts over time, and the lap sealant around roof penetrations should be checked for cracking or separation. Reapplying sealant every three to five years is cheap insurance against water damage that could cost thousands to repair. A tube of self-leveling sealant and fifteen minutes of attention each spring keeps everything watertight.
The real return on a high-capacity solar investment isn’t measured in kilowatt-hours — it’s measured in the destinations you can reach and the peace of mind that comes with energy independence. When your power source follows you everywhere and costs nothing to operate, the entire map opens up. No more plotting routes between campgrounds with electrical hookups. No more rationing phone charges. No more cutting a boondocking stay short because the batteries are low. Just the road, the sun overhead, and the freedom to stay as long as you want.
2 thoughts on “Maximum Solar on a Campervan Roof: How 1,280 Watts Changes Everything About Off-Grid Travel”