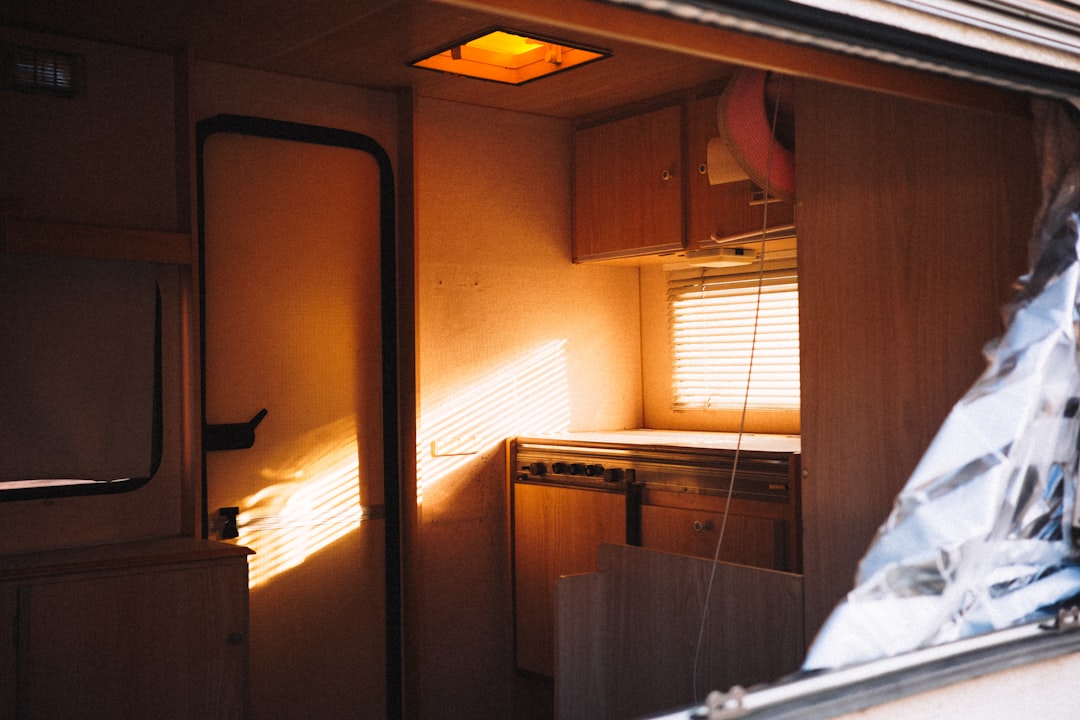
I spent three months living out of a cooler and a single-burner butane stove before I finally broke down and built a real kitchen in my van. Not a “real kitchen” by apartment standards — I’m talking about a 32-inch galley counter, a drawer fridge that runs on 12 volts, and a sink the size of a shoebox. But that modest setup changed everything about how I travel. No more gas station sandwiches at 11 PM. No more sad trail mix dinners parked behind a truck stop. Just real food, cooked on the road, in a space smaller than most people’s bathrooms.
If you’re in the middle of a van build — or thinking about starting one — the kitchen is where practicality matters most. You can skimp on bed comfort, deal with a basic electrical setup, even skip insulation for a season. But a poorly designed galley will haunt you every single day. Here’s what I learned the hard way about building a campervan kitchen that actually works.
Start With the Triangle, Then Shrink It
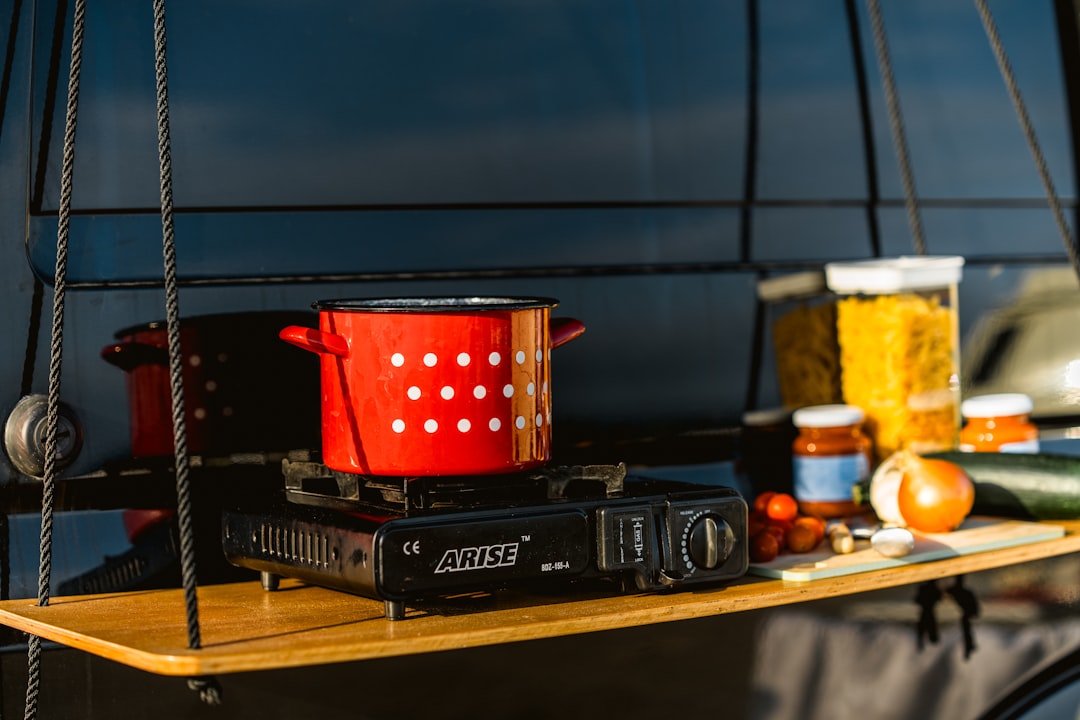
Home kitchen design revolves around the “work triangle” — the relationship between the fridge, sink, and stove. The concept still applies in a van, but you’re compressing it from a 12-foot spread into something closer to 30 inches. Every decision cascades from that constraint.
My galley sits along the driver-side wall, opposite the sliding door. The 12V compressor fridge slides into a cavity below the counter on the left. The sink sits in the middle. A single-burner induction cooktop occupies the right side, right next to where I stand when I cook. Total counter span: 54 inches, but only about 20 inches of usable workspace between the sink and stove. That’s tight, but it works because everything is within arm’s reach.
The biggest layout mistake I see in van builds is spreading components too far apart. A fridge at the back of the van, a stove near the slider, a sink jammed into a corner — you end up doing laps around your own vehicle just to boil pasta. Keep it tight. Keep it linear. Your future self, cooking dinner in a rainy Walmart parking lot at dusk, will thank you.
The Stove Question: Induction Won Me Over
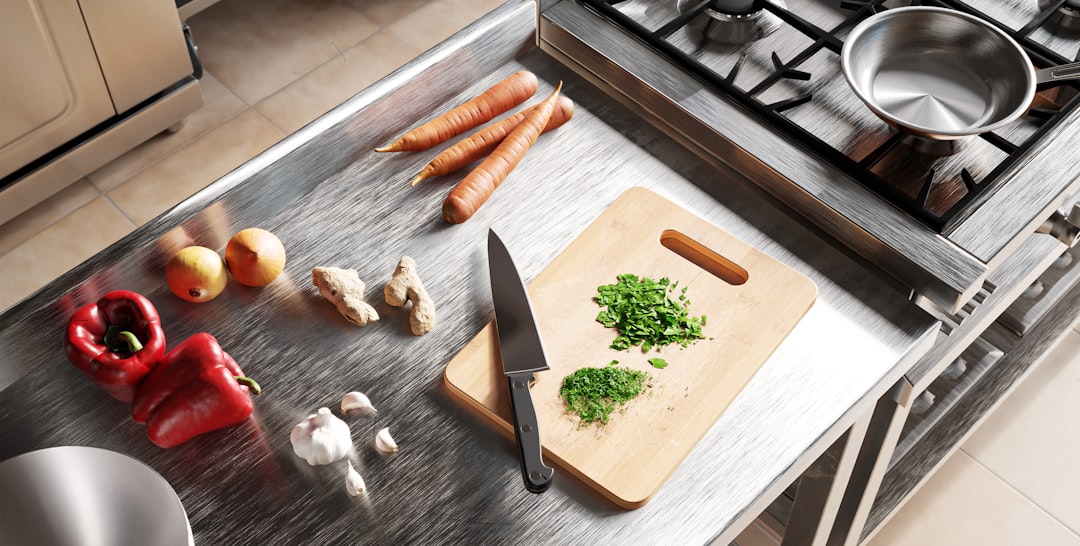
I went back and forth on this for weeks. Propane is the traditional choice — cheap, reliable, and familiar. A portable propane stove works anywhere, doesn’t need electricity, and costs less than a nice dinner. But propane has downsides in a van: you need ventilation, you’re carrying pressurized fuel, and moisture from combustion accumulates inside a metal box.
I chose induction instead, and it’s been one of my better decisions. A portable induction cooktop draws about 1800 watts on high, which sounds like a lot, but my electrical system handles it without breaking a sweat. The cooktop itself cost about $60, takes up almost no space, and heats a pan of water faster than any propane burner I’ve used. No flame, no moisture, no ventilation concerns beyond what my roof fan already handles.
The trade-off is power consumption. If your battery bank is small or your solar setup is modest, induction cooking will drain you fast. I have 400Ah of lithium and 1,280 watts of solar on the roof, so running a burner for 15 minutes barely dents my reserves. But if you’re working with a 100Ah battery and a single 100-watt panel, stick with propane. Be honest about your power budget before committing.
The Sink: Small Bowl, Big Impact
I almost skipped the sink entirely. Plenty of van builds use a wash basin that gets dumped outside, and for a while, so did I. But washing dishes in a plastic tub on the floor gets old fast, especially when it’s cold or dark or you’re parked somewhere you can’t dump grey water.
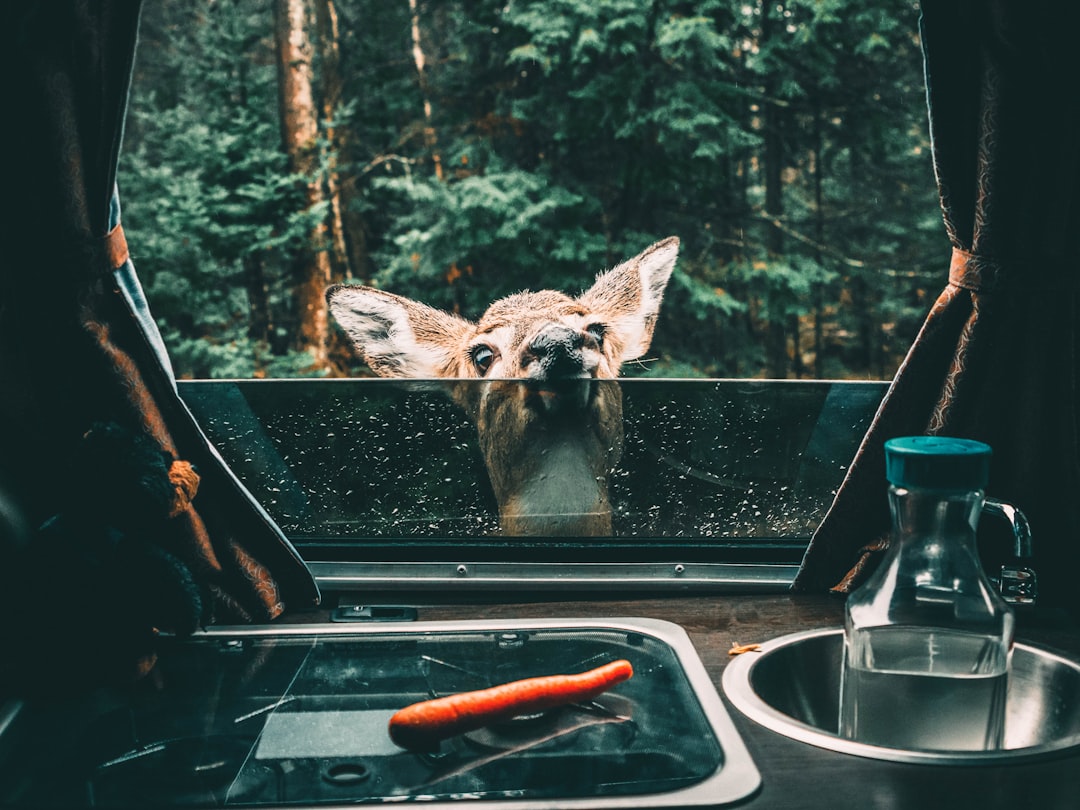
A proper stainless steel bar sink costs less than $40 and takes up minimal counter space. Mine is 10 by 14 inches — just large enough for a frying pan. I paired it with a 12-volt electric water pump fed by my fresh water tank, which delivers a steady stream without the foot-pump gymnastics some builders rely on. A decent 12V water pump runs about $30 and makes the difference between feeling like you’re camping and feeling like you’re living in something that resembles a home.
The water system behind the sink deserves its own deep dive, but the short version: plan your grey water storage before you install the sink. I didn’t, and spent a week with a bucket under the counter before I plumbed a proper drain tank.
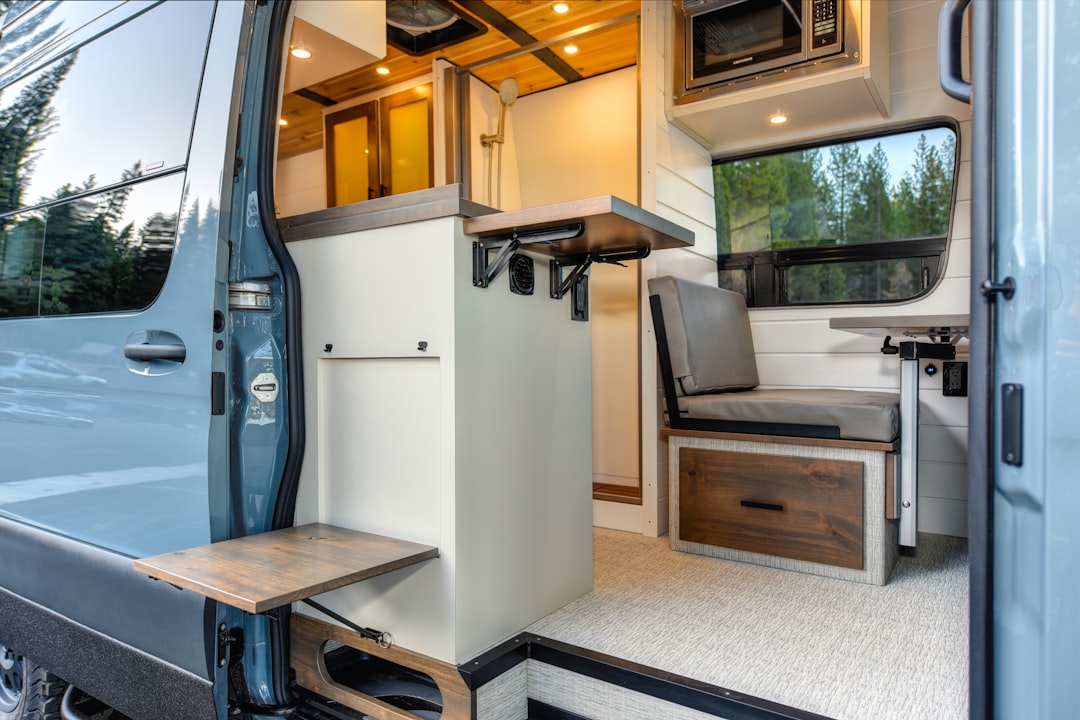
Refrigeration: The Upgrade That Pays for Itself
For the first few months of van life, I used a high-end cooler. It was fine. I’d buy ice every three days, deal with the melted water, and accept that my produce would get soggy. When I finally upgraded to a proper 12V compressor fridge, it felt like moving from a tent to a cabin. The difference is that dramatic.
A dedicated 12V compressor fridge for campervans runs on battery power sips rather than gulps, maintains consistent temperatures, and eliminates the ice runs entirely. I went with a drawer-style unit that slides under my counter. It holds about a week’s worth of food for one person — fresh vegetables, eggs, cheese, meat, the works. No more planning meals around what might spoil. No more draining cooler water into a storm drain at 6 AM.
The cost stings upfront. A quality 12V fridge runs $400 to $900 depending on size and brand. But when you factor in the money saved on ice, reduced food waste, and the simple pleasure of cold beer at a boondocking site with no services for 40 miles, it pays dividends fast.
Countertop and Workspace Strategy
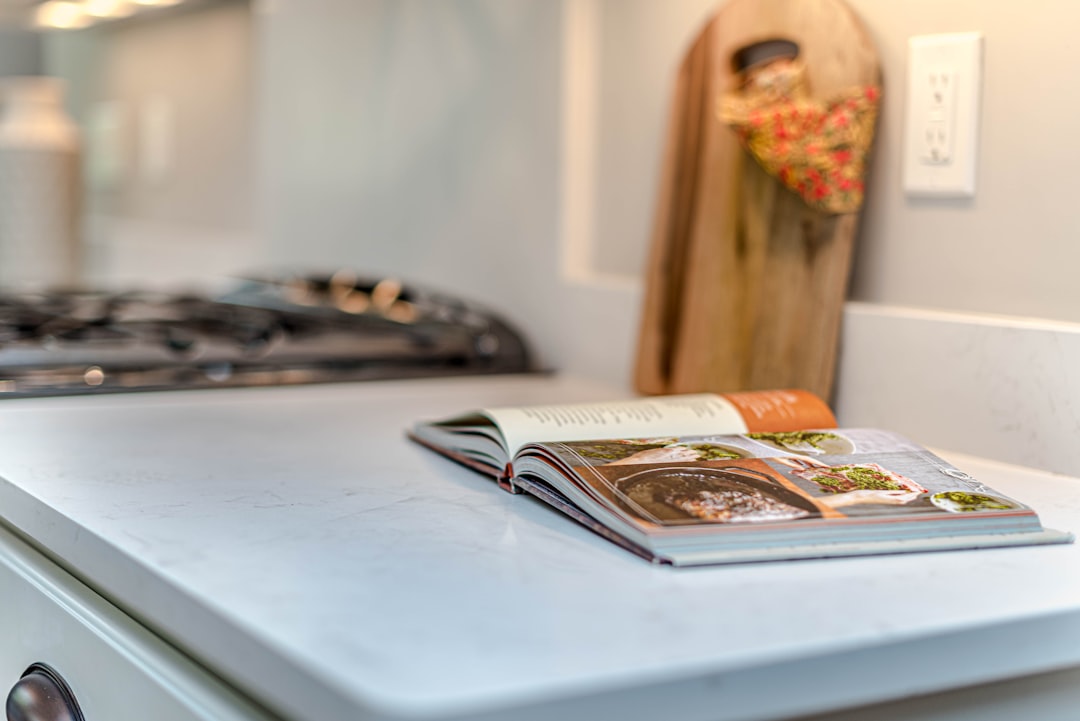
Counter space in a van kitchen is measured in inches, not feet. Every square inch matters, and the material you choose affects both durability and how you use the space.
I went with a butcher block countertop panel — a thin strip of maple cut to fit my galley. It’s warm, it looks good, and it doubles as a cutting surface. The big advantage of butcher block is that you can cut it to any shape, drill into it for mounting hardware, and refinish it when it gets scarred. The disadvantage is weight and maintenance. After six months, mine has a few burn marks and water stains that I’ve accepted as character.
The single best space-saving trick I found: a cutting board that fits over the sink. It instantly doubles your workspace when the stove is in use, then stores against the wall when you’re done. Mine lives in a narrow gap between the fridge cavity and the wall — zero wasted space.
Storage: Drawers Beat Cabinets Every Time
My first van build used cabinets with doors. My second used drawers. The difference is night and day. Cabinets force you to crouch down and reach into a dark cavity to find what you need. Drawers slide out and present everything at once.
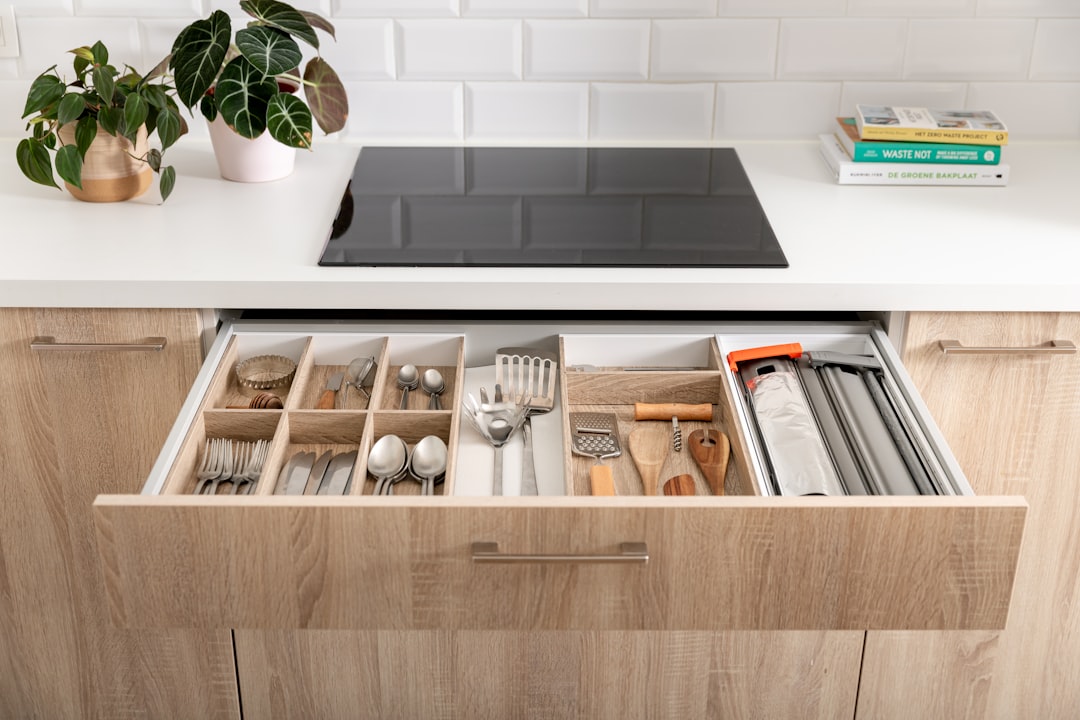
I built three drawers under my galley counter using heavy-duty drawer slides rated for 100 pounds each. The top drawer holds utensils and cooking tools, organized with a magnetic spice rack on the inside of the drawer face. The middle drawer holds a nesting cookware set — pots, pans, and lids that stack into each other like Russian dolls. The bottom drawer holds dry goods and snacks.
The one place cabinets still make sense is overhead storage, above the counter. I built an upper cabinet with a flip-up door for plates, mugs, and a few collapsible silicone bowls that compress flat when not in use. Overhead storage uses space that would otherwise be empty, and it keeps the counter clear.
Safety: The Unsexy Stuff That Keeps You Alive
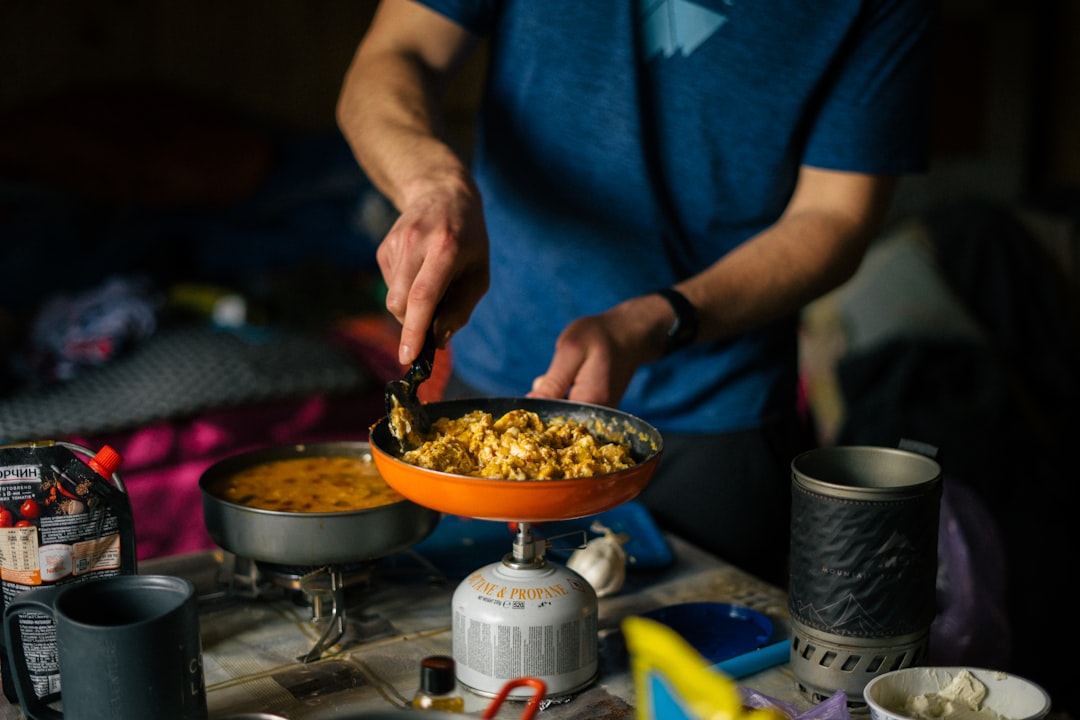
Kitchens and vans are a combustible combination. You’ve got heat sources, electrical circuits, propane (if you use it), and a small enclosed space. Safety isn’t optional — it’s the price of admission.
At minimum, you need a smoke detector and carbon monoxide detector mounted near the sleeping area, not the kitchen. Fire extinguishers should be accessible from the bed and from the cooking position — I mounted mine on the wall next to the slider, within reach whether I’m standing at the stove or lying down. If you’re using propane, add a combustible gas detector too.
Ventilation matters more than you think when cooking indoors. Even with induction, steam and odors accumulate fast in a small space. My roof fan pulls air out while the cracked slider window draws fresh air in, creating a cross-breeze that clears cooking smells in minutes. If you’re cooking with propane, running the fan isn’t optional — it’s survival.
What I’d Do Differently
If I rebuilt the galley tomorrow, three things would change. First, I’d make the counter two inches deeper — that tiny bit of extra workspace would make meal prep significantly less cramped. Second, I’d add a second drawer instead of the lower cabinet I currently use for bulk food storage. Digging through a cabinet on your knees gets tiresome fast. Third, I’d wire a dedicated USB outlet at the counter for charging my phone while following recipes. Small thing, big quality-of-life improvement.
But the core layout — fridge left, sink center, stove right, storage below — I wouldn’t touch. That compressed triangle works. Everything I need to cook a full meal is within one step and a pivot. After a year of cooking real meals on the road, the design has proven itself in deserts, mountains, and more Walmart parking lots than I care to admit.
The beautiful thing about a van kitchen is that it forces you to simplify. You can’t hoard gadgets. You can’t let dishes pile up. You learn to cook efficiently, clean as you go, and appreciate a hot meal in a way that a residential kitchen never quite matches. Eighty square feet never felt so generous.
For a visual walkthrough of van layout options, check out this helpful video on unique campervan floorplans.
1 thought on “Spoons, Stoves, and Square Inches: My Campervan Kitchen Build From Scratch”