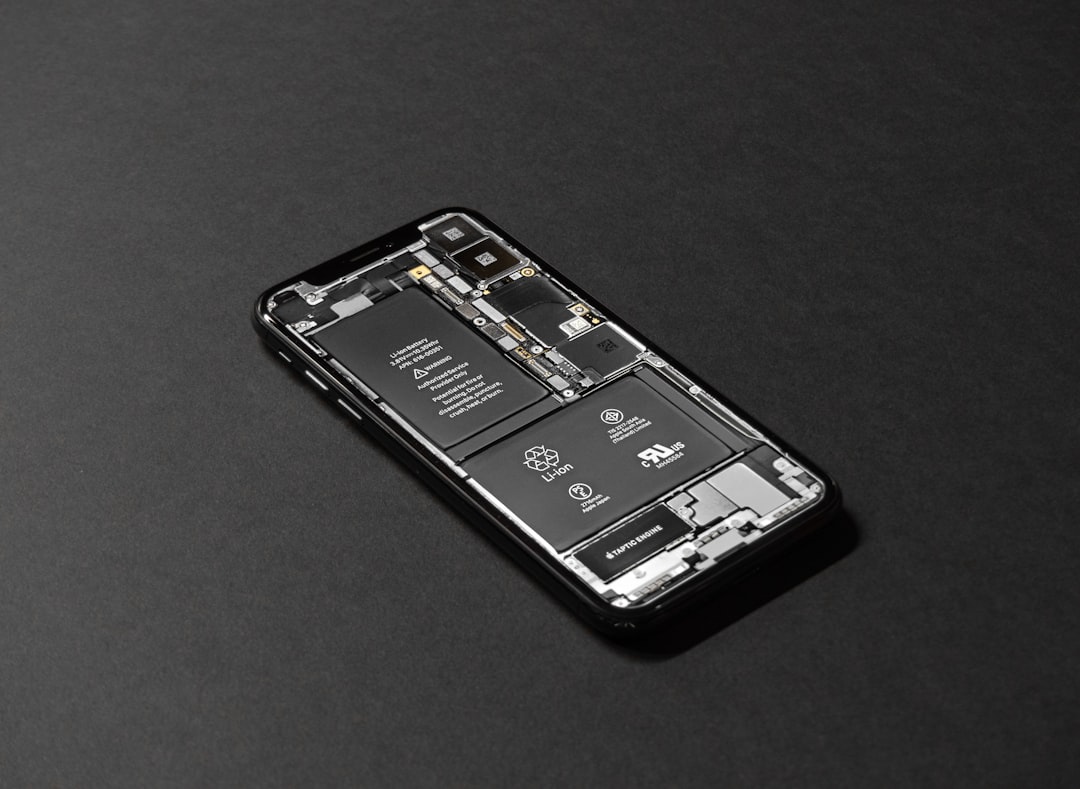
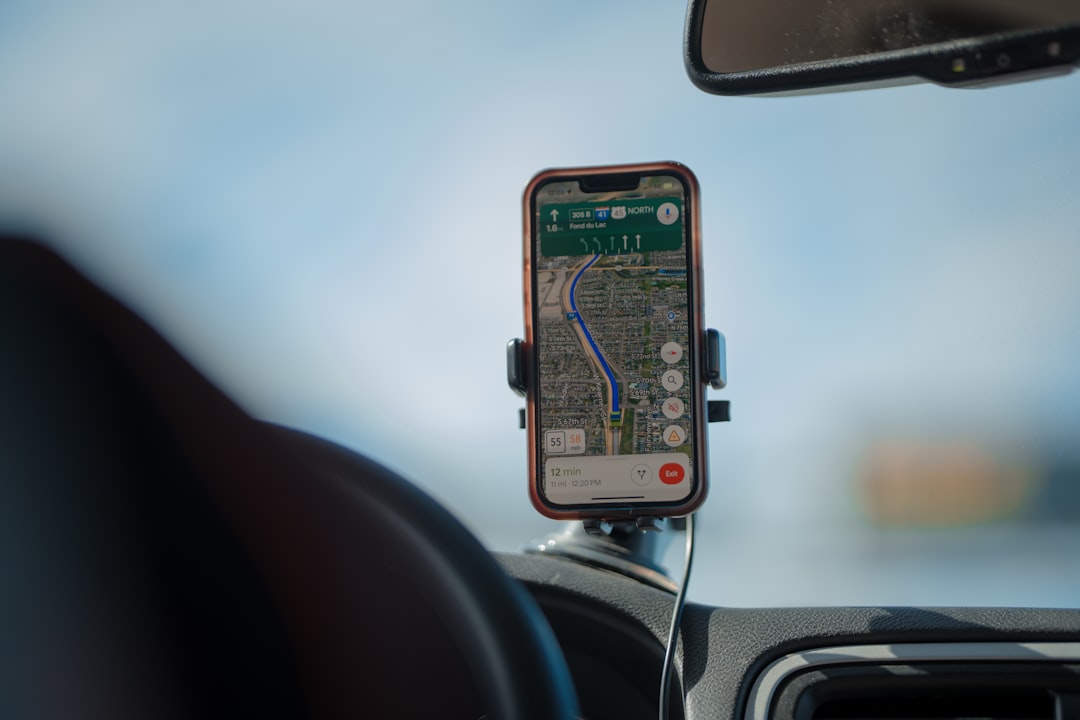
There’s a particular kind of panic that hits when your phone drops below 5% and you’re twelve miles into a hike with nothing but trees and questionable cell service around you. I know that panic intimately. It happened to me on the North Cascades loop last summer, and it’s exactly why I stopped treating portable power as an afterthought and started treating it as essential gear — right up there with water and a decent pair of shoes.
I’ve spent the better part of two years testing power banks, chargers, and solar setups across every kind of trip I take: weekend road trips, multi-day backcountry hikes, long-haul international flights, and everything in between. What follows is what I actually carry, what I’ve stopped carrying, and the specific combinations that have kept my devices alive when it mattered most.
The Core Question: How Much Power Do You Actually Need?
Most people buy a power bank the night before a trip, grabbing whatever’s cheapest on a Prime delivery screen. I used to do exactly this. The problem is that a random 4,000mAh brick barely recharges a modern phone once, and a 30,000mAh beast weighs as much as a paperback novel. Neither is the right answer for most trips.
Here’s the math that changed my approach: a typical smartphone battery sits around 3,500–4,500mAh. If you’re using your phone for photos, GPS navigation, trail apps, and the occasional emergency call, you’ll burn through a full charge in about 6–8 hours of active outdoor use. That means a weekend trip needs at least two full recharges — so 10,000mAh is your starting point, and 20,000mAh gives you a comfortable buffer for a 3-day adventure.
I break my power kit into three tiers depending on the trip: a slim 10,000mAh power bank for day hikes and city exploring, a 20,000mAh unit for weekend trips where I won’t see an outlet for 48 hours, and a full portable power station for car camping and basecamp scenarios. This three-tier system has yet to fail me.
The Day Hike Essential: 10,000mAh in Your Hip Belt
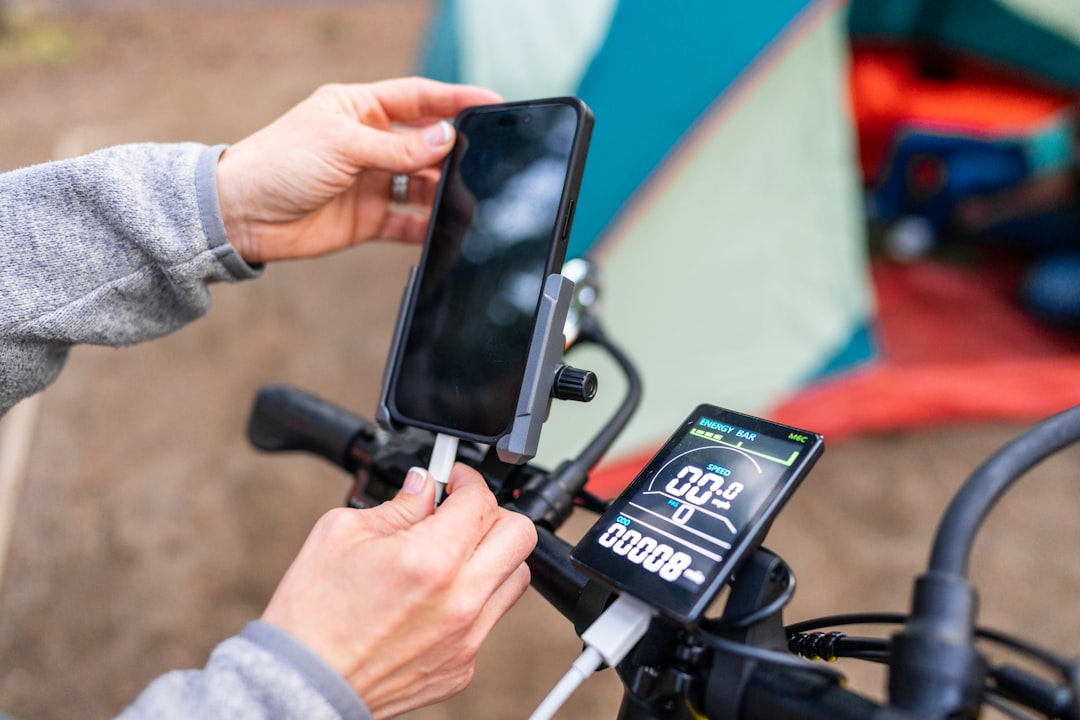
For day hikes, I keep things ruthlessly minimal. A compact 10,000mAh power bank slides into my hip belt pocket alongside a short braided cable, and I forget it’s there until I need it. The key features I look for are USB-C Power Delivery (for fast charging), a built-in cable or at least USB-C ports on both ends, and a weight under 8 ounces.
What I’ve learned after testing at least a dozen of these: the ones with digital readouts showing exact battery percentage are worth the extra few dollars. The four-LED indicator system is fine for casual use, but when you’re trying to decide whether you have enough juice for an emergency call plus navigation for the next three hours, knowing you’re at 34% versus “two lights” makes a real difference.
I also started carrying a high-quality braided USB-C cable instead of the flimsy ones that come free with everything. The cheap cables fray at the connectors after a few weeks of trail abuse, and I’ve had two fail mid-hike. A nylon-braided 3-foot cable has lasted me over a year of constant travel.

When You’re Off-Grid for Days: The 20,000mAh Workhorse
For anything longer than an overnight — especially if I’m shooting photos and video — the 20,000mAh power bank is the sweet spot. You get roughly 4–5 full phone charges from a single unit, which is enough for a long weekend even with heavy camera use. They’re noticeably heavier (around 12–15 ounces), so they live in the main compartment of my pack rather than a pocket.
The critical thing I discovered with higher-capacity banks: input charging speed matters as much as output. A 20,000mAh bank that only accepts 10W input takes 7+ hours to recharge from a wall outlet. That’s fine if you’re plugged in overnight, but useless if you’re passing through a cafe for 45 minutes and need to top up. Look for banks that support 30W or higher Power Delivery on both input and output. The difference between refilling your bank in 90 minutes versus 7 hours is the difference between staying powered and going dark.
On my 2,000-mile Southwest road trip last year, I carried a 20,000mAh bank as my primary backup and recharged it at every hotel and visitor center. That strategy got me through four national parks without a single dead device — though I’ll admit I got lucky with outlet availability.
The Airport Scenario: Why Air Travel Demands a Different Setup

Airport power management is its own particular hell. You’re burning through battery with offline Netflix, gate-change notifications, boarding passes, and the inevitable “where’s my gate” Google Maps session — all while competing for the three available outlets at your concourse seat. This is where a compact travel power strip becomes an unexpected hero.
I know it sounds ridiculous to pack a power strip for air travel. But a small 3-outlet strip with 2 USB ports takes up almost no space and turns you into the most popular person at any gate. You plug into the single available wall outlet, then offer the spare ports to fellow travelers. I’ve made more airport friends this way than I can count, and I never have to sit on the floor near a bathroom just to be near power.
The other air travel essential is a GaN (gallium nitride) wall charger. These things are roughly half the size of a standard laptop charger and can simultaneously fast-charge a phone and a tablet or Nintendo Switch. I replaced my bulky 65W laptop brick with a GaN charger and immediately freed up meaningful space in my carry-on setup. If you’re still traveling with the charger that came in the box with your laptop, this is the single easiest upgrade you can make.
Solar Chargers: Worth It or Dead Weight?
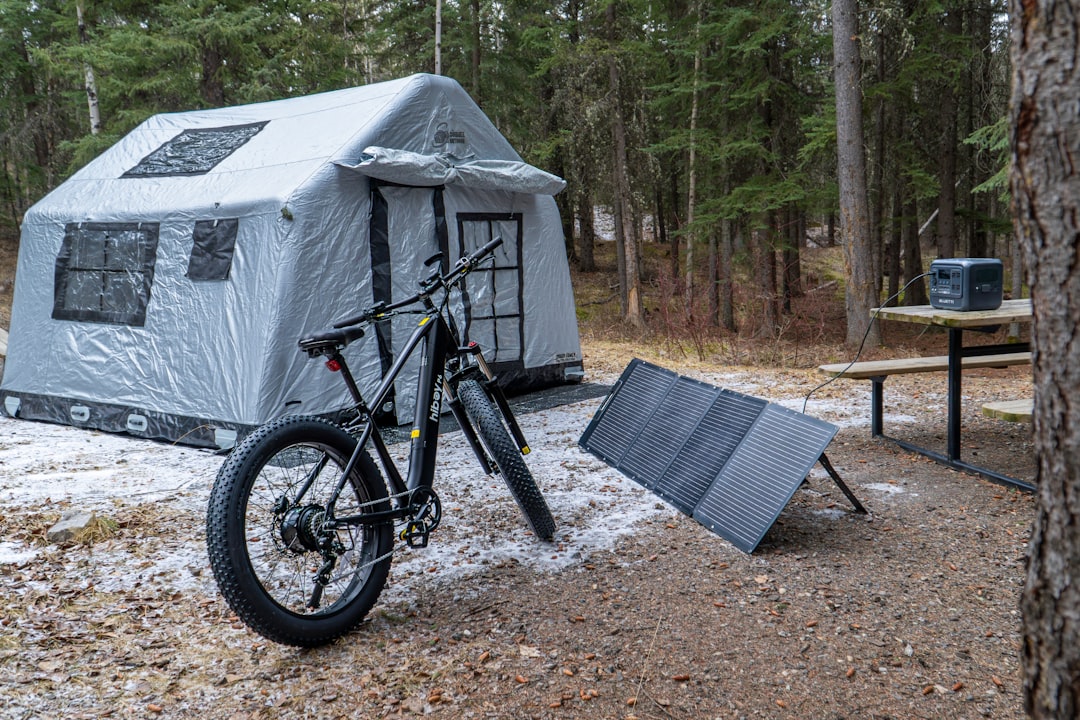
I have a love-hate relationship with portable solar chargers. On paper, they’re the ultimate backcountry solution — infinite free power from the sun. In practice, most small foldable solar panels generate barely enough juice to keep a phone alive in direct sunlight, let alone actually recharge it. I’ve tested several on multi-day desert trips, and the results were consistently underwhelming until I learned how to use them correctly.
The breakthrough was understanding that solar panels work best as trickle chargers connected to a power bank, not directly to a phone. You set the panel on your pack while hiking (or prop it at camp), feed that energy into a battery bank throughout the day, then use the bank to charge your phone at night. This setup adds about 8–10 ounces but effectively gives you unlimited power for indefinite backcountry trips — as long as you’re in sunny terrain.
For trips shorter than 4 days, solar isn’t worth the weight. For week-plus adventures in the desert or high alpine zones where sun is reliable, it transforms the experience. I wouldn’t take one to the Pacific Northwest in October, but for Utah canyon country in September? Absolutely.
Magnetic Wireless: The City Travel Cheat Code

When I’m in a city — hotels, cafes, coworking spaces — I switch to a completely different charging strategy. This is where a magnetic wireless power bank shines. Snap it onto the back of your phone, toss the whole thing in your bag, and you’re charging without dealing with cables at all.
The tradeoff is speed and capacity. Magnetic wireless banks typically max out at 7.5W–15W charging and hold 5,000–10,000mAh. They’re not for the backcountry. But for urban travel where you need to top up between museum visits and coffee stops, the convenience of cable-free charging is hard to overstate. I use one as my “walking around” power source and keep the bigger wired bank in the hotel room for overnight bulk charging.
One thing I learned the hard way: magnetic alignment matters more than you’d think. Off-brand magnetic banks that don’t snap perfectly into place will charge intermittently, draining both the bank and your patience. Stick with models that have strong magnets and proper coil alignment — the few extra dollars are worth not finding a dead phone in your pocket.
Car Camping: When You Might as Well Bring the Kitchen Sink

If you’re driving to your destination, the calculus changes entirely. Weight stops mattering, and suddenly a full portable power station with AC outlets becomes viable. These units — anywhere from 100Wh to 500Wh — can run laptops, camera battery chargers, CPAP machines, small coolers, and string lights for an entire weekend without seeing a wall outlet.
I started bringing one on car camping trips after a particularly frustrating attempt to edit photos on a laptop that died at 40% because the campsite’s only outlet was broken. Now, a mid-size power station lives in the trunk during any road trip that involves overnight stops. It charges everything else (phones, headlamps, speakers) via USB, and the AC outlet handles laptop and camera battery duties.
For those who want something in between a power bank and a full station, a battery pack with a built-in AC outlet is a nice middle ground. They’re typically 30,000–40,000mAh with a standard wall-style plug, enough to run a laptop for an extra 2–3 hours or charge a camera battery a couple of times. Not enough for a full weekend, but perfect for a travel scenario where you just need a bit more laptop time.
And if you’re going full off-grid van life, that’s a completely different conversation — one where you’re wiring solar panels to a battery bank the size of a small suitcase. For everything short of that, the portable options above cover the spectrum.
The Wall Charger Upgrade Everyone Overlooks
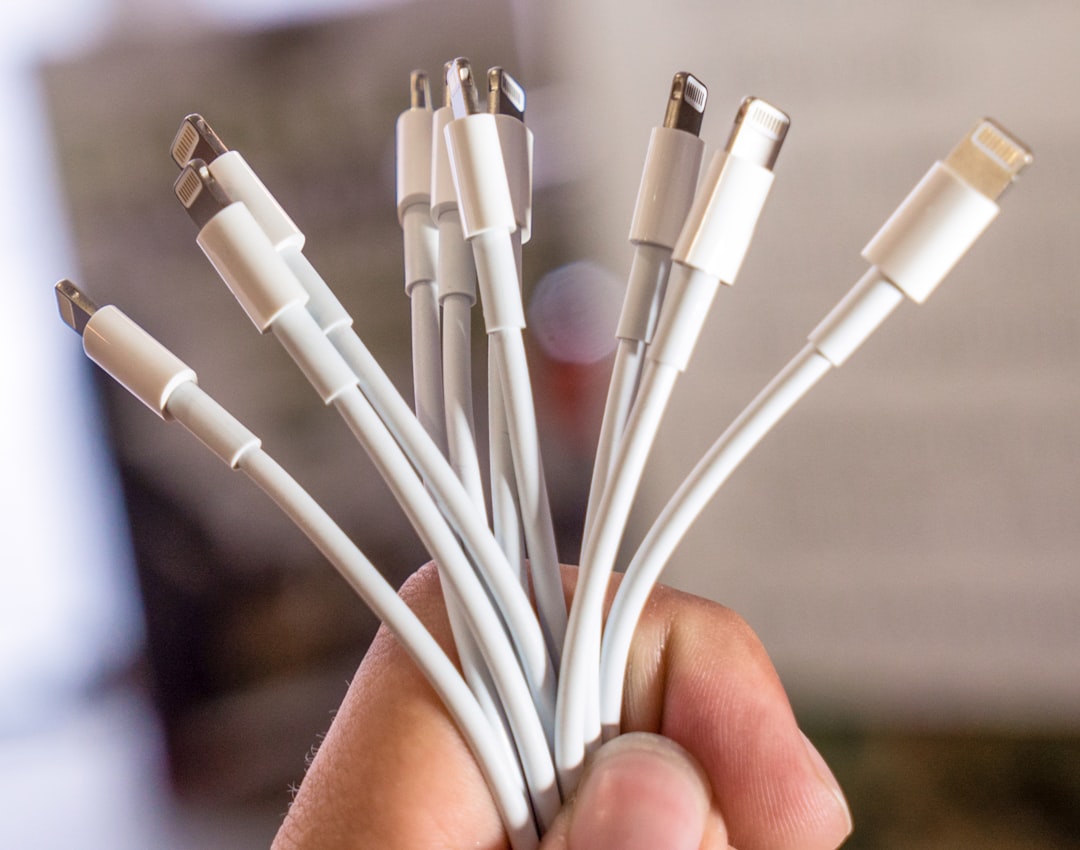
Here’s the thing that drove me crazy for years: I’d have a great power bank but a terrible wall charger. The standard 5W cube that comes with most phones takes 4+ hours to refill a 10,000mAh bank. That’s absurd when a compact GaN charger with Power Delivery can do the same job in under 90 minutes.
The setup I’ve landed on for every trip: one 65W GaN charger with at least two USB-C ports and one USB-A port. That single charger handles my phone, power bank, and laptop simultaneously. Paired with a short braided cable, the whole package takes up less space than a sunglasses case. I carry the power strip for airport scenarios and the GaN charger for everything else.
The Charging Setup I Actually Pack
After all this testing, here’s what I carry on 95% of trips. For a weekend road trip: one 10,000mAh power bank, one 65W GaN charger, a compact travel power strip, two braided USB-C cables, and one short USB-C-to-Lightning cable as backup. Total weight: under 1.5 pounds. Total cost: less than a single night at a mid-range hotel.
For longer adventures, I add the 20,000mAh bank and, if sun exposure is guaranteed, the foldable solar panel. For car camping, I swap the whole kit out for the power station and a single GaN charger.
The point isn’t that you need every gadget I’ve mentioned. It’s that thinking about your power strategy before you leave — matching capacity to trip length, considering how and where you’ll recharge, and investing in decent charging hardware — eliminates the single most common tech failure I see travelers make. Dead phones aren’t just inconvenient. In a real emergency, they can be genuinely dangerous. And the difference between “I’ll find an outlet eventually” and “I have the power I need for the next 72 hours” costs about $60 and 12 ounces of pack weight.
That mile-12 panic I mentioned at the start? It happened because I’d cheaped out on a power bank that delivered one partial charge before dying. I now carry gear that ensures I’ll never be in that position again — and honestly, the peace of mind is worth more than the gear itself.
2 thoughts on “Dead Phone at Mile 12: The Portable Power Banks I Actually Trust After Testing Them in the Wild”